How to Tie a Knot Necklace: A Beginner's Guide to Sliding Cords
Learn how to tie a knot necklace with our beginner's guide. Master sliding square knots, choose the right cord, and finish adjustable pendants perfectly.

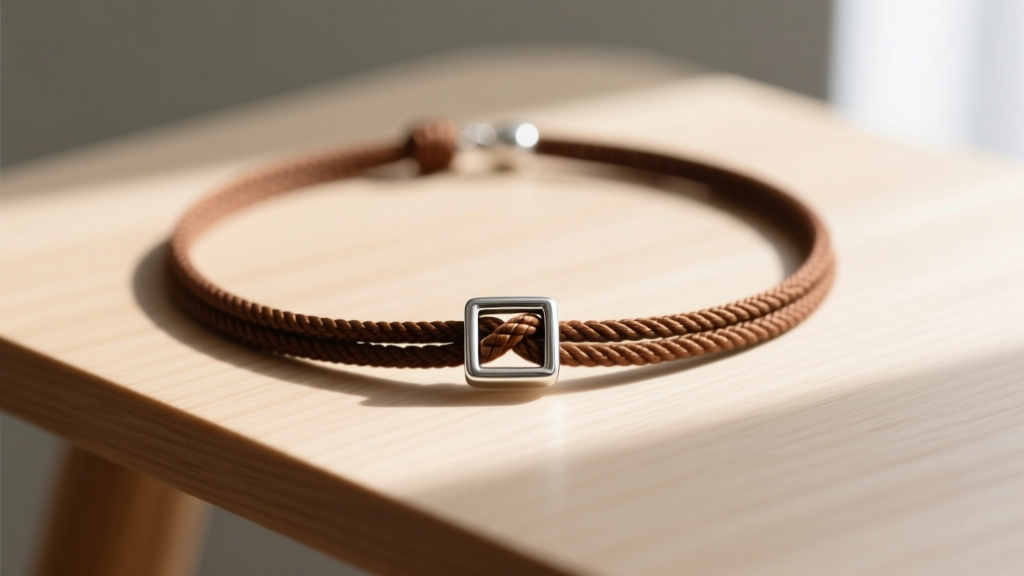
Learning how to tie a knot necklace is one of the most rewarding entry points into jewelry making and personal styling. Unlike rigid metal chains that require precise sizing and specialized clasps, cord necklaces offer infinite adjustability, a relaxed bohemian aesthetic, and the ability to swap out pendants in seconds. Whether you are stringing a raw crystal, a vintage brass locket, or a hand-carved wooden bead, mastering the art of the sliding knot and the fixed stopper knot will elevate your jewelry game from amateur craft to professional finish.
In this comprehensive guide, we will move beyond vague tutorials and dive into the exact material grades, cord thicknesses, and mechanical principles that make a knot necklace both functional and durable. By the end of this article, you will know exactly how to select the right cord, tie a flawless sliding square knot, and seal your ends to prevent fraying.
The Anatomy of an Adjustable Cord Necklace
A properly constructed adjustable cord necklace consists of three main components: the base cords, the sliding mechanism, and the end stoppers. The base cords form the continuous loop that goes around your neck. The sliding mechanism—typically a macramé square knot—acts as a friction-based clasp that grips the base cords but allows them to pass through when manual pressure is applied. Finally, the end stoppers prevent the sliding knot from slipping off the necklace entirely, while also serving as a decorative counterweight to the central pendant.
The secret to a smooth-sliding necklace lies in the coefficient of friction between your cord materials. If the sliding knot is made from the exact same material as the base cords, it can sometimes grip too tightly or wear down prematurely. Professional jewelers often use a slightly different cord for the slider, or apply a micro-coating of beeswax to reduce friction.
Selecting the Right Cord Material
Not all cords are created equal. The material you choose dictates the drape, durability, and water resistance of your necklace. According to the material experts at Fire Mountain Gems, understanding the tensile strength and surface texture of your cord is critical before tying your first knot.
| Material | Recommended Diameter | Best For | Water Resistance | Knot Security |
|---|---|---|---|---|
| Waxed Cotton | 1.0mm - 1.5mm | Heavy pendants, rustic styles | Moderate | High (wax adds grip) |
| Nylon (C-Lon/S-Lon) | 0.8mm - 1.0mm | Micro-macramé, gemstones | Excellent | Very High |
| Round Leather | 1.5mm - 2.0mm | Western, boho, heavy metal | Poor | Moderate (can stretch) |
| Silk (Griffin) | 0.6mm - 1.0mm | Pearls, delicate vintage | Poor | Low (requires glue) |
Matching Cord Thickness to Pendant Bails
A common beginner mistake is selecting a cord that is too thick for the pendant's bail (the loop that connects the pendant to the chain). For a pendant to hang correctly and allow for easy swapping, the inner diameter of the bail must be at least 0.5mm larger than the thickness of your cord. If you are using a 1.5mm waxed cotton cord, ensure your pendant bail has an inner diameter of at least 2.0mm. If you are drilling your own stones or working with raw crystals wrapped in wire, always leave a generous loop to accommodate thicker, more durable cords like 1.0mm nylon.
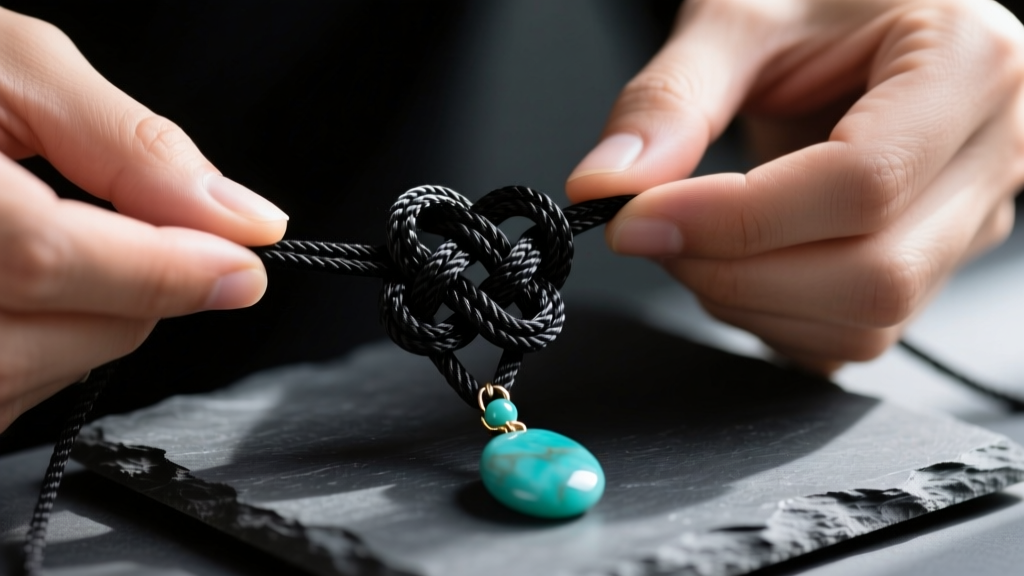
Step-by-Step: How to Tie a Sliding Square Knot
The sliding square knot is the gold standard for adjustable necklaces. It creates a flat, barrel-shaped knot that is easy to grip and pull. To tie this knot, you will need your two base cords (overlapping) and a separate, shorter piece of cord (about 12 inches long) to act as the working cord.
- Anchor the Base: Lay your two base cords parallel to each other, overlapping by about 4 inches. Pin them down or hold them taut.
- Position the Working Cord: Lay your 12-inch working cord horizontally across the top of the base cords, finding its exact center so you have 6 inches on the left and 6 inches on the right.
- First Half-Hitch (Left over Right): Take the left working cord, pass it over the two base cords, and then under the right working cord. Next, take the right working cord, pass it under the base cords, and bring it up through the loop created by the left cord on the left side. Pull snug, but do not overtighten.
- Second Half-Hitch (Right over Left): Now, reverse the process. Take the right working cord, pass it over the base cords, and under the left working cord. Take the left working cord, pass it under the base cords, and up through the right-side loop. Pull snug.
- Repeat for the Barrel: Alternate these two steps (Left-Over-Right, then Right-Over-Left) until your knot reaches your desired length, typically between 0.5 inches and 1 inch. As noted by the knotting experts at The Spruce Crafts, maintaining consistent, moderate tension is the key to a uniform barrel shape.
Fixed Knots: The Surgeon’s Knot for End Stoppers
Once your sliding mechanism is complete, you need to secure the ends of the base cords so the necklace cannot be pulled apart. While a simple overhand knot works for thick leather, it can easily slip through on smooth nylon or silk cords. The solution is the Surgeon’s Knot.
To tie a surgeon's knot at the end of your cord, tie a standard overhand knot, but before pulling it tight, pass the working end through the loop a second time. This extra twist drastically increases the friction inside the knot, making it nearly impossible to pull through a small loop or slip under the tension of a heavy pendant. Pull it tight, leaving a small 2mm tail for sealing.
Troubleshooting Common Knotting Failures
Even with the right materials, beginners frequently encounter mechanical failures when figuring out how to tie a knot necklace. Here is how to diagnose and fix the most common issues:
- The Spiral Twist: If your sliding knot looks like a twisted DNA helix instead of a flat barrel, you are repeating the same half-hitch instead of alternating. You must strictly alternate Left-Over-Right and Right-Over-Left.
- The Petrified Slider: If you pull your working cords too aggressively on synthetic materials like nylon, the friction generates enough heat to slightly melt the cord, fusing the slider to the base cords. Always pull snugly, but never yank. If this happens, you must cut the knot off and start over.
- The Bail Snag: If your pendant doesn't slide freely across the knot, your sliding knot is too thick for the pendant's bail. You can either use a thinner working cord for the slider or switch to a pendant with a wider wire-wrapped loop.
- The Loose Grip: If the sliding knot slips on its own and the necklace loosens while wearing, your base cords are too smooth. Switch to a textured cord like waxed cotton, or lightly scuff the base cords with fine-grit sandpaper to increase surface friction.
Sealing and Finishing Your Cord Ends
The final step in creating a professional-grade cord necklace is sealing the cut ends to prevent unraveling. The method you use depends entirely on the material's melting point.
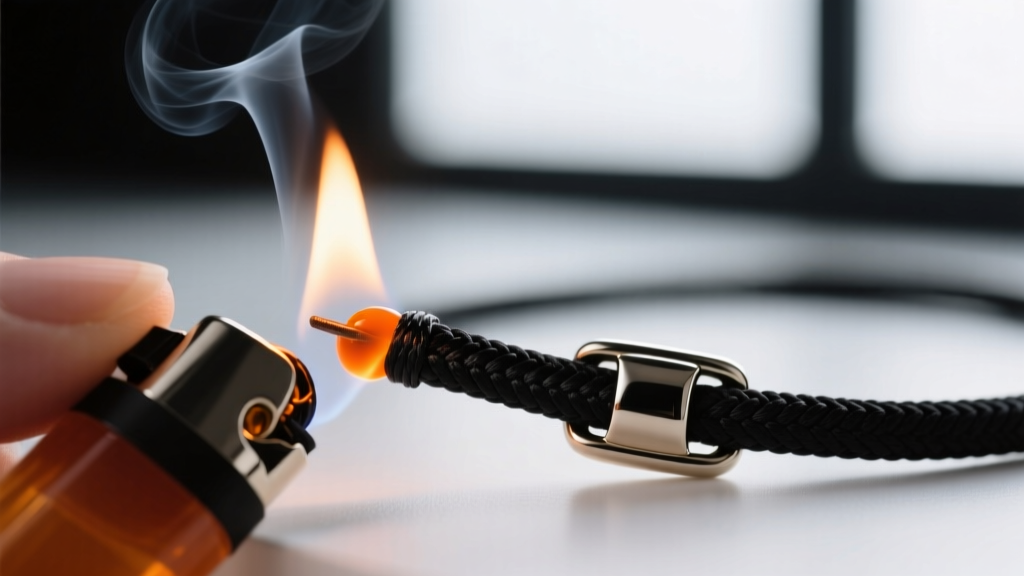
For synthetic cords (nylon, polyester, C-Lon), use a micro-torch or a standard lighter. Hold the flame about a quarter-inch away from the cut end until the material melts into a small, smooth bead. Press the melted bead flat against the knot using the side of the lighter (be careful, it will be hot) to create a smooth, rivet-like finish. Avoid holding the flame directly on the cord, as this will cause the nylon to burn, bubble, and leave black soot marks.
For natural cords (cotton, silk, leather), heat will only burn and destroy the fibers. Instead, apply a micro-drop of flexible jewelry adhesive, such as G-S Hypo Cement or E6000, directly into the end of the knot. Allow it to cure for 24 hours. Alternatively, you can thread the ends through small metal crimp covers or cone end-caps, securing them with a jump ring for a highly polished, metallic finish that completely hides the raw cord ends.
"A well-tied knot necklace should feel like an extension of your personal style—effortless to adjust, secure enough to trust, and finished with the same attention to detail as a fine metal chain."
By selecting the appropriate cord gauge, mastering the alternating mechanics of the square knot, and properly sealing your ends, you can create durable, adjustable necklaces that outlast mass-produced costume jewelry. Practice your tension on scrap pieces of cord before committing to your favorite pendant, and soon, tying a flawless sliding knot will become second nature.


