How to Tie Necklace Knot Variations: Sliding, Silk & More
Master how to tie necklace knot styles for any jewelry project. Step-by-step guides for sliding macrame, lark's head, and silk pearl knots.

The Art and Engineering of Jewelry Knots
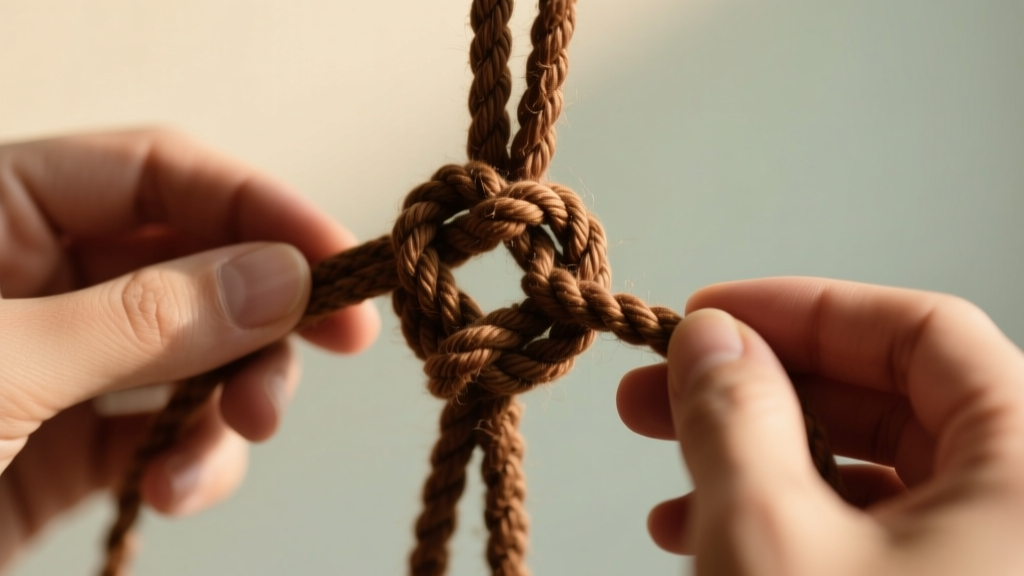
Learning how to tie necklace knot variations is a fundamental skill for both jewelry makers and everyday wearers. A poorly tied knot can lead to lost pendants, frayed cords, and stretched pearl strands. Conversely, mastering the correct knot for your specific cord material ensures longevity, security, and a professional finish. Whether you are working with 1mm waxed cotton for an adjustable bohemian pendant, 2mm leather for a heavy brass focal piece, or Size F silk thread for a classic pearl strand, the mechanics of tension and friction change drastically. In this comprehensive guide, we break down the three most essential knotting techniques used in modern jewelry design, complete with material specifications and professional finishing tricks.
1. The Adjustable Sliding Square Knot (Macramé)
The sliding square knot is the backbone of adjustable cord necklaces. It allows the wearer to change the necklace length from a choker (14 inches) to a matinee length (24 inches) without the need for metal clasps, which can tarnish or break. The secret to a successful sliding knot lies in the friction between the working cord and the base cords.
Materials & Preparation
- Base Cord: 1.5mm to 2mm braided nylon or waxed cotton. Waxed cotton provides excellent natural friction, while braided nylon (like Chinese knotting cord) offers superior tensile strength and can be heat-sealed.
- Working Cord: A 36-inch length of the same material, which will be knotted around the base cords.
- Finishing Tool: A precision butane thread burner or a standard lighter for synthetic cords; GS Hypo Cement for natural fibers.
Step-by-Step Execution
- Anchor the Base: Lay your two base cords parallel to each other, overlapping by about 4 inches in the center. Secure them to your work surface with tape.
- Position the Working Cord: Place the center of your 36-inch working cord horizontally under the overlapping base cords.
- The First Half-Knot: Take the right end of the working cord and pass it over the base cords, then under the left working cord. Take the left working cord, pass it over the right working cord tail, under the base cords, and pull it up through the loop on the right side. Pull tight.
- The Second Half-Knot (The Square): Now, reverse the process. Take the left cord over the base cords, under the right. Take the right cord over the left tail, under the base cords, and up through the left loop. Pull tight. This completes one full square knot.
- Repeat and Slide: Repeat this alternating process for 6 to 8 full square knots. Test the slide by gently pulling the base cords. If it is too tight, you are pulling the working cord too aggressively during tightening; if it is too loose, add two more knots.
- Finish the Tails: Trim the working cord tails to 2mm. If using nylon, briefly touch the tip of a flame to the tail until it melts into a tiny bead, then press it flat with the side of the lighter. If using cotton, apply a micro-drop of GS Hypo Cement to the tail and press it against the knot.
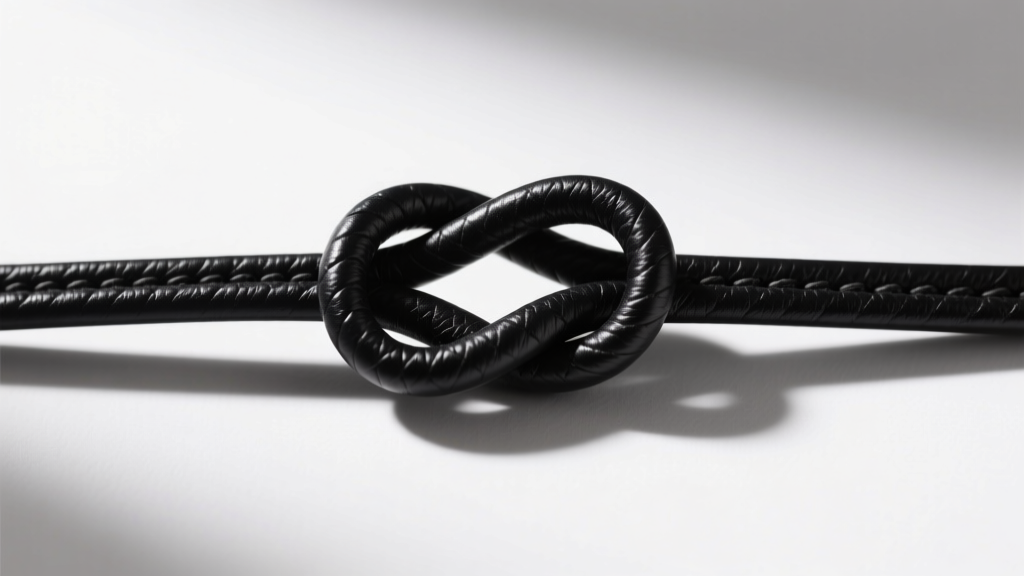
2. The Lark’s Head Knot (Pendant Attachment)
When attaching heavy pendants—such as a 40-gram bronze casting or a large raw crystal—to a leather or suede cord, the Lark’s Head knot (also known as a cow hitch) is the industry standard. It distributes weight evenly across the cord and prevents the sharp edges of a metal bail from cutting into the leather.
Execution for Heavy Pendants
For standard pendants, a single Lark's Head suffices. However, for pieces exceeding 30 grams, jewelers utilize a Double Lark's Head to prevent the leather from stretching and thinning over time.
- Fold your 2mm leather cord in half to find the center.
- Pass the folded loop through the pendant bail from front to back.
- Pull the two loose tails of the cord down and through the folded loop.
- For a Double Lark's Head, before pulling the tails tight, pass them through the loop a second time in the exact same direction.
- Pull the tails firmly away from the pendant to seat the knot flush against the bail.
Pro-Tip: Leather is naturally slick and can stretch when exposed to moisture or skin oils. To lock a Lark's Head knot permanently, apply a tiny drop of E6000 jewelry adhesive inside the knot before pulling it tight. Avoid cyanoacrylate (Super Glue), as it dries brittle and will crack when the leather flexes, leading to catastrophic failure.
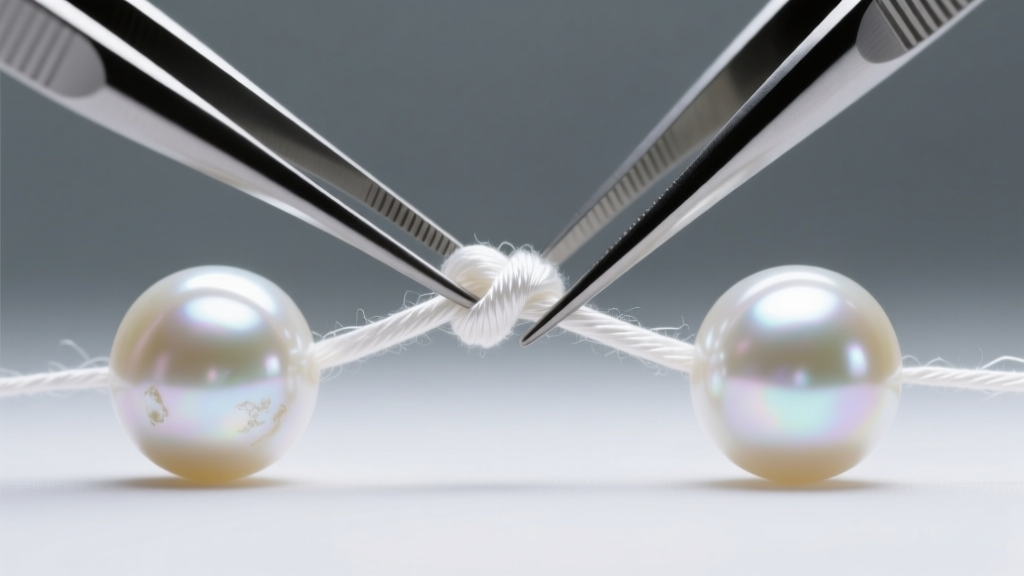
3. The Surgeon’s Knot for Silk Pearl Knotting
Pearl knotting is a traditional technique that serves two purposes: it prevents pearls from rubbing against each other (which destroys their nacre), and it ensures that if the strand breaks, only one pearl is lost. According to the Gemological Institute of America (GIA), proper knotting is essential for preserving the luster and structural integrity of fine pearl jewelry.
Why the Surgeon’s Knot?
A standard overhand knot tends to slip and loosen on smooth silk thread before it can be tightened against the pearl. The Surgeon’s Knot adds an extra twist, creating immediate friction that holds the knot in place while you use a tool to seat it.
Step-by-Step Silk Knotting
- Thread Selection: Use 100% silk thread with an attached twisted wire needle. For 6mm to 7mm freshwater pearls, Size F (0.35mm) or Size G (0.40mm) Griffin silk is ideal. The thread should pass through the drill hole with slight resistance.
- Form the Loop: After passing the thread through the pearl, form a simple overhand loop.
- The Extra Twist: Before pulling the tail through the loop, wrap the tail around the standing thread twice instead of once.
- Seat the Knot: Pull the thread gently to close the knot, but leave it slightly loose. Insert a beading awl or a specialized pearl knotting tool into the loop of the knot.
- Slide and Tighten: Use the awl to slide the knot down the thread until it is perfectly flush against the drill hole of the pearl. Remove the awl and pull the thread taut to lock the Surgeon's Knot in place.
Cord Material & Knot Compatibility Matrix
Selecting the wrong knot for your cord material is the most common cause of jewelry failure. Use this matrix to ensure compatibility, referencing data from the Fire Mountain Gems Jewelry-Making Encyclopedia.
| Cord Material | Optimal Diameter | Best Knot Type | Tensile Strength | Finishing Method |
|---|---|---|---|---|
| Waxed Cotton | 1.0mm - 1.5mm | Sliding Square Knot | Medium (15-20 lbs) | GS Hypo Cement |
| Braided Nylon | 0.8mm - 1.5mm | Sliding Square / Macramé | High (30-45 lbs) | Heat Melt / Burn |
| Leather / Suede | 2.0mm - 3.0mm | Double Lark's Head | Very High (60+ lbs) | E6000 Adhesive + Crimp |
| Silk Thread | 0.35mm - 0.60mm | Surgeon's / Overhand | Low (3-8 lbs) | French Wire + Clasp |
Troubleshooting & Professional Finishing
Even experienced jewelers encounter slipping knots or fraying ends. Here is how to troubleshoot the most common issues when learning how to tie necklace knot styles:
- The Sliding Knot is Stuck: This happens when the working cord is pulled too tightly during the knotting process, or if the base cords are textured/suede. Switch to a smooth braided nylon for the base cords, and consciously relax your grip when tightening the square knots.
- Silk Knots Won't Sit Flush: If there is a gap between the pearl and the knot, the strand will stretch over time, leaving unsightly gaps. Always use a beading awl to push the knot down before applying final tension. Never pull the thread tight without the awl inside the loop.
- Leather Cord Fraying at the Clasp: Never tie a Lark's Head or overhand knot directly to a metal jump ring or clasp. The metal will saw through the leather over time. Instead, use a folded leather crimp end secured with adhesive, and attach the clasp to the crimp's loop.
Jeweler's Insight: When working with synthetic cords like nylon or polyester, always test your lighter or thread burner on a scrap piece first. Holding the flame too close or for too long will cause the cord to shrink and pucker, ruining the aesthetic of your sliding knot. A quick, half-second zap is all that is required to form a sealing bead.
Mastering these three foundational knots will elevate your jewelry craftsmanship from amateur to professional. By respecting the unique properties of silk, leather, and nylon, and applying the correct tension and finishing adhesives, your necklaces will remain secure, adjustable, and beautiful for years to come.


