How to Tie a Sliding Knot Necklace: Step-by-Step Guide
Learn how to tie a sliding knot necklace with our beginner-friendly guide. Master cord selection, friction techniques, and secure finishing methods.

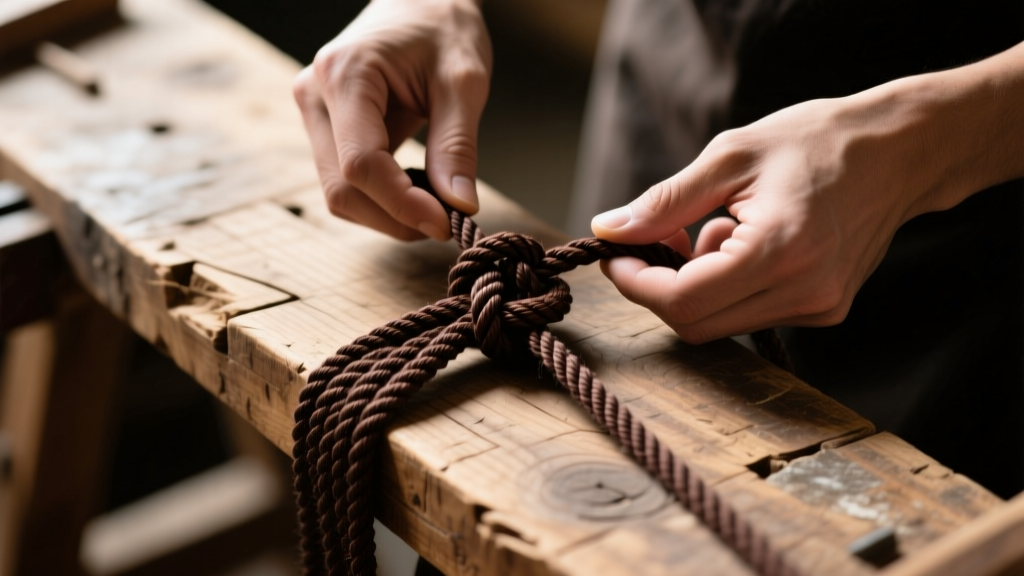
The Anatomy of a Perfect Sliding Knot
The sliding knot, often called a barrel knot or coil knot, is the backbone of adjustable, clasp-free jewelry. Unlike traditional macrame square knots that lock into place, the sliding knot relies on radial friction. A single 'working cord' wraps tightly around two parallel 'base cords', creating a cylindrical sleeve. When you pull the base cords, the friction is overcome, allowing the necklace to adjust. When you release the tension, the static friction of the wraps holds the necklace securely at your desired length.
Understanding this friction mechanism is critical. If the wraps are too loose, the necklace will slip under the weight of a pendant. If they are too tight, or if you use too many wraps, the knot will jam, making adjustability impossible. Mastering how to tie a sliding knot necklace is less about brute force and more about understanding material science and tension control.
Choosing the Right Cord: Material and Thickness Matter
Before you make your first wrap, you must select the appropriate cord. According to the material experts at Fire Mountain Gems, the coefficient of friction varies wildly between natural and synthetic fibers. A 1mm waxed cotton cord will grip itself far better than a 1mm satin nylon cord. Here is a breakdown of the most common cord materials used in adjustable necklaces:
| Material | Ideal Thickness | Friction Level | Best Finishing Method |
|---|---|---|---|
| Waxed Cotton | 0.5mm - 1.0mm | High (Excellent for beginners) | Glue (G-S Hypo Cement) |
| Nylon (Chinese Knotting) | 0.8mm - 1.5mm | Medium (Requires 5-6 wraps) | Melt (Thread burner) |
| Leather (Round) | 1.0mm - 2.0mm | High (Stiff, needs fewer wraps) | End caps with glue |
| Silk | 0.5mm - 1.0mm | Low (Very slippery) | Glue and bead tips |
For your first attempt, we strongly recommend using a 0.8mm or 1.0mm waxed cotton cord. The wax coating provides a slight tackiness that prevents the wraps from unraveling while you work, and the natural cotton fibers offer high friction so the finished knot won't slip easily.
Step-by-Step: How to Tie a Sliding Knot Necklace
Now that you have your materials, let's break down the physical process. You will need two base cords (which form the actual necklace loop) and one working cord (about 12 inches long) to create the knot itself.
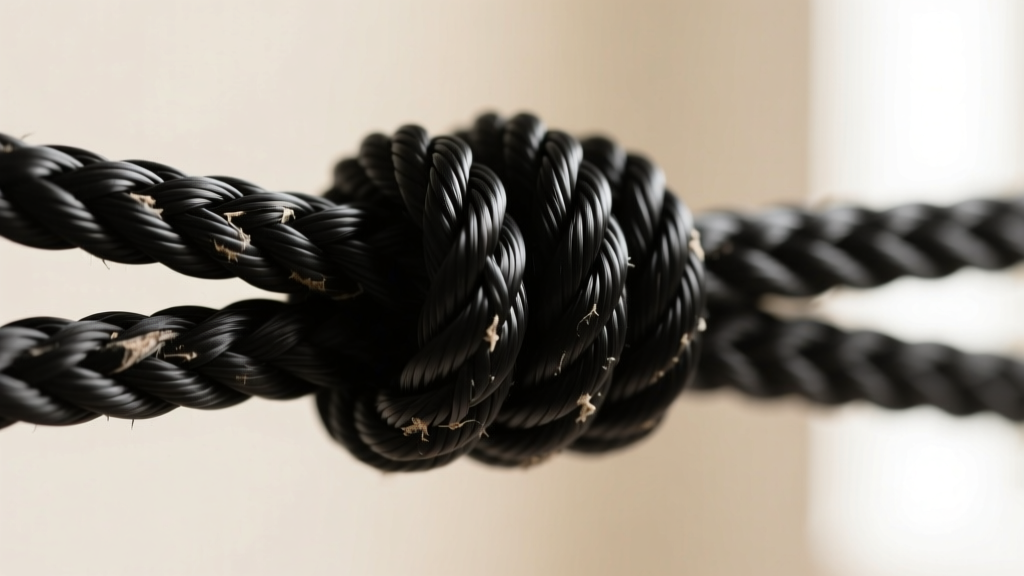
Step 1: The Initial Cross and Placement
Lay your two base cords flat on your workspace, overlapping them in the center to form the desired necklace loop. Take your 12-inch working cord and place it horizontally underneath the two base cords, right at the point where they overlap. Ensure you have equal lengths of the working cord on both the left and right sides.
Step 2: The Wrapping Technique (The Coil)
Take the right side of the working cord and bring it over the top of the two base cords, then tuck it underneath them, pulling it up through the left side. Now, take that same end and wrap it over the base cords again, moving slightly to the left. You are essentially creating a tight, horizontal coil around the base cords.
Crucial Detail: Keep the tension consistent. Pull each wrap snug against the previous one, but do not pull so tightly that you deform the base cords. For a 1mm cotton cord, 4 to 5 wraps are usually sufficient. For a slippery 0.8mm nylon cord, aim for 6 to 8 wraps to ensure adequate friction.
Step 3: The Pull-Through and Tightening
After your final wrap, you will notice a small loop formed on one side of the knot by the initial placement of the cord. Take the tail end of your working cord and thread it through this loop from front to back.
Once threaded, pull the tail end firmly while simultaneously holding the base cords steady. This action locks the coil in place. Trim the excess working cord tails, leaving about 2mm to 3mm of material protruding from the knot for finishing.
Expert Tip: If you are adding a pendant, always thread it onto the base cords before you tie your sliding knots. Trying to force a pendant bail over a finished knot or stretching the cord to fit a pendant later will compromise the structural integrity of your necklace.
Troubleshooting Common Knot Failures
Even with perfect technique, beginners often encounter mechanical issues. The jewelry educators at The Spruce Crafts note that most failures stem from a mismatch between cord material and knot density. Here is how to diagnose and fix the most common problems:
- The Knot Won't Slide: You likely wrapped the working cord too tightly, crushing the base cords, or you used too many wraps. Unravel the knot, reduce the number of wraps by two, and focus on 'snug' rather than 'strangled' tension.
- The Knot Slips Open Under Weight: The friction is insufficient. This happens frequently with synthetic cords like satin nylon. Add two more wraps to the coil, or switch to a textured cord like hemp or waxed cotton.
- The Base Cords Kink or Twist: You are wrapping in only one direction without maintaining the parallel alignment of the base cords. Use a piece of masking tape to hold the base cords flat and parallel on your workbench before you begin wrapping.
Securing the Ends: Melt, Glue, or Bead?
A sliding knot is only as durable as its finish. Leaving raw cord ends exposed will lead to fraying, unraveling, and eventual failure. Your finishing method must match your material.

Thermal Fusing (For Synthetics)
Nylon and polyester cords can be thermally fused. Do not use a standard Bic lighter, as the large, sooty flame will leave black carbon residue on your jewelry. Instead, use a butane micro-torch or a specialized jewelry thread burner. Apply the flame to the 2mm tail until it melts into a small, smooth bead, then quickly press it flat against the side of the knot using a pair of flat-nose pliers or a ceramic tile. Warning: Never use your fingers to press hot melted nylon.
Chemical Adhesives (For Naturals)
Cotton, hemp, silk, and leather cannot be melted. For these, you must use a precision adhesive. Apply a microscopic drop of G-S Hypo Cement or E6000 Jewelry Adhesive directly into the gap where the tail meets the knot using a fine needle or toothpick. Waxed cotton responds exceptionally well to this, as the glue bonds with the wax coating for a permanent hold.
End Beads and Caps (For Thick Cords)
If you are using a 2mm leather cord, the tails will be too thick to melt or glue cleanly. Instead, thread a small metal or glass end bead onto the base cords before tying your knot. Once the knot is tied and trimmed, apply a dab of jeweler's epoxy inside the bead and slide it up to cap the raw edge of the knot.
Final Thoughts on Custom Jewelry Making
Learning how to tie a sliding knot necklace opens up a world of custom, adjustable jewelry design. By paying close attention to cord thickness, wrap tension, and proper end finishing, you can create professional-quality pieces that rival high-end boutique offerings. Start with forgiving materials like 1mm waxed cotton, master the muscle memory of the coil, and soon you will be crafting durable, beautiful necklaces for every neckline and occasion.


