How Initial Necklaces Tell Story: Useful Ideas & Fixes
Discover how initial necklaces tell a story and explore useful ideas for troubleshooting tangling, tarnishing, and fragile clasps in this expert guide.

The Narrative Weight of Personalized Jewelry
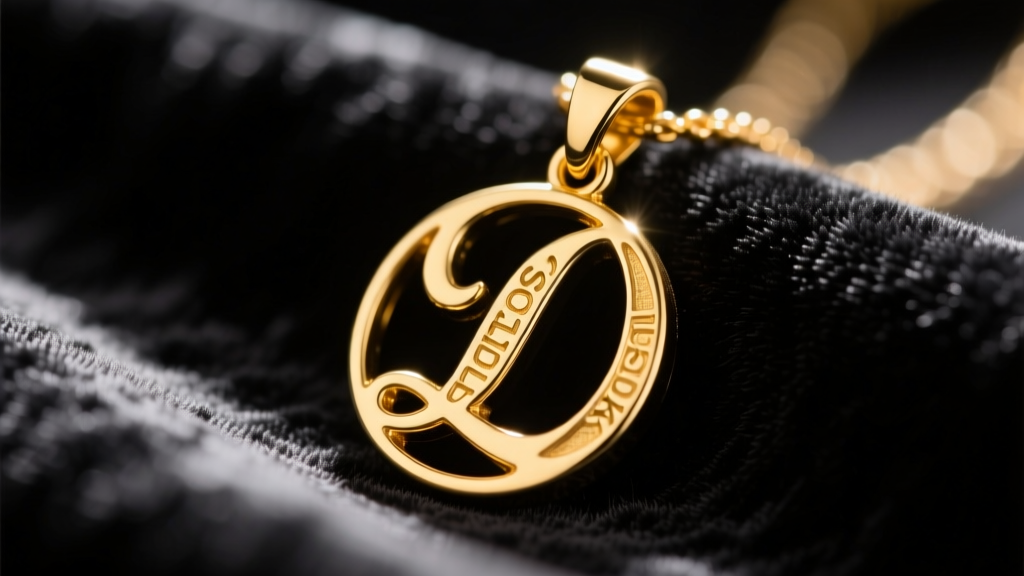
It is a universal truth in the jewelry industry that initial necklaces tell a story. Whether commemorating a child, honoring a lost loved one, or claiming a personal mantra, these pendants carry immense emotional weight. However, the physical reality of wearing a sentimental piece every day often clashes with the delicate manufacturing standards of mass-market jewelry. As we navigate the 2026 jewelry landscape, consumers are increasingly demanding that their meaningful pieces survive daily wear and tear. If you are dealing with broken chains, fading letters, or severe skin reactions, here are some useful ideas and expert troubleshooting frameworks to save your most cherished accessories.
Troubleshooting Font Illegibility and Metal Warping
The most common complaint with personalized pendants is that the initial becomes illegible over time, or the metal itself warps, turning a perfect "M" into a distorted oval. This is fundamentally a problem of metal gauge and stamping technique.
Stamping vs. Laser Engraving
Hand-stamped initial pendants rely on physical force to displace metal. If the blank is too thin, the impact will warp the perimeter. Laser engraving, conversely, removes a microscopic layer of metal. While laser engraving allows for intricate serif fonts, it can fade if the engraving depth is less than 0.05mm. For a piece meant to last a lifetime, deep-strike hand stamping on a thicker blank is superior.
The Gauge Thickness Rule
Many fast-fashion jewelry brands cut initial blanks from 24-gauge (0.5mm) sheet metal to save on gold weight costs. This is far too thin for daily wear. To prevent warping and ensure the stamping doesn't compromise the structural integrity of the pendant, you must seek out blanks that are at least 18-gauge (1.0mm) or 16-gauge (1.3mm) thick. If your current pendant is bending, a professional jeweler can sometimes gently hammer it flat on a steel mandrel, but upgrading to a 14k solid gold 18-gauge blank is the only permanent fix.
The Weakest Link: Fixing Jump Ring Failures
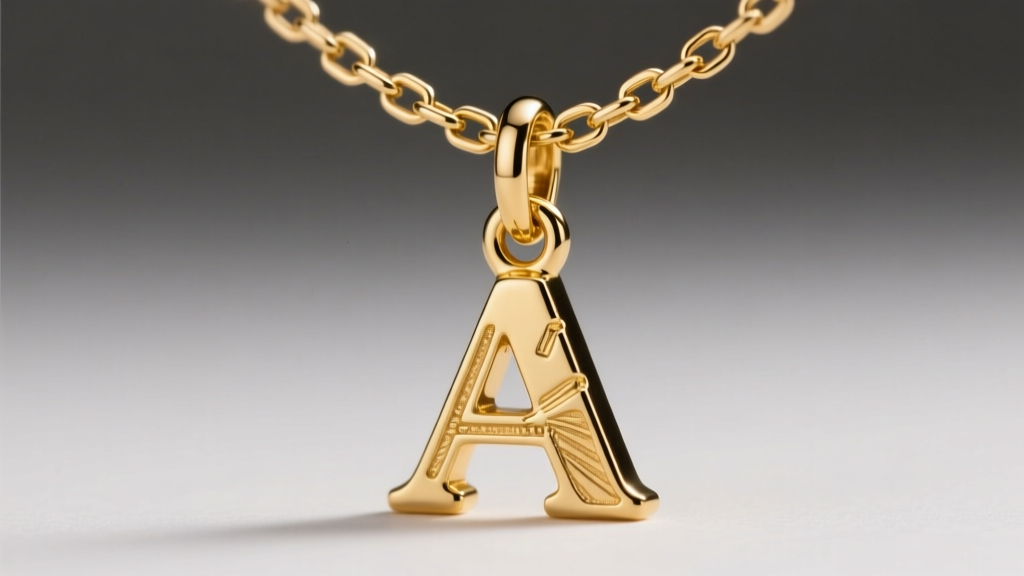
When an initial necklace breaks, it rarely snaps in the middle of the chain. It almost always fails at the jump ring connecting the pendant to the chain, or the jump ring attaching the clasp.
Why Unsoldered Jump Rings Fail
Mass manufacturers use unsoldered jump rings because they are cheap and easy to assemble by hand. A standard 22-gauge unsoldered jump ring has a tiny slit. Over time, the friction of the chain sliding back and forth acts like a saw, slowly wearing down the metal at the slit until the ring pulls apart. Furthermore, if the jump ring is too large, the initial pendant will constantly flip upside down.
The Soldering Solution
The ultimate troubleshooting fix is to take your necklace to a local bench jeweler and request a 20-gauge soldered jump ring. Soldering fuses the slit completely shut, increasing the tensile strength of the connection by over 400%. Expect to pay between $15 and $30 for this micro-welding service. Ensure the jeweler uses a laser welder if your chain is gold vermeil or plated, as traditional torch soldering will burn off the plating around the repair site.
Material Degradation: A Troubleshooting Chart
Skin allergies and rapid tarnishing are frequent issues that ruin the sentimental value of a necklace. According to the Gemological Institute of America (GIA), nickel alloys mixed into lower-karat golds and cheap brass bases are the primary culprits for contact dermatitis. Below is a troubleshooting matrix to help you identify your metal and solve degradation issues.
| Material Grade | Common Failure Mode | Troubleshooting / Fix | Expected Lifespan |
|---|---|---|---|
| 925 Sterling Silver | Oxidation (black tarnish) and scratching. | Polish with a treated silver cloth. Request rhodium plating to seal the surface. | 10-20 Years |
| Gold Vermeil (Brass/Silver base) | Plating wears off, exposing base metal; causes green skin. | Cannot be easily polished. Must be professionally re-plated (costs $40-$80). | 1-3 Years |
| 14k Solid Gold | Accumulation of lotion/soap in deep stamping crevices. | Soak in warm water with a drop of Dawn dish soap; gently brush with a baby toothbrush. | Lifetime |
| 316L Surgical Steel | Dullness over time; difficult to resize or solder if broken. | Clean with isopropyl alcohol. If the chain breaks, it must be replaced, not soldered. | 5-10 Years |
Chain Tangling and Bail Friction
Nothing is more frustrating than pulling a meaningful initial necklace out of a jewelry box only to find it hopelessly knotted. The root cause of tangling lies in the chain profile and the size of the pendant bail.
Upgrading the Chain Profile
Standard cable chains (the classic oval-link design) are the most prone to tangling because the open loops easily catch on one another and on hair. If your initial necklace constantly knots, re-string the pendant onto a 1.0mm Box Chain or a 1.2mm Wheat Chain. Box chains feature square, interlocking links that lay flat and physically cannot fold back onto themselves, making them virtually tangle-proof. The Jewelers of America organization frequently recommends box chains for heavy or active-wear pendants due to their superior structural geometry.
Solving the "Flipping Pendant" Issue
If your initial pendant constantly flips upside down, the bail (the loop the chain passes through) is likely too wide, or the chain is too thin. The chain must fill at least 70% of the bail's interior volume to keep the pendant weighted and centered. If you have a delicate 0.8mm chain and a large 4mm bail, the pendant will slide and flip. Swap to a thicker rope chain or have a jeweler solder a smaller, proportional bail onto the top of the initial.
Layering Frameworks for 2026
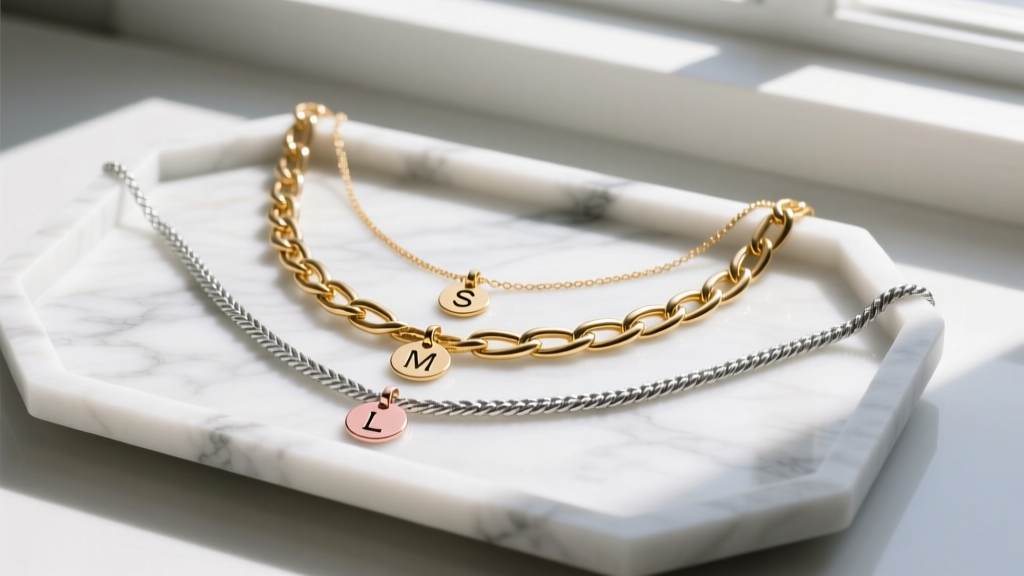
Layering initial necklaces is a powerful way to tell a multi-generational story—perhaps stacking your initial, your partner's, and your child's. However, layering introduces severe friction and tangling risks. To troubleshoot layered setups, apply the 2-Inch Drop Rule.
The 2-Inch Drop Rule: When layering personalized pendants, each subsequent chain must be exactly 2 inches longer than the previous one. A 16-inch choker with a single initial, an 18-inch box chain with a birthstone, and a 20-inch wheat chain with a family crest will lay perfectly flat without the bails catching on one another.
Furthermore, never layer chains of the exact same metal finish and link style. The identical links will act like gears, catching on each other and causing micro-abrasions. Mix a delicate cable chain with a textured box chain to prevent friction-based wear.
Final Thoughts on Preserving Your Story
Initial necklaces are narrative devices, capturing a specific moment, person, or feeling in time. But a story cannot be told if the pendant is sitting in a repair shop or lost due to a faulty jump ring. By understanding the metallurgy of your piece, insisting on 18-gauge thicknesses, upgrading to soldered 20-gauge connections, and selecting tangle-resistant box chains, you ensure that your jewelry survives the physical demands of daily life. Implement these useful ideas today, and your personalized necklace will remain a legible, unbroken testament to your story for decades to come.


