What Does a Key Necklace Mean? Symbolism & Care Guide
Discover what a key necklace means and learn expert cleaning, maintenance, and storage tips to preserve your sentimental pendants.

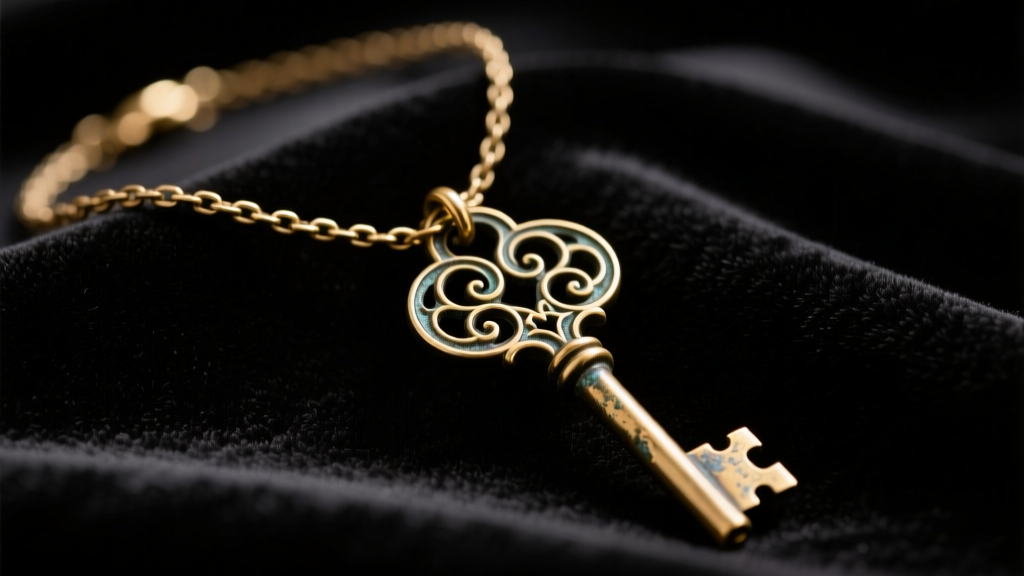
Unlocking the Symbolism: What Does a Key Necklace Mean?
When selecting a deeply sentimental piece of jewelry, collectors and gift-givers frequently ask: what does a key necklace mean? The symbolism of the key pendant is as multifaceted as its physical anatomy. Historically, during the Victorian era, key pendants were exchanged as love tokens, representing the act of "unlocking" one's heart or guarding intimate secrets. In modern contexts, a key necklace often symbolizes empowerment, new beginnings, and the unlocking of personal potential or hidden knowledge.
Because these pieces are frequently gifted to mark major life milestones—such as a 21st birthday, a graduation, or the purchase of a first home—they carry immense emotional weight. This sentimental value makes proper care, maintenance, and cleaning absolutely critical. Unlike simple geometric pendants, key necklaces feature complex crevices that trap environmental pollutants, requiring specialized maintenance protocols to preserve their legacy.
The Anatomy of a Key Pendant: Vulnerability Points
To properly clean a key necklace, you must understand its structural anatomy, as each section presents unique maintenance challenges:
- The Bow: The decorative top loop where the chain threads through. This area endures the most friction from the jump ring and chain, making it prone to metal fatigue and localized tarnish from accumulated skin oils.
- The Shank: The central stem of the key. Often featuring engraved motifs or milgrain detailing, the shank's shallow grooves are magnets for cosmetic buildup, including lotions and foundation.
- The Bit (or Ward): The "teeth" of the key. The deep, sharp angles of the bit are the most difficult to clean. Dirt and sebum compact into these corners, accelerating localized corrosion, especially in base metals or lower-karat gold alloys.
Advanced Cleaning Protocols by Metal Grade
According to the Jewelers of America, the cleaning method must always be dictated by the metal grade and any secondary materials like enamel or gemstones. Using the wrong chemical agent can permanently strip finishes or dissolve historical patinas.
Sterling Silver (925) and Oxidized Details
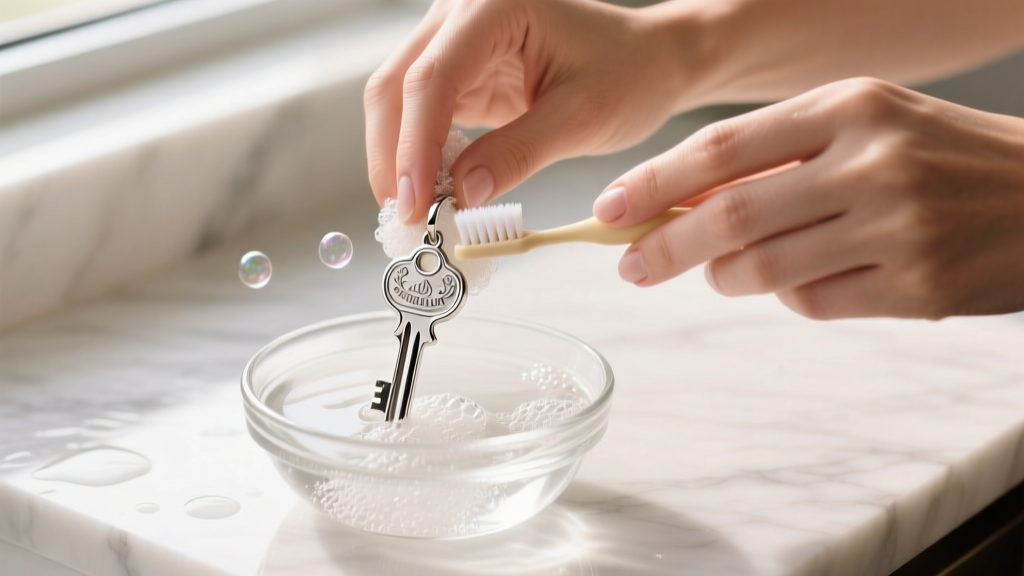
Sterling silver keys are highly susceptible to silver sulfide formation (tarnish) when exposed to sulfur in the air and moisture. While commercial "silver dips" (which rely on thiourea-based chemicals) offer instant results, they are incredibly harsh. They will strip intentional oxidation (antiquing) from the crevices of the key's bit, leaving the pendant looking flat and unnaturally white. Instead, use a solution of warm distilled water and a few drops of phosphate-free dish soap. Agitate gently with an extra-soft baby toothbrush, focusing on the bit's teeth. Dry immediately with a microfiber cloth to prevent water spots.
Gold Vermeil and Enamel Inlays
Many contemporary key pendants feature 14k or 18k gold vermeil (a thick layer of gold over sterling silver, legally required to be at least 2.5 microns) combined with cold enamel inlays. Never place an enameled or vermeil key necklace in an ultrasonic cleaner. The high-frequency cavitation bubbles generated by ultrasonic machines can cause microscopic fractures in the enamel, leading to chipping, and can degrade the vermeil layer over time. Clean these pieces manually using a lint-free cotton swab dipped in mild soapy water to trace the enamel borders.
Vintage Brass and Bronze Skeleton Keys
Authentic antique skeleton keys are often crafted from brass or bronze alloys. These metals develop a natural, protective patina over decades. Polishing them to a high shine destroys their historical integrity and market value. For vintage brass keys, simply wipe them down with a dry, soft-bristled brush to remove dust. If active green verdigris (copper carbonate) appears, carefully apply a tiny amount of white vinegar to a cotton swab and dab the affected area, neutralizing it immediately with a damp baking soda paste.
Cleaning Agents: What to Use vs. What to Avoid
To help you navigate the chemistry of jewelry maintenance, refer to this decision matrix before applying any substance to your key pendant:
| Material / Feature | Safe Cleaning Agents | Recommended Tools | Strictly Avoid | Maintenance Frequency |
|---|---|---|---|---|
| Sterling Silver (High Polish) | Mild dish soap, distilled water | Extra-soft baby toothbrush | Baking soda paste, toothpaste | Every 4-6 weeks |
| Oxidized / Antiqued Silver | Dry polishing cloth only | Untreated microfiber cloth | Silver dip, liquid polishes | As needed (monthly) |
| Gold Vermeil & Enamel | Dawn dish soap, lukewarm water | Cotton swabs, lint-free cloth | Ultrasonic cleaners, steam | Every 2-3 months |
| Vintage Brass / Bronze | Dry brushing, mild vinegar (spot) | Soft-bristle makeup brush | Brasso, ammonia-based cleaners | Bi-annually |
| Keys with Porous Gems (Opal/Turquoise) | Dry wipe only | Jeweler's polishing cloth | Water, chemicals, ultrasonics | After every wear |
For comprehensive guidelines on handling gemstone-set key pendants, always refer to the Gemological Institute of America (GIA) care database, as porous stones require drastically different handling than hard stones like diamonds or sapphires.
Chain and Clasp Maintenance: Preventing Failure
The pendant is only as secure as its chain and clasp. Key pendants, especially solid vintage skeleton keys, can be surprisingly heavy, placing undue stress on delicate chains and small spring-ring clasps.
- Upgrade the Clasp: If your key pendant weighs more than 5 grams, replace standard spring-ring clasps with a solid 14k gold or sterling silver lobster clasp. Lobster clasps feature a stronger internal spring mechanism and a larger soldered jump ring, drastically reducing the risk of accidental unclasping.
- Lubricate the Mechanism: Over time, the lever on a lobster clasp can become stiff due to microscopic debris. Apply a microscopic drop of synthetic watch oil to the hinge pin using a sewing needle. Wipe away any excess to prevent oil from transferring to your skin or clothing.
- Inspect the Jump Ring: The jump ring connecting the key's bow to the chain is a primary failure point. Ensure the jump ring is soldered closed. If it is an open jump ring, use two pairs of flat-nose pliers to ensure the cut is perfectly flush, preventing the chain from slipping through the gap.
Archival Storage for Sentimental Pieces
How you store your key necklace when it is not being worn is just as important as how you clean it. Leaving silver or brass keys exposed to ambient humidity and airborne sulfur compounds guarantees rapid tarnishing.
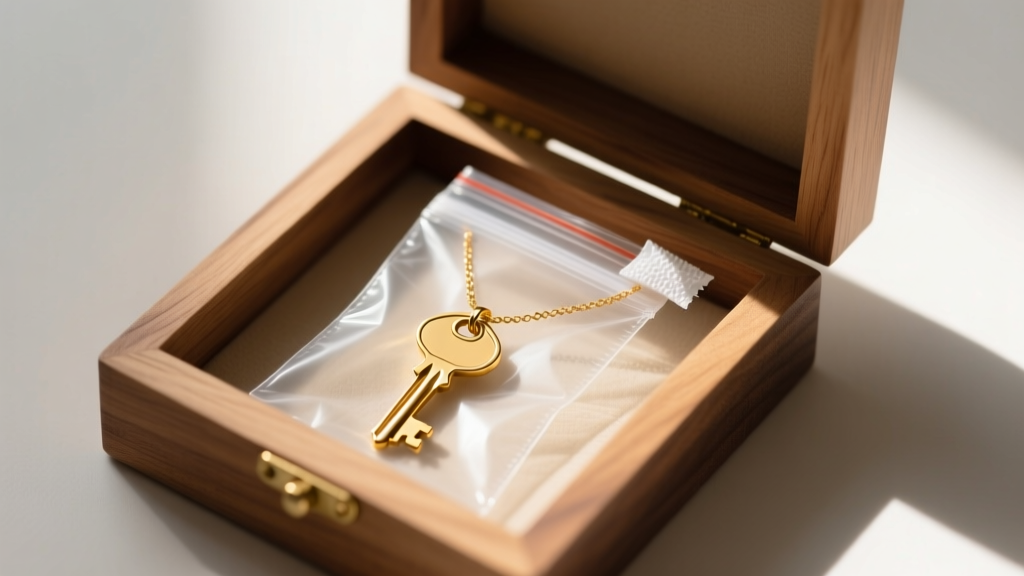
For long-term preservation, utilize an archival storage method. Place the cleaned and thoroughly dried necklace inside a specialized anti-tarnish zip-lock bag. Insert a 3M Anti-Tarnish Strip into the bag; these strips absorb airborne sulfur and hydrogen sulfide gases before they can react with the metal. Store the bag inside a jewelry box lined with Pacific Silvercloth, a cotton fabric embedded with microscopic silver particles that act as a sacrificial sacrificial barrier, tarnishing themselves so your key pendant remains pristine. Never store key necklaces loosely in a communal jewelry drawer, as the sharp teeth of the key's bit will easily scratch softer gold chains or adjacent gemstones.
When to Seek Professional Restoration
While routine maintenance can be performed at home, certain issues require the intervention of a master jeweler. If the shank of your vintage key becomes bent, do not attempt to bend it back into shape with pliers; old cast metals can be brittle and will snap under pressure. A jeweler can anneal the metal (heating it to relieve internal stress) before carefully reshaping it. Additionally, if the enamel inlays on a Victorian-era key begin to flake or the structural solder joints at the bow show signs of cracking, professional laser welding and re-enameling are required to save the piece without compromising its antique integrity.


