How to Layer a Gold and Rhinestone Necklace: A Step-by-Step Guide
Master the art of layering with our step-by-step guide. Learn how to style a gold and rhinestone necklace for flawless, tangle-free elegance.

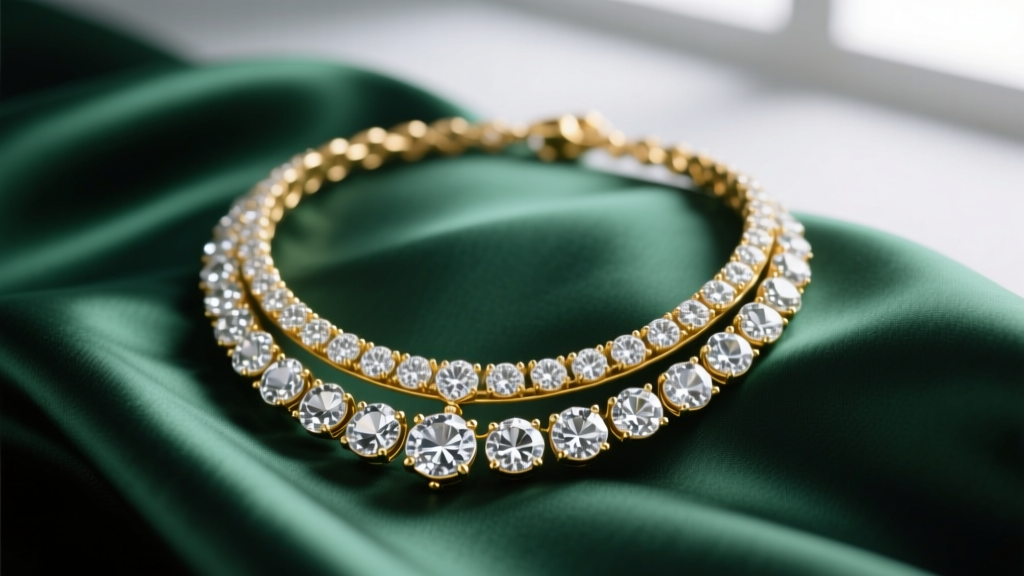
The Anatomy of a Perfect Layered Look
Layering necklaces is a definitive styling technique that balances personal expression with refined elegance. As we navigate the jewelry trends of 2026, the maximalist-yet-curated aesthetic relies heavily on mixing textures, metal depths, and light-refracting elements. At the heart of this trend is the strategic use of a gold and rhinestone necklace as a focal anchor. However, achieving a look that appears effortless rather than cluttered requires a deep understanding of chain weaves, metallic grades, and gemstone cuts.
Before building your stack, it is crucial to understand material grades. According to the Federal Trade Commission Jewelry Guides, true gold vermeil must feature a sterling silver base plated with at least 2.5 microns of 10k, 14k, or 18k gold. When selecting your rhinestone elements, opt for machine-cut crystal glass (such as Preciosa Maxima) over acrylic or standard glass. Crystal glass contains optical clarifiers that mimic the light refraction of natural diamonds, ensuring your layered stack catches the light brilliantly without looking like costume jewelry.
Step 1: Establishing the Base Chain
Every successful layered arrangement begins with a foundational base chain. This piece sits closest to the collarbone and dictates the spacing for the rest of your stack. For the base, select a chain length between 14 and 15 inches. If your neck circumference is larger, utilize a 2-inch extender chain to ensure the base rests comfortably without choking.
The ideal chain weave for a base layer is a standard cable or box chain, measuring between 1.2mm and 1.8mm in width. These weaves lay flat against the skin and possess a low tangle propensity. Avoid snake chains or herringbone weaves for your base layer; their fluid, scale-like structures are notorious for catching on the links of longer chains, leading to frustrating knots. Secure your base chain with a 5mm lobster clasp, which offers a much more reliable closure mechanism than a standard spring-ring clasp.
Step 2: Positioning the Gold and Rhinestone Necklace
The second tier is where your primary statement piece lives. When positioning your gold and rhinestone necklace, the 17-to-18-inch drop is the optical sweet spot. This length ensures the pendant rests precisely on the sternum, drawing the eye downward and elongating the neck. To prevent the pendant from flipping backward—a common frustration with top-heavy pendants—ensure the chain features a fixed bail or a soldered jump ring that keeps the centerpiece anchored flat against the chest.
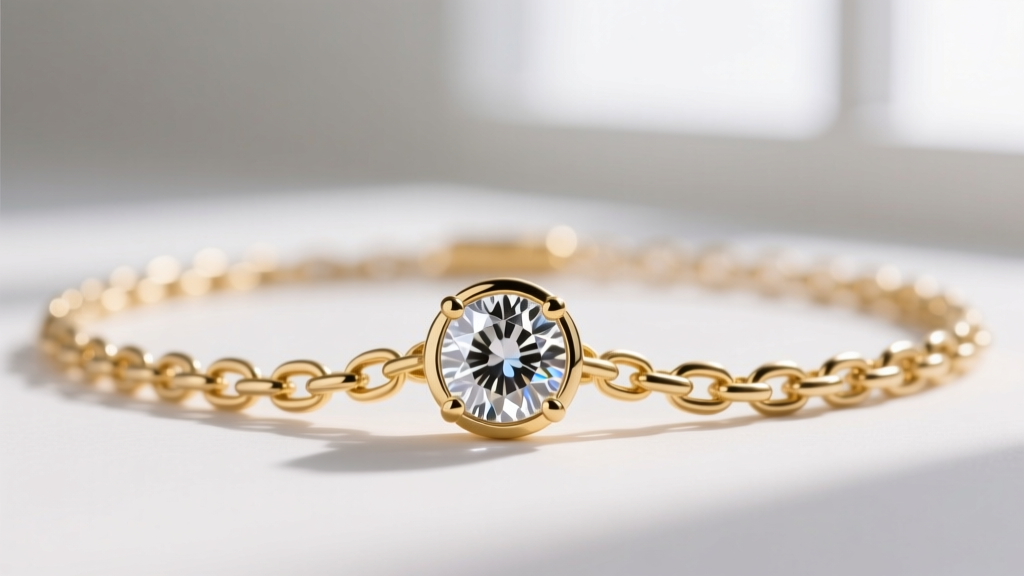
Rhinestone Cut and Setting Mechanics
The visual impact of your centerpiece depends heavily on the cut and setting of the rhinestone. A Chaton cut (a conical, pointed-back cut) offers maximum depth and refraction but requires a prong setting. While prong settings allow more light to enter the stone, they can snag on delicate knitwear. Conversely, a Rivoli cut (a round, multi-faceted front and back) paired with a bezel setting offers a sleek, modern profile that protects the edges of the crystal while providing a secure, snag-free surface for everyday layering.
Step 3: Adding the Pendant or Lariat Anchor
The final tier in a classic three-piece stack is the anchor drop. This piece should measure between 20 and 24 inches, creating a cascading 'V' silhouette. For this layer, simplicity is key. A minimalist gold bar pendant, a simple coin charm, or a delicate lariat chain provides a visual resting place that balances the high-sparkle impact of the middle rhinestone tier. Keep the chain width of this bottom layer slightly thicker than the base chain—around 2.0mm to 2.5mm—to establish a clear visual hierarchy from thinnest (top) to most substantial (bottom).
Tangle Prevention and Maintenance Matrix
One of the most significant barriers to necklace layering is the inevitable tangling of chains. The friction between different metal weaves causes them to twist and knot. Below is a structural matrix to help you select the right chain weaves for your stack, minimizing friction and maintaining a pristine presentation.
| Chain Weave | Width (mm) | Tangle Risk | Best Layer Position |
|---|---|---|---|
| Cable | 1.2 - 1.8 | Low | Base (14'-16') |
| Figaro | 2.0 - 3.0 | Medium | Middle (17'-18') |
| Snake | 1.0 - 1.5 | High | Solo Wear Only |
| Wheat (Spiga) | 1.5 - 2.5 | Low | Bottom Drop (20'+) |
| Box | 1.0 - 2.0 | Very Low | Any Layer |
To further prevent tangling, always store layered necklaces hanging vertically rather than coiled in a jewelry box. If you must travel with them, use a multi-strand clasp or a specialized layering spacer bar, which physically locks the chains at fixed intervals near the clasp, eliminating the friction that causes knots.
Neckline Pairing Guide for Layered Stacks
A perfectly layered stack can be visually disrupted if paired with the wrong garment neckline. The interplay between fabric and metal is just as important as the jewelry itself.
- The Deep V-Neck: This is the ultimate canvas for a three-tier stack. The V-shape of the garment mirrors the cascading lengths of your chains, creating a cohesive, elongating effect. Ensure your longest chain sits at least one inch above the hem of the V-neck to avoid looking crowded.
- The Crew Neck / T-Shirt: Keep the stack tighter. Opt for a 14-inch base, a 16-inch gold and rhinestone necklace, and skip the 20-inch drop entirely. The tighter grouping sits cleanly above the ribbed collar of a standard crew neck tee.
- The Turtleneck: Layering on heavy knits requires heavier chains to avoid getting lost in the fabric. Swap delicate cable chains for 3mm Figaro or Rope chains. The rhinestone centerpiece should be larger (at least 12mm) to stand out against the dense textile.
- The Scoop Neck: Follow the curve of the neckline. A shorter, collar-style base chain paired with an 18-inch pendant works beautifully, but avoid long lariats that will clash with the horizontal line of the scoop.

Proper Care and Cleaning Protocols
Maintaining the brilliance of your layered stack requires specific care, particularly when rhinestones and gold plating are involved. According to the Jewelers of America, ultrasonic cleaners and harsh chemical dips are strictly prohibited for rhinestone jewelry. The high-frequency vibrations can loosen the adhesive securing the stones, and the chemicals will strip the delicate metallic foil backing that gives rhinestones their mirror-like reflectivity.
Instead, clean your gold vermeil and rhinestone pieces using a few drops of mild, phosphate-free dish soap mixed with lukewarm water. Use a baby-soft toothbrush to gently agitate dirt from the chain links and the back of the pendant settings. Rinse briefly under a gentle stream of water, and immediately pat dry with a lint-free microfiber cloth. Never air-dry layered chains, as water spots will dull the gold finish and leave mineral deposits on the facets of your rhinestones. By adhering to these precise material selections, structural layering steps, and maintenance protocols, your layered necklace arrangements will remain a sophisticated, tangle-free staple in your wardrobe for years to come.


