How to Style, Layer, and Care for a Ladybug Necklace
Learn how to style, layer, and maintain a ladybug necklace. Expert tips on enamel care, chain lengths, and neckline pairings for this lucky motif.

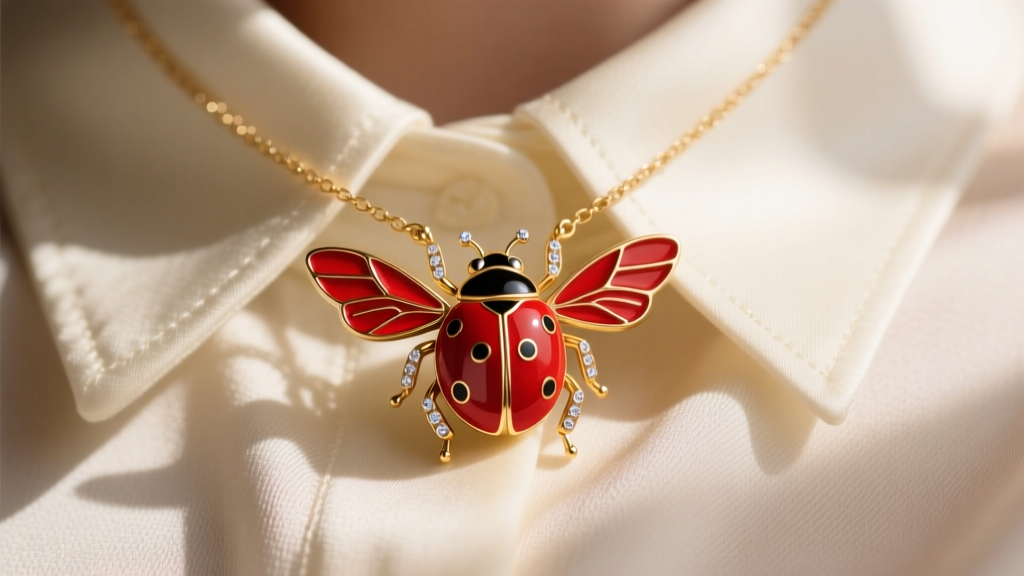
The Enduring Appeal of the Ladybug Motif
Across cultures, the ladybug is a universal symbol of good fortune, protection, and joyful transformation. In jewelry design, this beloved insect bridges the gap between playful charm and sophisticated elegance. When selecting a meaningful necklace, ladybug motifs offer a unique blend of whimsy and versatility that can elevate both casual and formal wardrobes. However, styling a nature-inspired pendant requires a strategic approach to balance its intricate details with your overall aesthetic. This comprehensive guide will walk you through the material science of ladybug pendants, provide a step-by-step layering framework, and outline the precise care protocols needed to preserve delicate enamel and gemstone inlays.
Decoding Craftsmanship: Enamel vs. Gemstone Inlays
The visual impact and longevity of your pendant depend entirely on how the artisan achieved the iconic red-and-black coloration. Understanding these material differences is crucial for both styling and maintenance.
Vitreous Enamel: High-end pieces utilize vitreous enamel, a glass-like substance fused to metal at extreme temperatures (typically around 1400°F or 760°C). According to the Victoria and Albert Museum, this technique yields a brilliant, scratch-resistant finish that will not yellow over time. However, it is inherently brittle and can chip if dropped on a hard surface.
Cold Enamel: More affordable options use cold enamel, which is essentially a pigmented epoxy resin. While it offers vibrant colors and greater impact resistance, it is prone to scratching and can degrade or yellow when exposed to prolonged UV light or harsh chemicals.
Gemstone Alternatives: For those seeking maximum durability, jewelers often carve the wings from carnelian or coral, using black onyx for the spots. The Gemological Institute of America (GIA) notes that carnelian ranks between 6.5 and 7 on the Mohs hardness scale, making it highly resistant to everyday wear and tear compared to glass-based enamels.
| Material | Durability & Mohs Scale | Price Range | Best Use Case |
|---|---|---|---|
| Vitreous Enamel | Moderate (Brittle, Glass-like) | $150 - $800+ | Heirloom pieces, occasional wear |
| Cold Enamel (Resin) | Low (Scratches easily) | $30 - $120 | Trendy, seasonal, or youthful styling |
| Carnelian & Onyx | High (6.5 - 7 Mohs) | $200 - $1,500+ | Everyday wear, active lifestyles |
| Ruby & Black Diamond | Exceptional (9 - 10 Mohs) | $1,000 - $5,000+ | Luxury investment, bridal, formal events |
Step-by-Step Guide to Layering Your Ladybug Necklace
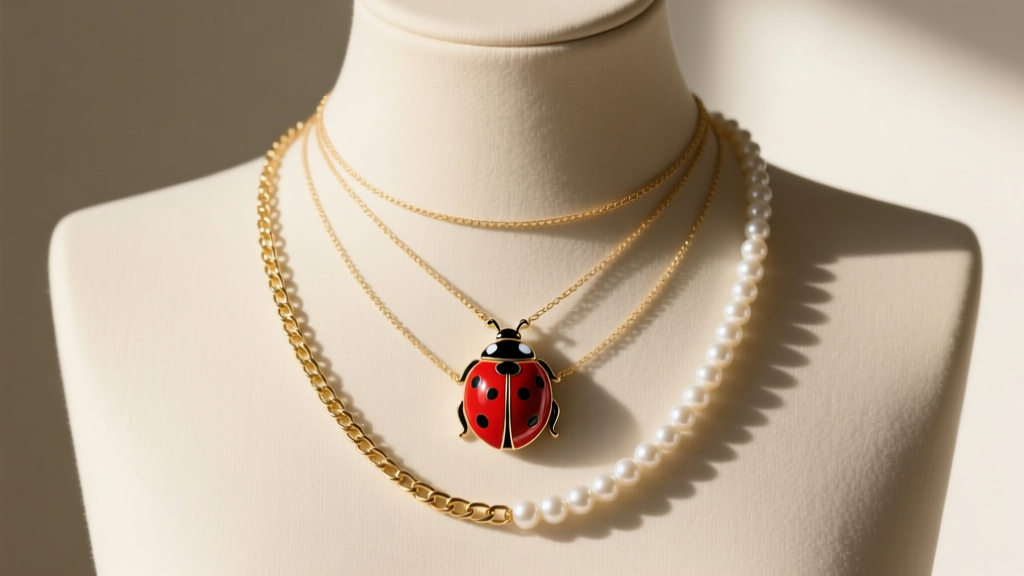
Because ladybug pendants are highly detailed and often feature bright colors, they act as a natural focal point. To layer them successfully without creating visual clutter, follow the "Rule of Three" with varying chain textures and lengths.
Step 1: Establish the Anchor (16-Inch Choker)
Start with a minimalist 16-inch choker to frame the collarbone. A 1.5mm gold or silver box chain, or a delicate freshwater pearl strand, works best here. The goal is to provide a subtle baseline that doesn't compete with the main pendant. Ensure the clasp is a secure lobster claw, as spring rings on delicate chains are prone to failure.
Step 2: Position the Ladybug (18-Inch Princess Length)
Your ladybug necklace should sit precisely at the 18-inch mark, allowing the pendant to rest just below the collarbone. Pair the pendant with a 2.0mm cable or rope chain. The twisted texture of a rope chain complements the organic, natural theme of the ladybug motif while providing enough tensile strength to support heavier enamel or gemstone pieces.
Step 3: Elongate the Silhouette (22 to 24-Inch Matinee)
To draw the eye downward and create a slimming effect, add a third chain that falls at 22 or 24 inches. Opt for a simple gold paperclip chain (around 3.5mm in width) or a minimal vertical bar pendant. The open links of a paperclip chain introduce a modern, geometric contrast to the curved, organic shape of the ladybug.
Pro-Tip for Tangling: Layering multiple chains often results in frustrating knots. To prevent this, mix chain styles (e.g., box, cable, and paperclip) rather than wearing three identical cable chains. Alternatively, invest in a multi-strand spacer clasp, which securely locks the chains together at the nape of the neck, maintaining perfect spacing and eliminating tangles.
Matching the Pendant to Your Neckline
The placement of your pendant must harmonize with the geometry of your clothing. Here is how to pair your ladybug necklace with common necklines:
- The V-Neck: An 18-inch chain perfectly mirrors the angled descent of a V-neck top, allowing the ladybug to rest just above the fabric's vertex. This creates a cohesive, elongating line.
- The Crew Neck: High, round necklines require contrast. Wear your ladybug as a 16-inch choker so it rests visibly on the skin above the fabric, or drop it down to a 24-inch matinee length so it rests entirely on the garment, acting as a pop of color against solid cotton or wool.
- The Square Neck: Square necklines have strong horizontal lines. Soften this geometry with an 18-inch ladybug pendant layered with a delicate, curved pearl choker to bridge the gap between skin and fabric gracefully.
- The Turtleneck: Treat the turtleneck as a blank canvas. A heavier, larger ladybug pendant on a 20-inch black oxidized silver chain creates a striking, gothic-tinged contrast against dark winter knits.
Crucial Care Instructions for Enamel and Inlay Work
Maintaining the vibrant red wings and pristine metal settings of your jewelry requires specific protocols. The most common mistake owners make is treating enameled jewelry like solid metal.
The Ultrasonic Danger: Never place a vitreous enamel or inlaid gemstone ladybug pendant in an ultrasonic cleaner. The high-frequency vibrations can easily shatter glass-like enamel or loosen the adhesive holding onyx spots in place. According to Jewelers of America, ultrasonic waves should be strictly avoided for any jewelry featuring porous stones, fractures, or enamel work.
The Safe Cleaning Protocol
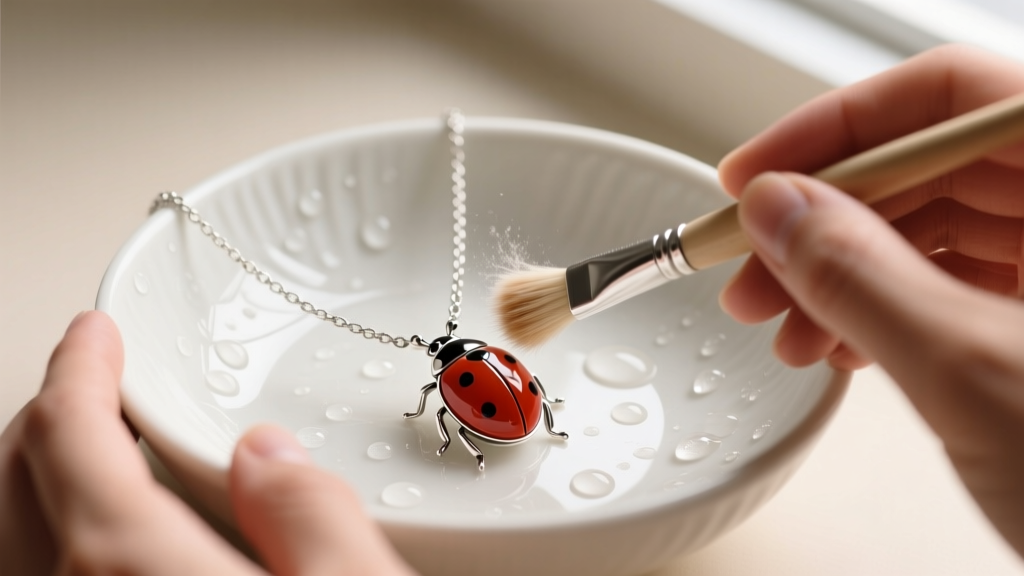
- Prepare a Mild Solution: Mix a few drops of phosphate-free dish soap (like Dawn) into a bowl of lukewarm water. Avoid hot water, which can cause thermal shock to enamel or expand metal settings, loosening gemstones.
- Gentle Agitation: Submerge the necklace for no more than three minutes. Use a baby toothbrush with ultra-soft bristles to gently sweep away sebum and lotion buildup from beneath the pendant and between the chain links.
- Rinse and Dry: Rinse under a gentle stream of lukewarm water. Immediately pat dry with a lint-free microfiber cloth. Air-drying can leave hard water spots on the metal and dull the shine of the enamel.
- Storage: Store the necklace flat in a tarnish-resistant pouch. Hanging enameled pendants can cause them to swing and strike other jewelry, leading to chips. Keep the piece away from direct sunlight to prevent cold enamel resins from fading or yellowing over time.
By understanding the material composition of your piece and applying these deliberate styling and care techniques, your ladybug necklace will remain a vibrant, lucky talisman in your jewelry rotation for years to come.


