How to Make a Beaded Necklace with a Clasp: Supply Guide
Learn how to make a beaded necklace with a clasp by choosing the right wire gauges, crimp tubes, and findings in our expert supply guide.

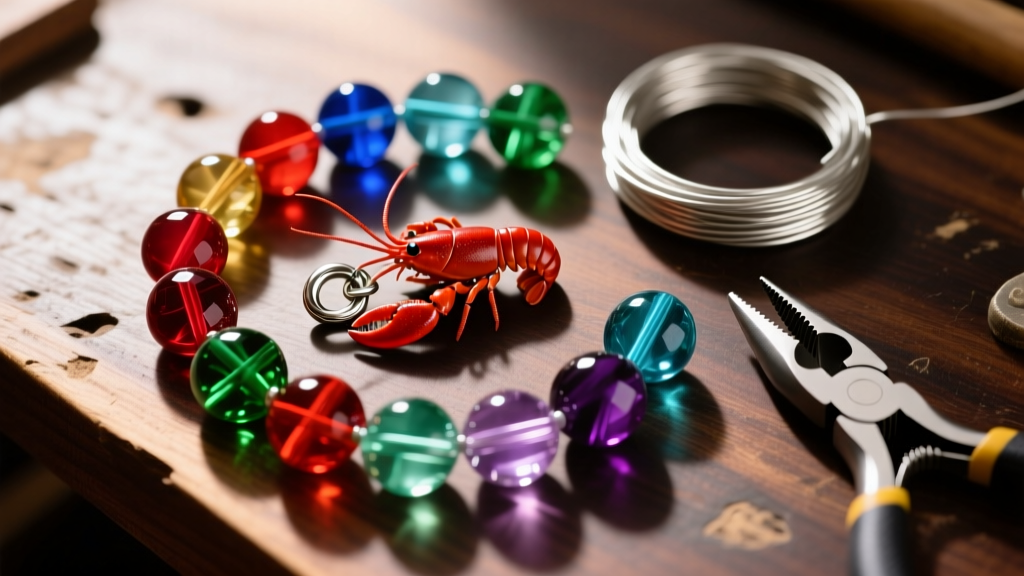
The Anatomy of a Professional Beaded Necklace
Transitioning from a jewelry hobbyist to a creator of professional-grade accessories requires more than just an eye for color and pattern. When you set out to learn how to make a beaded necklace with a clasp, the secret to a durable, elegant final product lies entirely in the quality and compatibility of your raw materials. A necklace that drapes beautifully, resists snapping, and features a secure closure is the result of deliberate engineering at the micro-level.
Many beginners make the mistake of purchasing generic 'beading kits' from big-box craft stores, only to find their wire kinks, their clasps tarnish, and their crimp beads slip. To build heirloom-quality pieces, you must understand the metallurgy of your findings, the tensile strength of your stringing materials, and the precise geometry of your clasps. This comprehensive supply guide will walk you through exactly what to look for when sourcing components for your next beaded masterpiece.
Choosing the Right Beading Wire: Gauge and Strand Count
The foundation of almost every modern beaded necklace is flexible beading wire. Unlike monofilament fishing line or cotton thread, professional beading wire is composed of multiple micro-strands of stainless steel braided together and encased in a smooth nylon sheath. According to the experts at Soft Flex Company, the drape, flexibility, and kink-resistance of your necklace are dictated by two main factors: the strand count and the wire diameter (gauge).
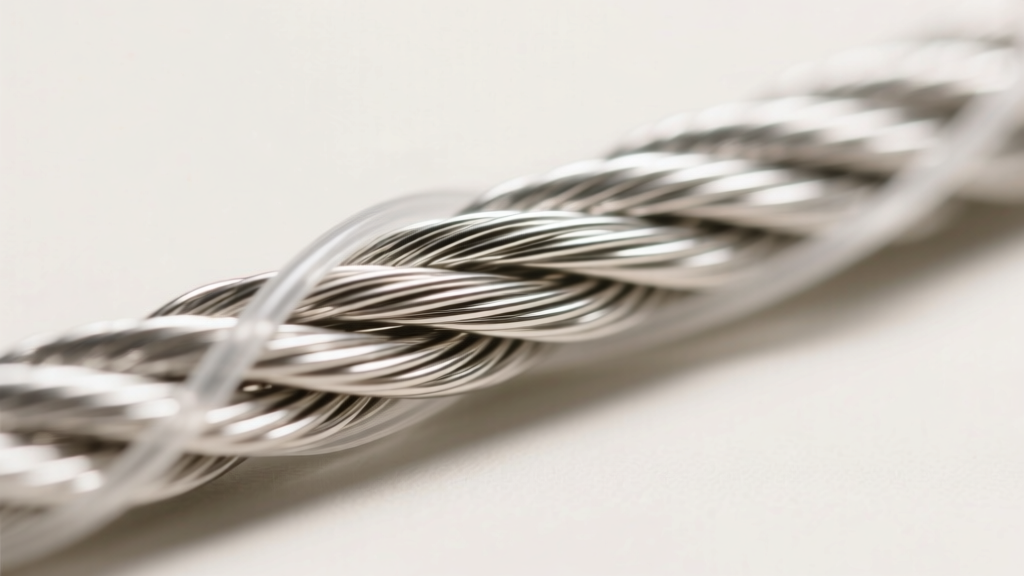
Strand Count: 7 vs. 19 vs. 49
- 7-Strand Wire: The most economical option, but highly prone to kinking. It is stiff and best reserved for rigid, structured designs or beginner practice.
- 19-Strand Wire: A fantastic middle-ground that offers a supple drape and excellent kink resistance. Ideal for medium-weight gemstones and glass beads.
- 49-Strand Wire: The professional standard. It drapes almost like silk thread and is virtually impossible to kink under normal wear. Always use 49-strand for high-end pearls, heavy crystals, and expensive gemstones.
Wire Gauge and Diameter Guide
Selecting the correct thickness ensures your wire fits through the bead holes without leaving excessive gaps that cause the beads to 'wobble' or saw against the wire over time.
| Wire Diameter | Best Used For | Pearl Hole Compatibility |
|---|---|---|
| 0.010' (Extra Fine) | Freshwater pearls, seed beads, micro-crimping | Most half-drilled pearls |
| 0.015' (Fine) | Small crystals, lightweight glass, gemstones | Standard drilled beads |
| 0.018' (Medium) | Average gemstones, metal beads, mixed media | Standard to large holes |
| 0.024' (Heavy) | Large focal beads, heavy jasper, turquoise, metal | Large-hole artisan beads |
Selecting the Perfect Clasp for Your Design
A clasp is not merely a functional necessity; it is a critical design element that affects the balance and wearability of the necklace. When figuring out how to make a beaded necklace with a clasp that stays securely fastened, you must consider the 'weight ratio' of your piece. Fire Mountain Gems recommends that your clasp should never outweigh the beads on the back of the neck, otherwise, the necklace will constantly rotate, bringing the clasp to the front.
Lobster and Spring Ring Clasps
Lobster clasps are the industry standard for security. Forged from solid metal with a robust internal spring, they are ideal for medium to heavy necklaces. When buying lobster clasps, avoid hollow, plated base metals which can easily snap under tension. Instead, opt for solid sterling silver or gold-filled lobster clasps. Spring rings are smaller and more delicate, suitable only for lightweight chains and fine pearl strands, as their internal mechanisms are easily compromised by heavy bead loads.
Toggle and Magnetic Clasps
Toggle clasps feature a T-bar that slides through a circular ring. They are exceptionally easy to put on one-handed and serve as beautiful focal points on the front of Y-necklaces. However, they require a minimum amount of weight on the necklace to keep the bar pulled taut against the ring; if the necklace is too loose or too light, the toggle can slip out. Magnetic clasps are brilliant for accessibility, featuring powerful neodymium magnets housed in decorative shells. Always ensure your magnetic clasp features a safety catch or a secondary locking mechanism to prevent accidental drops.
Crimp Beads and Tubes: The Unsung Heroes
The crimp is the tiny metal component that locks your clasp to the beading wire. It is the single most common point of failure in handmade jewelry. If you want to know how to make a beaded necklace with a clasp that will last a lifetime, you must upgrade your crimping supplies.
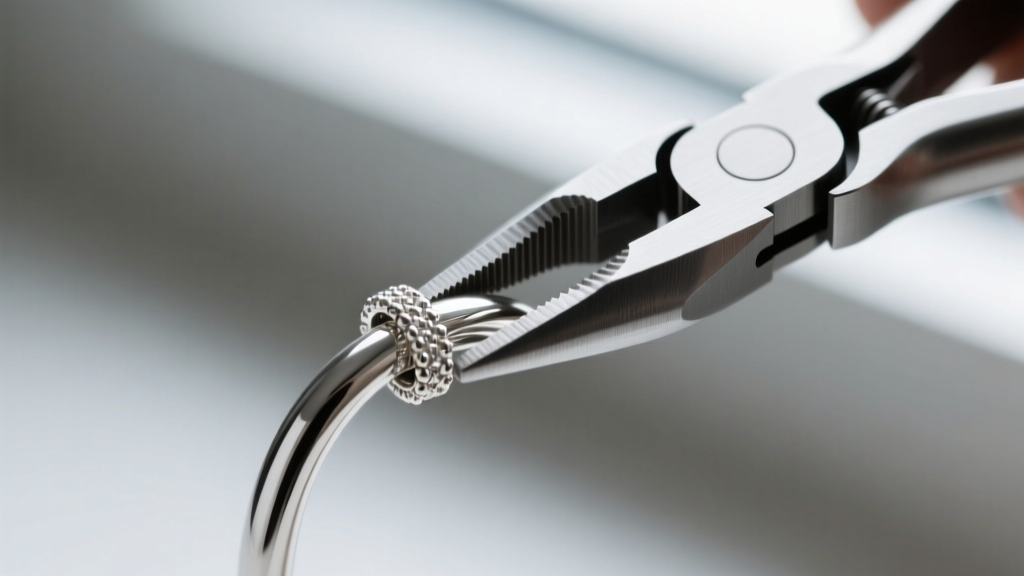
Tube vs. Round Crimps
While round crimp beads are widely available, professional jewelers almost exclusively use crimp tubes. Tubes provide a larger surface area for the wire to grip and fold much more cleanly when using specialized crimping pliers. The standard size for most 0.015' to 0.024' wires is a 2x2mm tube.
Material Matters: Why Sterling Silver Wins
According to jewelry manufacturing insights from Halstead Bead, the metallurgical properties of your crimp tube dictate its success. Base metal or plated brass crimps are brittle; when compressed with pliers, the plating often cracks, and the metal can shear the nylon coating of your wire. Sterling silver and gold-filled crimp tubes are inherently softer and more malleable. They fold smoothly into a secure, rounded 'U' shape without cracking, ensuring the wire remains completely protected and locked in place.
Essential Tools for a Clean Finish
Having the right supplies is only half the battle; you also need the correct tools to manipulate them without causing microscopic damage to your materials.
- Micro-Crimping Pliers: These feature two distinct notches. The first notch creates a deep 'U' fold in the tube, separating the wires inside. The second notch folds the 'U' in half, creating a neat, rounded bead-like finish.
- Flush Cutters: Standard wire cutters leave a sharp, angled 'tail' on your beading wire that can poke the wearer or slice through clothing. Flush cutters slice the wire perfectly flat, allowing you to trim the tail right down to the crimp tube.
- Bead Stoppers: Small, spring-loaded clips that attach to the end of your wire while you are designing. They prevent your expensive gemstones from sliding off and scattering across the floor if you accidentally bump your workspace.
- Wire Guardians (French Wire): These tiny, horseshoe-shaped metal coils protect the beading wire from the friction of the clasp ring. Threading your wire through a guardian before attaching the clasp prevents the metal-on-metal sawing effect that eventually causes necklaces to snap at the closure.
Designing the Neckline and Bead Spacing
Before you cut your wire, lay out your design on a beading board. A beading board features a flocked surface with measurement channels, allowing you to visualize the exact length and symmetry of the necklace. When incorporating a clasp, remember to account for the length of the clasp itself, the jump rings, and the crimp area—usually adding about 1 to 1.5 inches to your total desired wearable length.
Pro Tip: Always leave a minimum of 1/4 inch of bare wire between your last bead and your crimp tube. If the beads are packed too tightly against the crimp, the necklace will lack flexibility, causing the wire to bend sharply at the clasp and eventually fatigue and break.
Final Thoughts on Sourcing Quality Supplies
Learning how to make a beaded necklace with a clasp is a deeply rewarding process that merges artistic vision with structural engineering. By investing in 49-strand flexible wire, solid sterling silver crimp tubes, and proportionally weighted clasps, you elevate your creations from fragile crafts to durable, professional-grade jewelry. Take the time to source your materials from dedicated jewelry supply distributors rather than generic craft aisles, and your finished necklaces will not only look spectacular but will stand the test of time.


