How to Make a Resin Necklace: Expert Casting & Curing Guide
Master how to make a resin necklace with our expert technical guide. Learn mixing ratios, bubble removal, mold selection, and finishing techniques.

The Chemistry of Jewelry-Grade Epoxy Resin
Understanding how to make a resin necklace requires moving beyond basic craft tutorials and delving into polymer chemistry. Standard craft resins often yellow and become brittle within months. For fine jewelry applications, you must select a high-grade, two-part epoxy formulated with cycloaliphatic amines as the curing agent. Unlike cheaper aliphatic amines, cycloaliphatic structures provide superior UV resistance and optical clarity. As of 2026, the industry standard for premium jewelry resin includes Hindered Amine Light Stabilizers (HALS) and UV absorbers, which work synergistically to prevent the polymer chains from degrading under sunlight exposure.
When selecting your resin, pay close attention to the Bisphenol-A (BPA) content. Modern jewelry-grade epoxies, such as those detailed in the ArtResin safety documentation, are entirely BPA-free and non-toxic once fully cured, making them safe for prolonged skin contact. The refractive index (RI) of the cured epoxy should closely match that of glass (approximately 1.50 to 1.55) to ensure inclusions like dried flowers or metallic foils remain optically vibrant rather than looking clouded.
Essential Technical Gear & Safety Protocols
Working with uncured epoxy resins and hardeners requires strict adherence to safety protocols. The part B hardener is highly alkaline and a known skin sensitizer. You must wear nitrile gloves—never latex, as the sulfur compounds in latex can inhibit the surface cure of the resin, leaving a permanently tacky finish on your pendant.
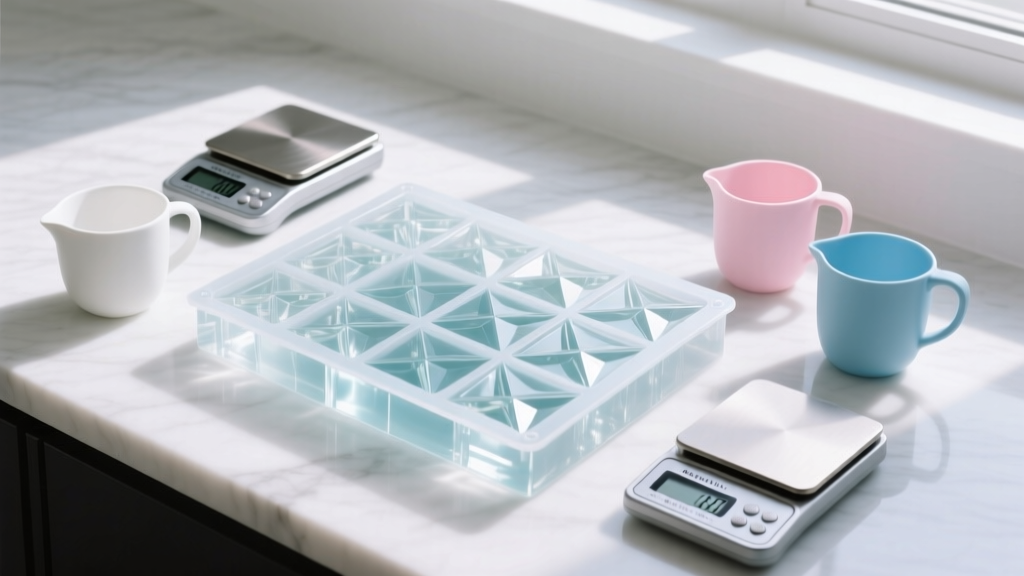
Ventilation is equally critical. While many modern resins emit low volatile organic compounds (VOCs), the exothermic curing process can release trace vapors. A half-face respirator equipped with organic vapor cartridges (such as the 3M 6001 series) is mandatory for prolonged casting sessions. For precision mixing, abandon volume-based measuring cups. You need a digital jewelry scale accurate to 0.01 grams to ensure the exact stoichiometric ratio of resin to hardener, which is vital for achieving a complete, rock-hard cure.
Step-by-Step Casting: Ratios, Mixing, and Degassing
The most common point of failure when learning how to make a resin necklace is improper mixing. While many manufacturers advertise a 1:1 or 2:1 ratio by volume, professional jewelers measure by weight for absolute precision. For example, a high-clarity deep-pour epoxy might require a 100:42 ratio by weight. If the hardener is off by even 5%, the polymer matrix will remain soft and susceptible to scratching.
| Resin Type | Viscosity (cps) | Best Application | Cure Time (75°F) |
|---|---|---|---|
| Low-Viscosity Epoxy | 200 - 500 | Deep molds, intricate botanical inclusions | 24 - 48 hours |
| High-Viscosity Epoxy | 1000 - 3000 | Doming, surface coating, bezel work | 12 - 24 hours |
| UV-Cure Resin | 500 - 1500 | Thin layers, quick jump-ring encapsulation | 2 - 5 mins (UV lamp) |
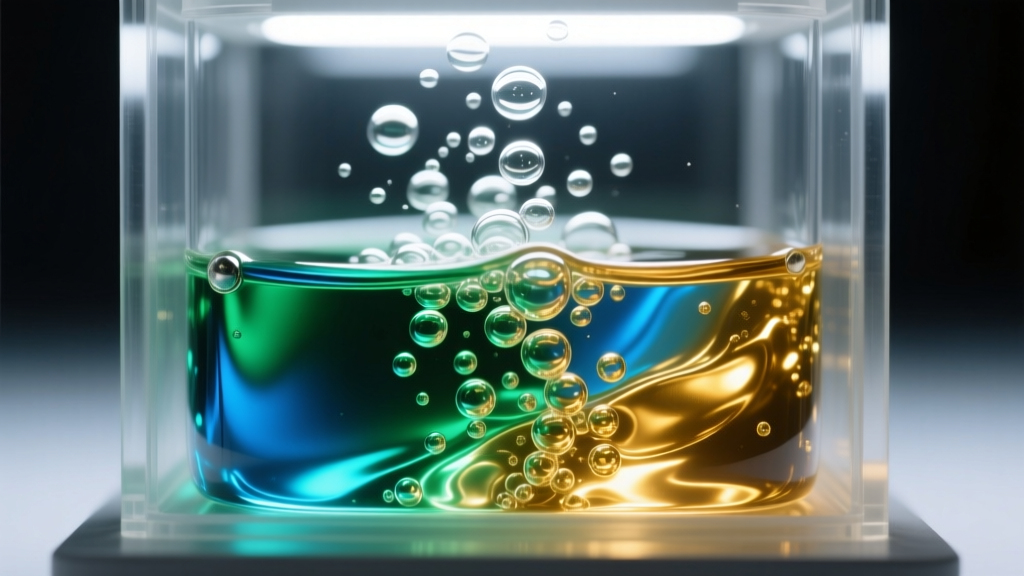
Mix slowly for a full five minutes, continuously scraping the sides and bottom of your mixing vessel. Once mixed, the resin must be degassed to remove entrapped air. While a heat gun or torch can pop surface bubbles, it does nothing for micro-bubbles suspended in the fluid. For flawless, glass-like pendants, place the mixing cup in a vacuum chamber and pull a vacuum to 29 inHg. The reduced atmospheric pressure causes the micro-bubbles to expand and rise to the surface, where they pop. As noted in advanced technical guides by Resin Obsession, degassing is the single most effective step for achieving optical clarity in thick pendant casts.
Mold Selection and Suspension Techniques
The quality of your mold dictates the finishing time required. Use platinum-cure silicone molds with a Shore A hardness of 10 to 15. This specific durometer provides enough flexibility to demold complex geometric shapes without tearing, while maintaining the dimensional stability needed for precise jewelry components. Avoid tin-cure silicones, as they degrade faster and can leach byproducts that interfere with the epoxy's surface tension.
Managing Inclusions and Exothermic Reactions
When suspending inclusions like gold leaf or dried botanicals, pour the resin in stages. A single thick pour can trigger a runaway exothermic reaction, causing the resin to flash-cure, crack, or yellow. Pour a base layer, allow it to reach a tacky 'gel' state (usually 3-4 hours depending on the brand), position your inclusion, and then pour the final flood coat. This technique anchors the inclusion and prevents it from floating to the top or sinking to the bottom of the pendant.
Troubleshooting Micro-Bubbles and Amine Blush
Even with meticulous technique, environmental factors can ruin a cast. Amine blush is a waxy, greasy film that sometimes forms on the surface of curing epoxy. It occurs when the amine groups in the hardener react with carbon dioxide and moisture in the air, rather than the epoxy resin itself. This is highly prevalent in humid environments.
To prevent amine blush, cure your necklaces in a climate-controlled room kept strictly at 72°F to 75°F with humidity below 45%. If blush does occur, it must be removed before sanding. Wash the cured pendant with warm water and a mild dish soap using a soft nylon brush, then dry thoroughly. Attempting to sand through amine blush will only smear the waxy residue into your sandpaper and ruin the optical clarity of the piece.
Post-Cure Finishing: Sanding and Polishing to 12,000 Grit
Demolding is just the beginning. To achieve a professional, glass-like finish on your resin necklace pendant, you must progress through a strict wet-sanding sequence. Dry sanding generates excessive heat, which can melt the epoxy and clog your abrasives. Always use silicon carbide wet/dry sandpaper and a lubricant like soapy water.
Expert Tip: Never skip more than one grit level during the sanding process. Each subsequent grit is designed only to remove the scratch pattern left by the previous, coarser grit. Skipping from 800 directly to 3000 will leave deep, unremovable scratches visible under direct light.
- 400 - 800 Grit: Removes mold lines, flash, and major surface imperfections. Shape the edges of the pendant here.
- 1000 - 3000 Grit: Eliminates deep scratches from initial shaping and begins to smooth the surface topology.
- 5000 - 8000 Grit: The pre-polish phase. The resin will transition from a matte, scratched look to a smooth, satin finish.
- 12000 Grit + Polish: Final polishing using a microfiber cloth and an aluminum oxide or cerium oxide plastic polishing compound to achieve absolute optical clarity.
Hardware Integration: Bails and Chain Selection
The final step in learning how to make a resin necklace is integrating the hardware. Avoid drilling holes directly through the top of the resin unless you are using a carbide micro-drill bit (1.5mm or 2.0mm) in a tabletop drill press. Hand-drilling creates micro-fractures and stress points that can cause the pendant to snap under the weight of a heavy chain.
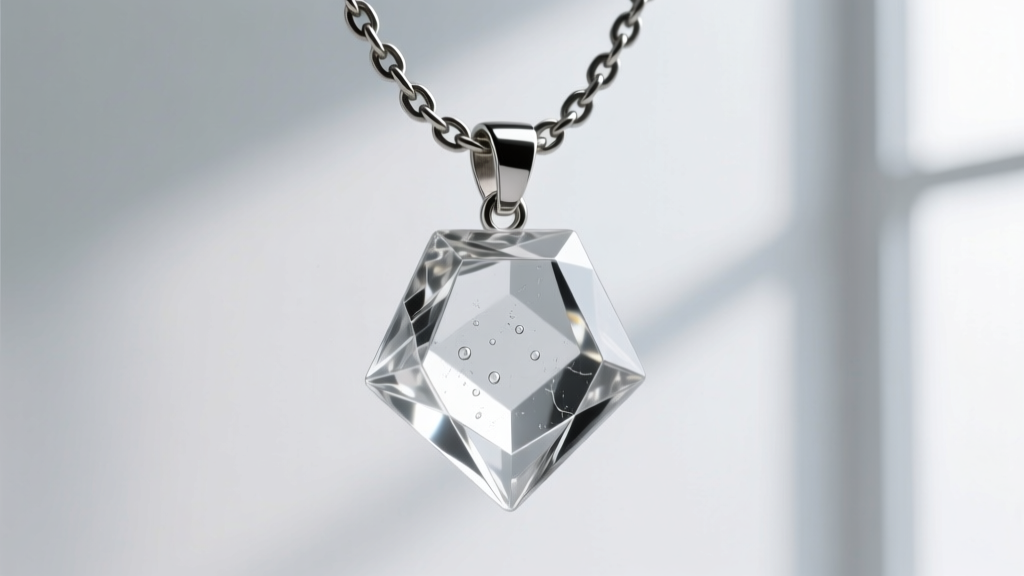
For a cleaner, more professional aesthetic, use glue-in bails or pad bails. Scuff the bonding area of the resin with 400-grit sandpaper and clean it with isopropyl alcohol. Bond the bail using a two-part jeweler's epoxy or a high-strength cyanoacrylate adhesive, allowing a full 24 hours for the bond to reach maximum tensile strength before attaching it to a chain. For high-end pieces, pair the crystal-clear resin pendant with an oxidized sterling silver chain or a 14k gold-filled cable chain to create a striking contrast that highlights the resin's optical depth. For further insights on durable marine-grade epoxies that translate well to jewelry, consult the technical data sheets provided by TotalBoat.


