How to Make a Slip Knot on a Necklace for Easy Care & Repair
Learn how to make a slip knot on a necklace to repair adjustable cords. Expert tips on cleaning, cord materials, and knot maintenance.
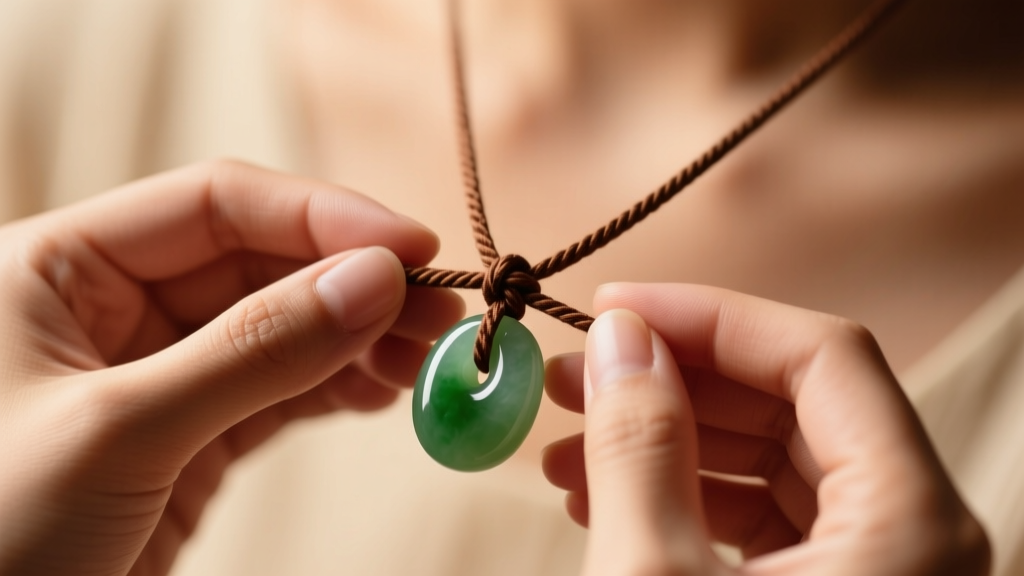
Adjustable cord necklaces are a staple in modern jewelry design, offering versatility and a bohemian or minimalist aesthetic. However, the sliding mechanism that makes them so convenient is also their primary point of failure. Over time, friction, skin oils, and environmental debris can degrade the cord, causing the adjustable knot to slip, stick, or fray entirely. Knowing how to make a slip knot on a necklace is not just a crafting skill; it is an essential maintenance and repair technique that can save your favorite pendants from the bottom of a jewelry box.
In this comprehensive care and repair guide, we will explore the mechanics of cord friction, provide a step-by-step tutorial on replacing worn-out sliding knots, and detail the specific cleaning protocols required to maintain the integrity of both the cord and the gemstones it holds.
The Mechanics of Adjustable Cord Jewelry
The adjustable slip knot (often referred to as a sliding square knot or macrame knot) relies entirely on surface friction. When you pull the cord ends, the knot tightens around the base cords, locking the necklace at your desired length. According to the jewelry supply experts at Rio Grande, the longevity of this friction depends heavily on the cord's material composition and its surface treatment. Waxed cotton, for instance, utilizes a micro-crystalline wax coating that increases grip. When this wax wears off due to friction and body heat, the knot loses its holding power, requiring either re-waxing or a complete knot replacement.
How to Make a Slip Knot on a Necklace: Step-by-Step Repair
When your existing knot becomes too frayed to hold, or if you are restringing a pendant onto a new cord, you will need to tie a fresh adjustable knot. Here is the professional method for creating a secure, smooth-sliding slip knot.
- Prepare the Cord: Cut a length of cord (typically 0.8mm to 1.0mm for standard pendants). Thread your pendant onto the center of the cord and bring the two ends together so they overlap by about 4 inches.
- Anchor the Base: Hold the overlapping base cords firmly in your non-dominant hand. These are the stationary tracks your knot will slide along.
- The First Half-Knot: Take the right working cord and pass it over the base cords, then under the left working cord. Bring the left working cord over the base cords, through the loop created by the right cord, and pull tight.
- The Second Half-Knot (The Lock): Now, reverse the direction. Take the left working cord over the base cords, under the right. Bring the right working cord over the base cords and through the left loop. Pull tight. This alternating pattern creates a flat square knot that will not twist around the base cords.
- Repeat for Security: Repeat steps 3 and 4 until you have a knot that is approximately 1/2 inch long. A longer knot provides more surface area, distributing friction and preventing the cord from biting into itself and snapping.
Cord Material Comparison Chart
Choosing the right replacement cord is critical for knot maintenance. Different materials react differently to skin pH, moisture, and friction. Below is a comparison of the most common cord materials used in adjustable necklaces.
| Material | Optimal Diameter | Friction & Grip | Maintenance & Cleaning Needs |
|---|---|---|---|
| Waxed Cotton | 0.8mm - 1.0mm | High (due to wax coating) | Requires periodic re-waxing; avoid hot water and ultrasonic cleaners. |
| Nylon (C-Lon/S-Lon) | 0.5mm - 0.9mm | Medium (smooth surface) | Highly durable; can be cleaned with mild soap; ends must be heat-sealed. |
| Silk (Griffin) | 0.6mm - 1.0mm | Low (prone to slipping) | Degrades from acidic skin oils; requires frequent replacement; spot clean only. |
| Leather | 1.5mm - 2.0mm | Very High (can stick) | Requires leather conditioner; knots must be tied loosely to allow sliding. |
Cleaning Protocols: Protecting the Knot and the Gemstone
The slip knot acts as a trap for dead skin cells, lotion residue, and environmental dust. Over time, this buildup turns into a hardened abrasive paste that slowly saws through the cord fibers from the inside out. Proper cleaning is a vital part of necklace maintenance.
- Never Use Ultrasonic Cleaners: As noted in the GIA gemstone care guidelines, ultrasonic waves can shatter porous stones like turquoise, opals, and pearls, which are frequently paired with cord necklaces. Furthermore, the vibrations will violently strip the wax coating off cotton cords.
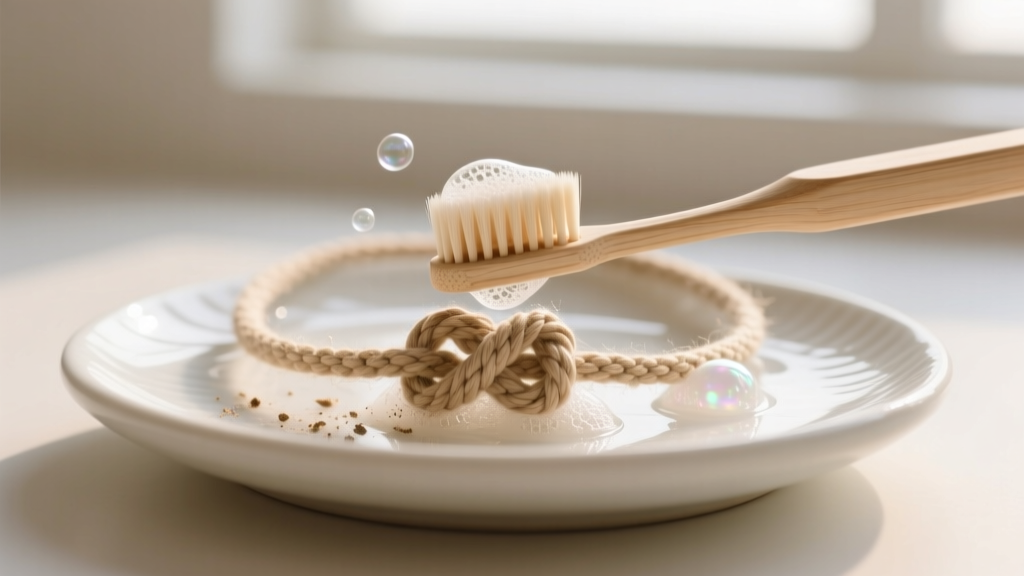
- The Soft Brush Method: Mix a few drops of pH-neutral dish soap (like Dawn) with lukewarm water. Dip a soft-bristled baby toothbrush into the solution and gently agitate the knot. Do not pull or stretch the knot while it is wet, as wet fibers are more susceptible to snapping.
- Drying: Pat the knot dry with a microfiber cloth. Allow it to air dry completely in a low-humidity environment before attempting to slide it. Sliding a wet cotton knot will cause the fibers to pill and tear.
Troubleshooting Common Slip Knot Failures
Even with meticulous care, adjustable necklaces will eventually exhibit wear. Here is how to troubleshoot the most common issues encountered during daily wear.
1. The Knot is Stuck and Won't Slide
This is usually caused by a buildup of oils or a micro-fray in the base cord that is catching inside the knot. The Fix: Do not use chemical lubricants like WD-40, which will degrade synthetic fibers and stain gemstones. Instead, rub a small amount of pure, unbleached beeswax along the base cords. The beeswax acts as a natural, jewelry-safe dry lubricant that restores smooth sliding action.
2. The Knot Slips Too Easily (Won't Hold)
If the necklace constantly loosens and drops lower on your chest, the friction coefficient has failed. The Fix: If using waxed cotton, apply a micro-crystalline jewelry wax to the knot and base cords, then use a hair dryer on a low setting to melt the wax into the fibers. If using nylon or silk, the cord diameter may be too small for the weight of the pendant; you must restring the piece using a thicker gauge cord.
3. Sealing and Finishing the Cord Ends
Once your slip knot is tied, the trailing ends must be secured so they don't pull through the knot entirely.
For Nylon/Polyester Cords: Use a jewelry thread burner or a precision lighter to melt the ends. Nylon melts at approximately 260°C (500°F). Press the molten bead flat against the knot using a pair of flat-nose pliers to create a permanent mechanical stop.
For Cotton/Silk/Hemp Cords: These natural fibers will burn, not melt. Trim the ends to about 2mm and apply a micro-drop of flexible jewelry adhesive, such as G-S Hypo Cement or E6000. Allow 24 hours to cure before wearing.
"A well-maintained slip knot should glide with a firm, deliberate resistance. If it feels gritty, it needs cleaning; if it feels loose, it needs waxing or replacement."
Preventative Storage and Care
How you store your adjustable necklaces directly impacts the lifespan of the slip knot. Never store cord necklaces in a tangled pile. The pressure can cause the sliding knot to permanently deform around the base cords, creating a "memory" in synthetic fibers like nylon that prevents the knot from lying flat against the skin.
Store these pieces flat in a lined jewelry box, or hang them on wide, padded hooks to maintain the natural drape of the cord. Keep them away from direct sunlight, which will bleach natural hemp and cotton fibers and cause leather to dry rot. By mastering how to make a slip knot on a necklace and adhering to these strict cleaning protocols, you can ensure your adjustable pendants remain secure, functional, and beautiful for years to come. For more advanced restringing techniques and material guides, refer to The Spruce Crafts jewelry tutorials.


