How to Measure Necklace Length to Prevent Chain Damage
Learn how to measure necklace length accurately to prevent chain stretching, clasp fatigue, and breakage. Expert care and maintenance tips for all sizes.

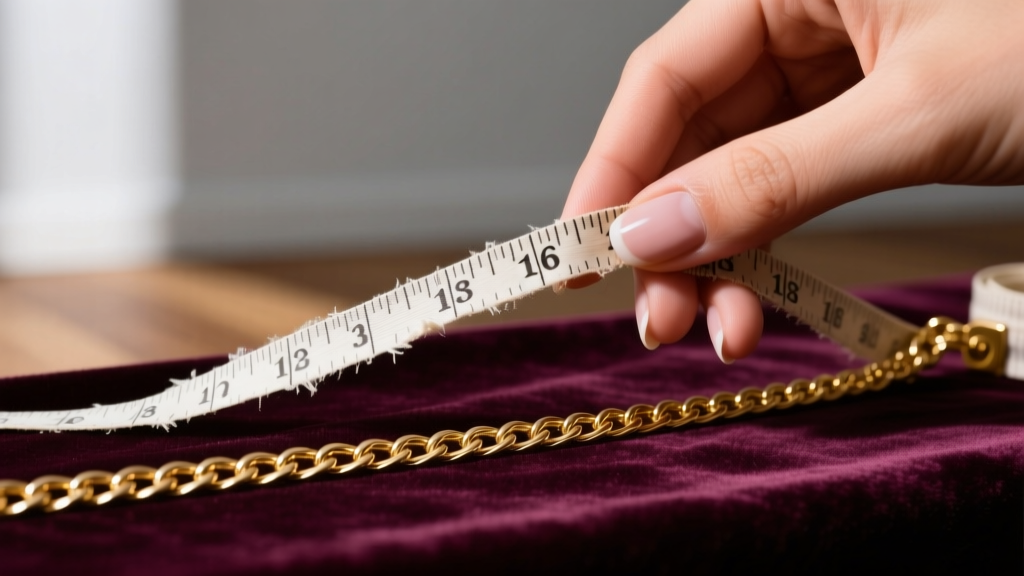
When most jewelry enthusiasts think about necklace sizing, they focus entirely on aesthetics and neckline pairings. However, from a jeweler’s perspective, understanding how to measure necklace length is fundamentally a critical maintenance and preservation skill. A chain that is improperly sized for the wearer’s neck circumference or daily activities is subjected to uneven mechanical stress, leading to accelerated link stretching, clasp fatigue, and eventual catastrophic failure. By mastering precise measurement techniques, you can diagnose tension issues, optimize your cleaning routines, and significantly extend the lifespan of your most cherished necklaces and pendants.
The Physics of Tension: Why Sizing Dictates Chain Longevity
Every time you put on a necklace, the chain acts as a tension band. If a 16-inch choker is worn by someone with a 16.5-inch neck circumference, the constant outward pressure places immense stress on the weakest structural points: the jump ring and the clasp mechanism. Over time, this micro-tension causes the jump ring to ovalize (stretch from a perfect circle into an ellipse), creating a gap that can lead to the loss of the pendant or the entire chain.
Conversely, chains that are too long (24 inches and above) face a different set of maintenance hazards. Longer chains swing freely, increasing the likelihood of snagging on clothing, zippers, or environmental obstacles. This sudden kinetic shock can bend individual links, particularly in delicate chains under a 1.0mm gauge, causing irreversible kinks in styles like box or snake chains. According to the Gemological Institute of America (GIA), mechanical stress from improper fit and snagging is the leading cause of structural failure in fine jewelry, far outpacing chemical tarnishing or gemstone loss.
How to Measure Necklace Length: The Jeweler’s Method
To properly assess your necklace for maintenance purposes, you must measure it exactly as a professional jeweler would. Guessing the length or measuring it while it is draped over a curved surface will yield inaccurate data, leading to incorrect tension assessments.
Step-by-Step Measurement Protocol
- Prepare the Surface: Lay the necklace on a flat, clean, non-abrasive surface. A velvet jewelry mat or a clean microfiber cloth is ideal. Avoid hard surfaces that could scratch soft metals like 24k gold or high-purity silver.
- Eliminate Kinks: Gently run your fingers down the chain to ensure every link is laying flat and untwisted. Twisted links will artificially shorten your measurement and hide underlying damage.
- Include the Clasp, Exclude the Extender: Industry standard dictates that you measure from the outer edge of the clasp to the outer edge of the jump ring. If your chain has a 2-inch extender chain, measure only to the base of the extender, as the extender is considered an accessory, not the primary chain length.
- Use the Right Tool: Use a flexible fiberglass or fabric sewing tape measure. Metal carpenter tapes can scratch precious metals and do not lay flush against the clasp hardware.
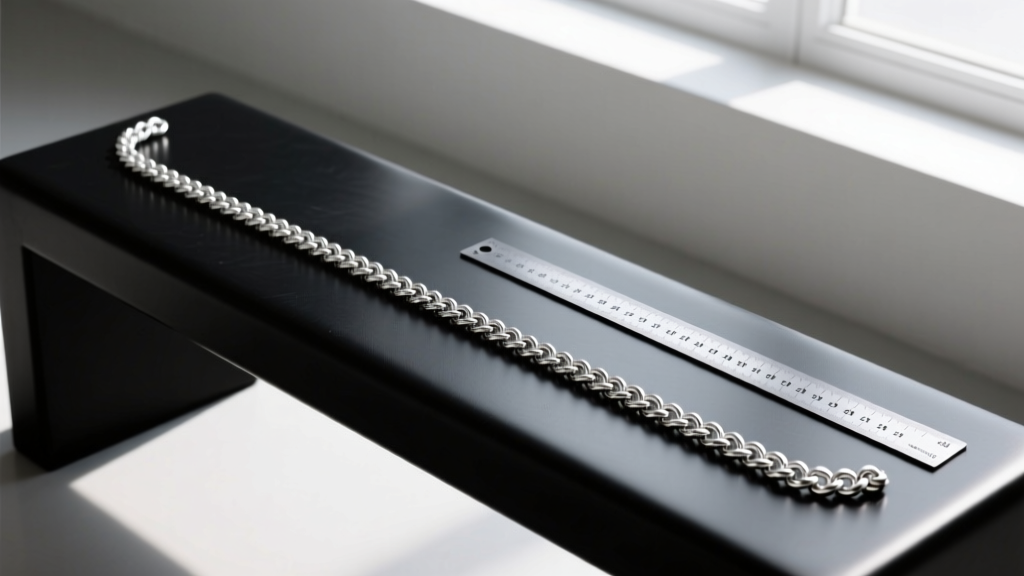
Length-to-Wear Matrix: Maintenance Risks by Size
Different standard lengths interact with the human body in unique ways, creating specific wear patterns. Use the matrix below to identify the hidden maintenance risks associated with your necklace's measured length.
| Measured Length | Fit Profile | Primary Maintenance Risk | Recommended Care Protocol |
|---|---|---|---|
| 14" - 16" (Collar/Choker) | Snug to Tight | High clasp tension; jump ring deformation; sweat accumulation | Inspect jump rings monthly; clean weekly to remove acidic skin oils. |
| 18" (Princess) | Rests on Collarbone | Friction against clothing necklines; pendant bail wear | Check pendant bail for thinning; polish chain gently to remove surface abrasions. |
| 20" - 22" (Matinee) | Rests on Bust | Snagging on buttons/zippers; swinging impact damage | Store flat to prevent kinks; avoid wearing with rough textiles or loose knits. |
| 24" - 36" (Opera/Rope) | Long & Free-Hanging | Severe tangling; ultrasonic cleaning hazards; link stretching | Always coil before cleaning; never hang by a single link during storage. |
Inspecting Your Chain While You Measure
Measuring your necklace provides the perfect opportunity to perform a structural audit. While the chain is laid out flat and straight, you should actively inspect it for signs of mechanical failure. This is especially critical for chains worn daily.
Expert Tip: Hold the chain taut (but do not pull or stretch it) and slowly rotate it over a light source. Look for 'flashing'—tiny glints of light that indicate a gap in a soldered link or a worn-through jump ring. If you see light passing through a closed link, it requires immediate soldering by a professional.
Specific Vulnerabilities by Chain Style
Not all chains react to tension equally. When measuring and inspecting, keep the specific geometry of your chain in mind:
- Cable and Curb Chains: Highly susceptible to link stretching. If a section of the chain measures longer than it should, or if the links appear oval rather than round/oval-uniform, the metal has yielded and must be reinforced.
- Box and Snake Chains: Prone to micro-kinking. Once a snake chain kinks, the structural integrity is permanently compromised. Never pull a kinked snake chain taut to measure it; instead, measure it loosely and take it to a jeweler for potential heat-straightening.
- Rope and Figaro Chains: Dirt and polishing compounds easily become trapped in the deep crevices of twisted links. Use a soft-bristled baby toothbrush to clean these crevices while the chain is laid flat.
Cleaning Protocols Based on Necklace Length and Weight
The length of your necklace directly dictates how it should be cleaned. A common mistake that leads to severe chain damage is treating a 30-inch opera chain the same way you treat a 16-inch choker during ultrasonic cleaning or chemical soaking.

The Ultrasonic Hazard for Long Chains
Ultrasonic cleaners work by creating high-frequency cavitation bubbles in a liquid solution. If you drop a long chain (24 inches or more) directly into the tank, the vibrations can cause the chain to whip around, tangling upon itself or wrapping around the transducer nodes at the bottom of the tank. This can result in stretched links, broken clasps, or severe surface scratching. According to Jewelers of America, long chains must always be secured in a specialized mesh jewelry basket or carefully coiled and pinned before being submerged in any vibrating cleaning apparatus.
Drying and Polishing Long Chains
When drying a long chain, never rub it vigorously back and forth with a polishing cloth. This creates a 'sawing' motion that can wear down the outer edges of the links over time. Instead, lay the measured, flat chain on a dry microfiber towel, fold the towel over it, and gently press down to absorb moisture. For polishing, use a treated rouge cloth and wipe in one continuous direction, following the natural flow of the links.
Storage Solutions to Preserve Measured Lengths
How you store your necklace after measuring and cleaning it is the final step in your maintenance routine. Gravity and environmental factors can alter a chain's condition while it sits in your jewelry box.
- Hanging vs. Flat Storage: Lightweight chains (under 1.2mm gauge) should be hung on padded hooks to prevent tangling. However, heavy, long chains (like thick Cuban links or heavy gemstone lariats) should be stored flat. Hanging heavy chains for months can cause gravity-induced stretching at the topmost links near the clasp.
- Anti-Tarnish Integration: For sterling silver and copper-alloy chains, place an anti-tarnish tab (such as 3M Silver Shield) inside the storage pouch. This prevents the buildup of silver sulfide, which can make links brittle and more prone to snapping under tension.
- The Clasp Rule: Always store your necklace with the clasp fastened. An open lobster claw or spring ring can easily hook into the delicate links of neighboring necklaces, causing catastrophic tearing when you attempt to remove them from the box.
Ultimately, learning how to measure necklace length is about more than just finding the right fit for your favorite dress. It is a foundational diagnostic tool that empowers you to monitor tension, prevent structural fatigue, and ensure your jewelry remains pristine for generations. By integrating these measurement and inspection habits into your regular care routine, you transition from a passive jewelry owner to an active custodian of your collection.


