What Is the Clasp on a Necklace Called? Repair Guide
Learn what the clasp on a necklace is called, identify your hardware, and master troubleshooting for stuck, broken, or loose clasp mechanisms.

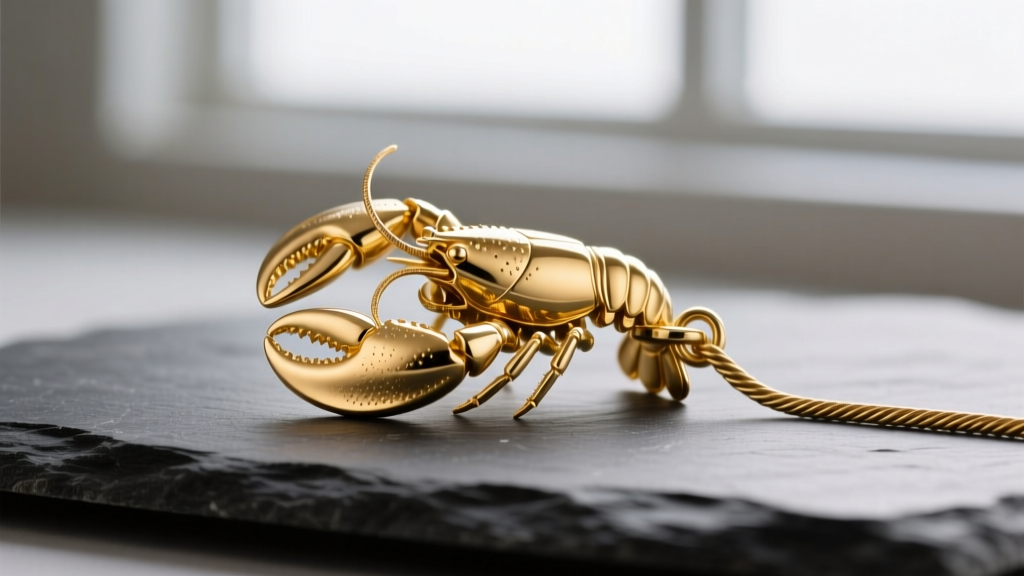
The Direct Answer: What Is the Clasp on a Necklace Called?
If you have ever found yourself holding a broken chain and asking, "what is the clasp on a necklace called," you are not alone. The hardware securing your jewelry is collectively referred to as the necklace clasp or finding. However, there is no single universal name, as the specific term depends entirely on the mechanical design. Identifying the exact name of your clasp is the critical first step in sourcing replacement parts or communicating effectively with a bench jeweler for repairs.
Below is a diagnostic breakdown of the most common necklace clasps, their ideal use cases, and their primary mechanical failure points.
| Clasp Name | Best Application | Common Failure Mode |
|---|---|---|
| Lobster Claw | Everyday chains, medium pendants | Internal spring fatigue, trigger jamming |
| Spring Ring | Lightweight chains, delicate pendants | Trigger mechanism slipping, coil deformation |
| Toggle (T-Bar) | Heavy statement pieces, chunky knits | Ring diameter stretching, T-bar bending |
| Box Clasp (with Safety) | Tennis necklaces, heavy gemstone strands | Tongue metal fatigue, safety chain snapping |
| Magnetic | Accessibility needs, lightweight beads | Neodymium magnet demagnetization, glue failure |
| Fishhook (Pearl Clasp) | Knotted pearl and gemstone bead strands | Safety latch bending, hook stretching |
Troubleshooting the Top 3 Necklace Clasp Failures
Understanding the mechanics of your jewelry findings allows you to perform minor repairs and avoid catastrophic chain loss. Here is how to troubleshoot the most frequent clasp malfunctions.
1. The Stuck or Unresponsive Spring (Lobster & Spring Ring)
When a lobster claw or spring ring refuses to snap shut, the issue is rarely a broken spring. More often, it is caused by microscopic debris (skin cells, lotion residue, or dust) wedged in the trigger track, or internal corrosion from aerosol cosmetics. Never use WD-40 or standard household lubricants. These contain petroleum distillates that will permanently ruin porous gemstones like pearls, opals, or turquoise if they wick down the chain.
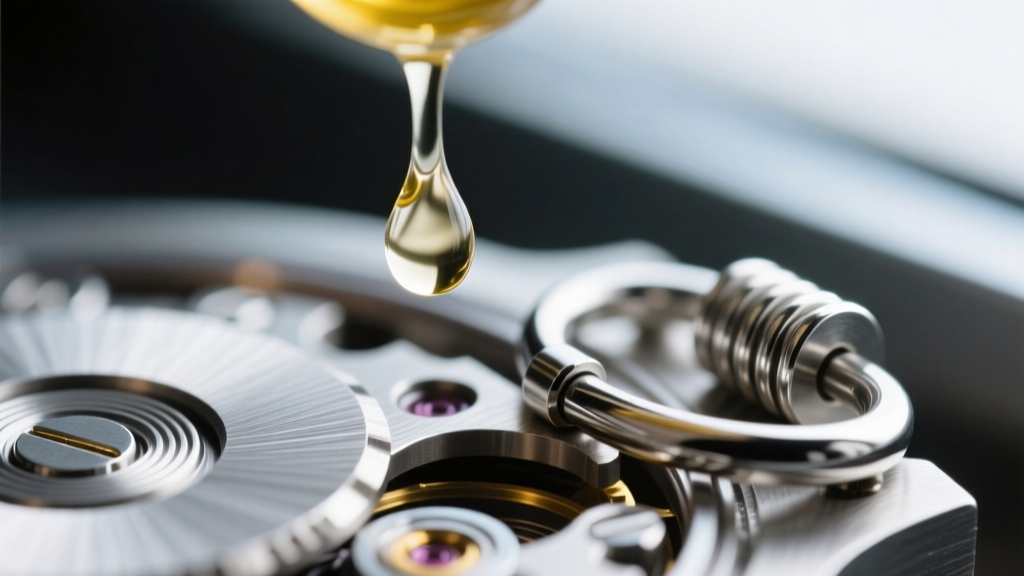
The Fix: Use a drop of synthetic watch oil (such as Moebius 9010) applied with a 0.1mm oiler pin directly into the trigger seam. Work the trigger back and forth gently with a wooden toothpick to dislodge debris. If the internal coil is visibly deformed, the clasp housing must be replaced, as work-hardened silver or gold will snap if bent back into shape.
2. The Loose Toggle or Box Clasp Mechanism
Toggle clasps rely on tension and gravity. If the T-bar is slipping out of the ring, the ring has likely ovalized due to lateral pulling. Box clasps suffer from a similar issue where the folded metal "tongue" loses its springiness over time.
The Fix: For toggle clasps, you cannot simply squeeze the ring back into a circle without weakening the metal. A jeweler will typically replace the ring with a thicker gauge or add a small silicone o-ring inside the loop for friction. For box clasps, use nylon-jaw pliers to gently squeeze the folded tongue back into a tighter 'V' shape. Do not use bare steel pliers, as they will mar the precious metal finish.
3. Jump Ring Separation and Metal Fatigue
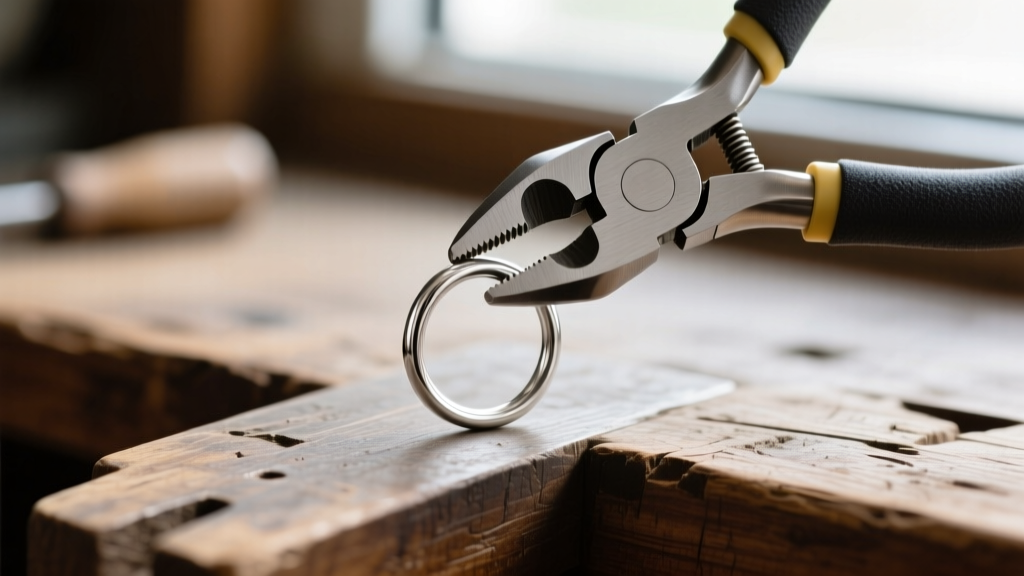
The jump ring is the small circular wire loop that connects the clasp to the chain. It is the most common point of failure. The fatal error most people make is pulling the jump ring apart laterally (side-to-side). This ovalizes the ring, permanently weakening the structural integrity and ensuring it will eventually snap.
The Fix: Always use two pairs of chain-nose pliers to twist the jump ring open vertically (one hand pushes away, the other pulls toward you). When replacing a worn jump ring, match the wire gauge precisely. Standard lightweight chains require 20-gauge (0.81mm) wire, while heavier chains and pendants require 18-gauge (1.02mm) or 16-gauge (1.29mm) wire. According to the Rio Grande Jewelry Tools Guide, using flush cutters ensures the ends meet perfectly flush, preventing the chain from slipping through microscopic gaps.
Step-by-Step Clasp Replacement Guide
If your clasp is beyond repair, replacing it is a straightforward DIY task if you have the right tools. Here is a professional-grade replacement workflow:
- Secure the Chain: Use a bench pin or a piece of painter's tape to secure the chain to your work surface so it doesn't slip away.
- Remove the Old Finding: Use flush cutters to snip the damaged jump ring. Never pull the clasp off, as this can stretch the terminal chain links.
- Prepare the New Clasp: Thread a new, appropriately sized jump ring through the loop of the new clasp.
- Attach to Chain: Twist the jump ring open vertically, slide the terminal link of the necklace onto the ring, and twist it shut.
- Soldering (Optional but Recommended): For high-value chains, take the piece to a jeweler to have the jump ring soldered shut. This creates a continuous metal loop that is virtually impossible to pull apart.
When to See a Professional Jeweler
While jump rings and basic cleaning can be handled at home, certain repairs require professional bench equipment. You should seek a GIA-certified jeweler or experienced bench jeweler under the following conditions:
- Cracked Clasp Housings: If the actual body of a lobster claw or box clasp is cracked, it requires laser welding. Traditional torch soldering can melt the delicate internal springs.
- Chain Link Damage: If the links directly adjacent to the clasp are stretched or thinned, they must be rebuilt or replaced before a new clasp is attached.
- Hollow Tubing Chains: Hollow rope or herringbone chains require specialized soldering techniques to avoid collapsing the metal structure under torch heat.
Cost Expectations (2026 Pricing): A standard jump ring replacement and soldering typically costs between $25 and $40. Laser welding a cracked precious metal clasp housing generally ranges from $45 to $85, depending on the complexity of the heat-sink setup required to protect internal springs.
Preventative Maintenance for Longevity
Troubleshooting is reactive; maintenance is proactive. To extend the life of your necklace findings and prevent mechanical failure, adopt these professional care habits:
- The "Last On, First Off" Rule: Always put your necklace on after applying perfumes, hairsprays, and lotions, and take it off before showering. Aerosol propellants and alcohol bases degrade the microscopic lubricants inside spring mechanisms.
- Ultrasonic Caution: Never place a necklace with a magnetic or pearl clasp in an ultrasonic cleaner. The high-frequency vibrations will shatter pearls and can demagnetize neodymium cores.
- Periodic Tension Checks: Every six months, gently test the spring-back of your lobster claw and the tension of your box clasp tongue. Catching a weakening spring before it fails saves you from losing a valuable pendant.
By understanding exactly what the clasp on your necklace is called and how its internal mechanics function, you transition from a passive wearer to an informed custodian of your jewelry. Whether you are carefully twisting a 20-gauge jump ring back into shape or knowing exactly when to hand the piece over for laser welding, this knowledge ensures your favorite pieces remain secure and wearable for decades.


