Mastering Necklace Cleavage: A Beginner's Guide to Pendant Placement
Learn the golden rules of necklace cleavage placement. Discover how to choose pendant lengths and chain drops to flatter every neckline and décolletage.

When it comes to styling jewelry, the intersection of your neckline and your jewelry—often referred to in styling circles as necklace cleavage—is one of the most critical yet misunderstood elements of personal adornment. For beginners, the goal isn't necessarily to hide or highlight the décolletage, but rather to achieve a harmonious proportion where the jewelry complements the anatomy of the chest without awkwardly diving, bunching, or floating too high.
Mastering this balance requires understanding chain lengths, pendant weights, metal gauges, and fabric friction. In this comprehensive guide, we will break down the exact mechanics of pendant placement so you can confidently style your necklaces for any occasion.
The Sternum Rule: Anatomy of the Décolletage Drop
The most common mistake beginners make is allowing a pendant to fall directly into the deepest part of the cleavage, creating a harsh visual line that bisects the chest. In professional jewelry styling, we use the Sternum Notch (the visible dip at the base of the throat where the collarbones meet) as our primary anchor point.
The Golden Rule of Proportion: For a standard pendant, the ideal resting place is exactly 1.5 to 2.5 inches below the sternum notch. This creates a soft parabolic curve that frames the face without visually cutting the décolletage in half.
When a necklace drops more than 4 inches below the sternum notch on a standard V-neck, it enters the 'cleavage dive' zone. This not only risks the pendant getting lost in the fabric but also draws the eye downward in an unflattering, heavy manner.
The Chain Length and Drop Matrix
To avoid the cleavage dive, you must select the correct chain length based on your torso proportions and the neckline of your garment. According to the educational guidelines from Blue Nile's jewelry experts, chain lengths are standardized, but their actual drop varies depending on the wearer's bust size and the weight of the pendant.
| Chain Length | Standard Fall Point | Best Neckline Pairing | Cleavage Impact |
|---|---|---|---|
| 16 Inches (Choker) | Base of the neck / Collarbone | Boatneck, Off-the-shoulder | Zero (Sits above the décolletage) |
| 18 Inches (Princess) | Just below the collarbone | Scoop neck, Crew neck | Minimal (Frames the upper chest) |
| 20 to 22 Inches (Matinee) | Upper bust / Sternum notch | V-neck, Sweetheart | Moderate (Requires weight balancing) |
| 24 to 30 Inches (Opera) | Below the bust line | High necklines, Tunics | High (Hangs freely, bypasses cleavage) |
The Gravity Factor: Pendant Weight and Gauge Sizing
One of the most technical aspects of necklace cleavage placement is understanding how gravity interacts with chain gauge and pendant weight. A chain is essentially a flexible suspension bridge; the heavier the payload, the deeper the sag.
Gauge Thickness vs. Pendant Weight
If you hang a heavy 15-gram solid gold pendant on a delicate 1.0mm cable chain, the tensile stress will cause the chain to stretch and form a sharp, severe 'V' shape. This sharp angle acts like an arrow, pointing directly into the cleavage and often causing the chain to slice into the skin at the back of the neck.
- Lightweight Pendants (1g - 5g): Best paired with 0.9mm to 1.5mm chains (cable, rolo, or box chains). These maintain a soft, rounded 'U' shape.
- Medium Pendants (6g - 12g): Require 1.8mm to 2.5mm chains. Wheat and rope chains are ideal here, as their interlocking links provide structural rigidity without sacrificing drape.
- Heavy Pendants (13g+): Demand 3.0mm to 4.5mm chains. As noted by the Gemological Institute of America (GIA), heavier links prevent metal fatigue and maintain the structural integrity of the drape, keeping the pendant resting flatly against the upper chest rather than plunging downward.
The Bail Drop Effect
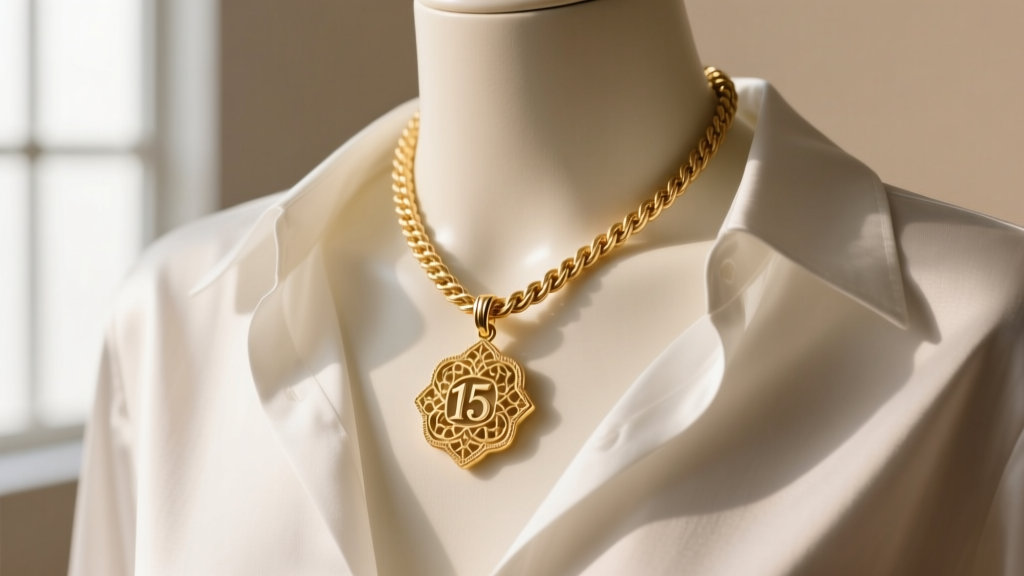
Do not forget to account for the bail (the loop that connects the pendant to the chain). A standard 5mm bail drops the pendant's center of gravity by roughly 8mm. However, a hidden bail or a European-style slide bail can drop the stone by 15mm to 20mm. If you are wearing a 20-inch chain with a large slide bail, your effective drop becomes 21.5 inches, pushing the stone deeper into the cleavage than anticipated. Always measure the total drop, not just the chain length.
Fabric Friction and the 'Slip' Effect
Have you ever noticed that a necklace sits perfectly on a cotton t-shirt but constantly slides into the center of your chest when wearing a silk blouse? This is a matter of textile friction coefficients.
Materials like silk charmeuse, satin, and high-thread-count rayon have incredibly low surface friction. The natural movement of your body causes the metal chain to slide toward the lowest gravitational point—the center of the décolletage. Conversely, matte fabrics like wool, raw silk, and textured cotton provide enough microscopic grip to hold the chain in its intended parabolic curve.
Solutions for Low-Friction Fabrics
- Use a Necklace Spacer: A silicone or velvet-backed spacer bar worn at the back of the neck prevents the chains from sliding forward.
- Opt for Textured Chains: Rope, herringbone, and twisted box chains have more surface area and microscopic edges that 'grip' slippery fabrics better than smooth, polished cable chains.
- The Extender Hack: Add a 2-inch extender chain to your clasp. When wearing slippery fabrics, you can hook the clasp on the first ring to shorten the drop and keep it above the cleavage line.
Troubleshooting Common Cleavage Placement Fails
Even with the right measurements, real-world styling can present challenges. Here is how to troubleshoot the most common necklace cleavage issues:
- The 'Floating' Pendant: If your 18-inch chain is sitting too high and choking the neckline of a V-neck shirt, your torso length may be shorter than average. Switch to a 20-inch matinee length to allow the pendant to rest in the negative space of the V-neck without touching the fabric edges.
- The Asymmetric Slide: If your pendant constantly slides to the left or right, your bail hole is likely too wide for the chain gauge. Use a small silicone O-ring or a jump ring reducer inside the bail to center the chain and lock the pendant in place.
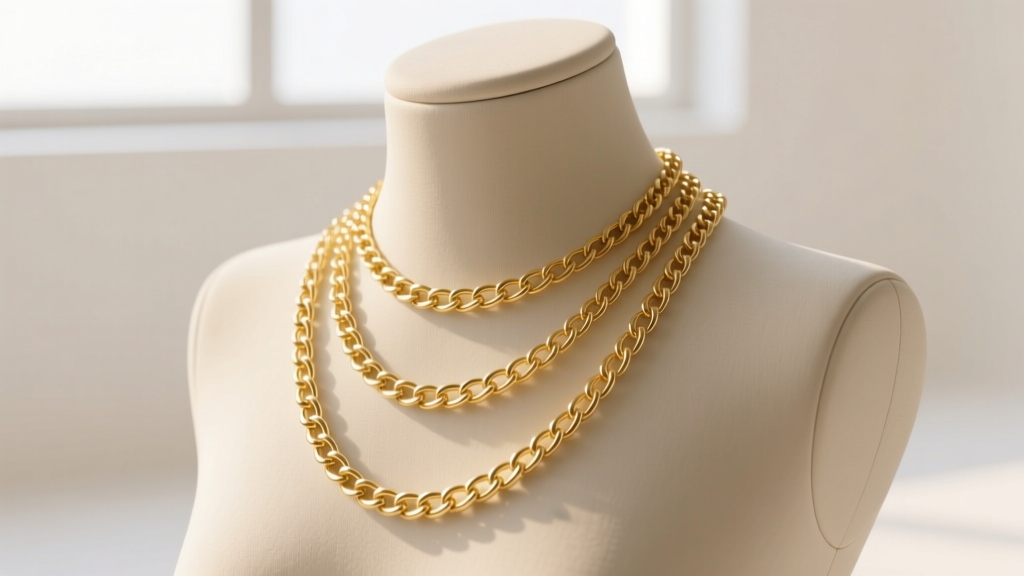
- The Layering Tangle: When layering multiple necklaces over a deep neckline, the chains will inevitably cross and tangle in the cleavage. To prevent this, maintain a strict 2-inch gap between each chain length (e.g., 16-inch, 18-inch, and 20-inch) and use a multi-strand clasp to anchor them at the nape of the neck.
Final Thoughts on Proportion and Comfort
Mastering necklace cleavage is ultimately about respecting the geometry of your body and the physics of your jewelry. By paying attention to chain gauge, pendant weight, bail drops, and fabric friction, you transition from simply wearing jewelry to intentionally styling it. The next time you select a pendant, remember the sternum rule, calculate the total drop, and choose a chain that supports the weight with a graceful curve. Your décolletage—and your neckline—will thank you.


