Necklace Maintenance: Troubleshooting Tangles, Tarnish, and Clasps
Master necklace maintenance with our expert troubleshooting guide. Learn to fix stubborn knots, remove heavy tarnish, and repair broken clasps at home.

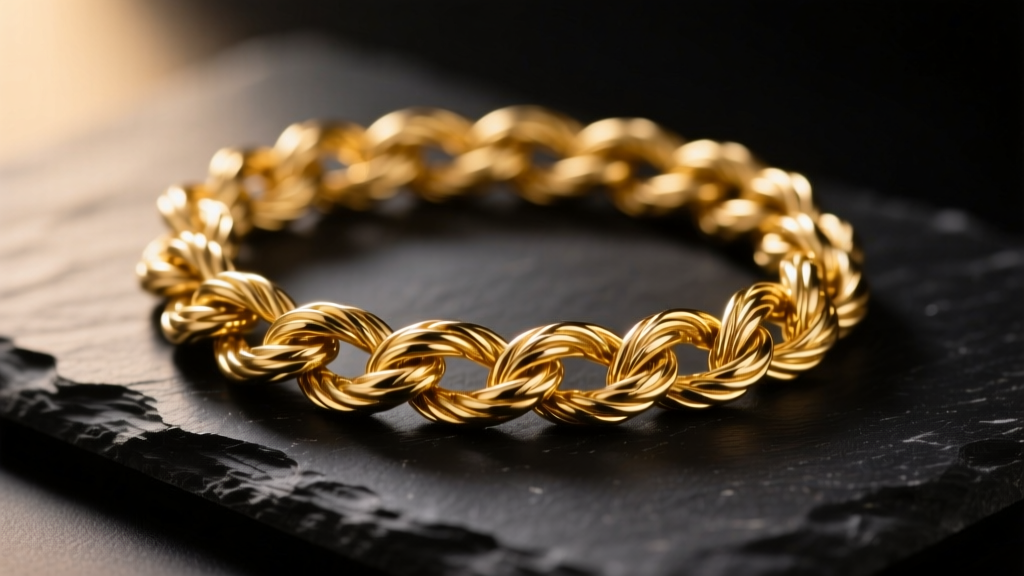
Proper necklace maintenance is often overlooked until a beloved piece becomes a frustrating ball of knots, loses its luster to heavy oxidation, or suffers a clasp failure. Unlike rings or earrings, necklaces are subject to constant mechanical stress, friction, and environmental exposure. In 2026, with the resurgence of ultra-fine 0.3mm "invisible" chains and complex layered pendants, understanding the micro-mechanics of your jewelry is more critical than ever. This comprehensive troubleshooting guide bypasses generic advice, offering domain-level expertise on how to diagnose, repair, and prevent the most common necklace failures.
The Anatomy of Chain Failure: Why Necklaces Break and Tangle
Before attempting any repair, you must understand the geometry of your chain. Tangling and breakage are not random; they are dictated by link design and friction coefficients.
- Rope Chains: Constructed from twisted links that mimic a woven rope, these have a high surface friction area. While beautiful, their textured surface acts like microscopic velcro, making them highly susceptible to self-knotting when agitated in a jewelry box.
- Box Chains: Made of square, interlocking links. They resist tangling exceptionally well but are notoriously difficult to repair if kinked. A sharp bend in a box chain compromises the structural integrity of the solder joints, often leading to catastrophic snapping under minimal tension.
- Cable Chains: The most common and durable style. However, ultra-fine cable chains (under 0.5mm) are prone to "slip-knotting," where a single loop pulls through another, creating a dense, hardened node that seems impossible to undo without breaking the links.
Step-by-Step Knot Troubleshooting: The Micro-Tension Method
When faced with a severe knot in a delicate chain, the instinct is to pull the ends to tighten the knot and work it out. This is a critical error that increases the friction coefficient and permanently deforms the metal. Instead, use the Micro-Tension Method.
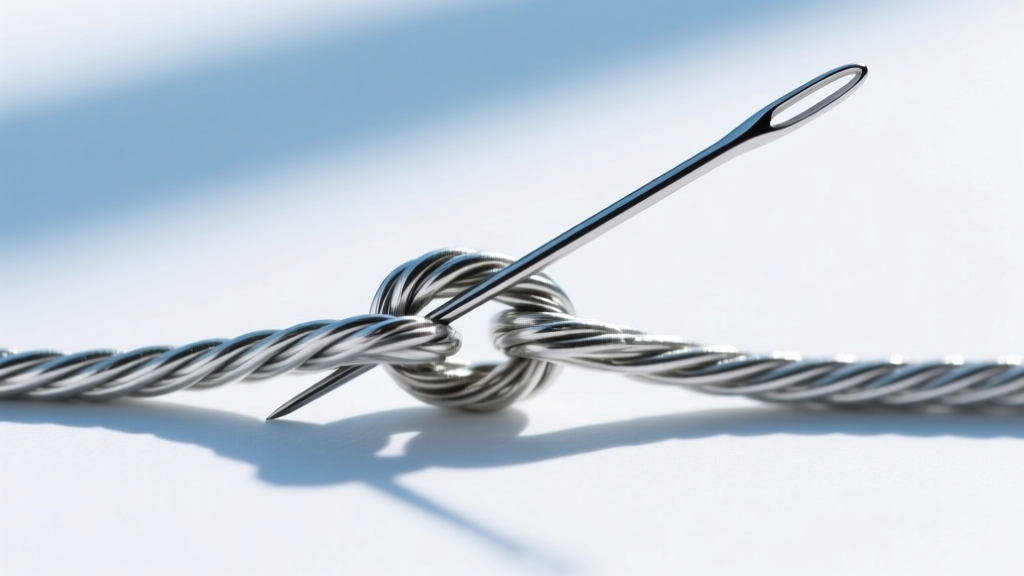
Tools Required
- Size 9 or 10 beading needle (approximately 0.35mm diameter)
- Synthetic watch oil (e.g., Moebius 9010) or dry graphite powder
- A smooth glass or ceramic work surface
The Execution
Place the tangled necklace flat on the glass surface. Glass provides a zero-friction base that prevents the chain from catching on fabric fibers. Apply a microscopic drop of synthetic watch oil directly to the center of the knot. Never use olive oil or WD-40; organic oils will go rancid and attract dust, while WD-40 contains harsh solvents that can degrade certain gemstone treatments. Using the beading needle, gently vibrate the tip inside the center loop of the knot. Do not pry outward; instead, use a micro-circular motion to create slack. Once the center loop expands to just 1mm, use two needles to gently guide the adjacent links out of the void. The synthetic oil reduces the metal-on-metal friction just enough to allow the links to slide past one another without stressing the solder joints.
Chemical vs. Mechanical Tarnish Removal: A Material-Specific Guide
Tarnish is not dirt; it is a chemical reaction. For sterling silver, hydrogen sulfide in the atmosphere reacts with the copper alloy in 925 silver to form silver sulfide (Ag2S), a black or yellowish film. Many consumers reach for abrasive polishing cloths or toothpaste, which is a massive mistake. According to jewelry supply experts at Rio Grande, mechanical polishing physically removes a microscopic layer of silver (roughly 0.01mm per polish). Over time, this strips hallmarks, softens intricate engravings, and thins the chain links.
| Metal Type | Tarnish Cause | Recommended Removal Method | Methods to Avoid |
|---|---|---|---|
| Sterling Silver (925) | Hydrogen Sulfide (Ag2S) | Electrochemical Aluminum Bath | Abrasive Rouge, Toothpaste |
| 14k/18k Yellow Gold | Surface Oils, Copper Oxidation | Mild Dish Soap + Warm Water | Chlorine Bleach, Ultrasonic (if fractured) |
| Platinum (950) | Does not tarnish (Patina only) | Jeweler's Polishing Cloth | Chemical Dips, Harsh Acids |
| Oxidized Silver | Intentional Darkening | Dry Microfiber Wipe Only | Chemical Baths, Ultrasonic Cleaners |
The Electrochemical Reduction Bath
To reverse silver sulfide without removing any base metal, use an electrochemical bath. Line a glass bowl with aluminum foil (shiny side up). Place the silver necklace on the foil. Add 1 tablespoon of baking soda and 1 tablespoon of non-iodized salt. Pour boiling water over the chain. You will immediately smell a sulfur (rotten egg) odor. This is the hydrogen sulfide being stripped from the silver and transferring to the aluminum foil via an electrolytic reaction. After 3 minutes, remove the chain with wooden tongs, rinse in distilled water, and pat dry. Warning: Never use this method on necklaces featuring porous gemstones like turquoise, opal, or pearls, as the alkaline solution and heat will destroy their internal structure. For gemstone care protocols, always refer to the Gemological Institute of America (GIA) Gem Care Guidelines.
Clasp Malfunctions: Troubleshooting Lobster and Spring Rings
A necklace is only as secure as its clasp. The two most common closures are the spring ring and the lobster claw, and both suffer from distinct mechanical failures over time.
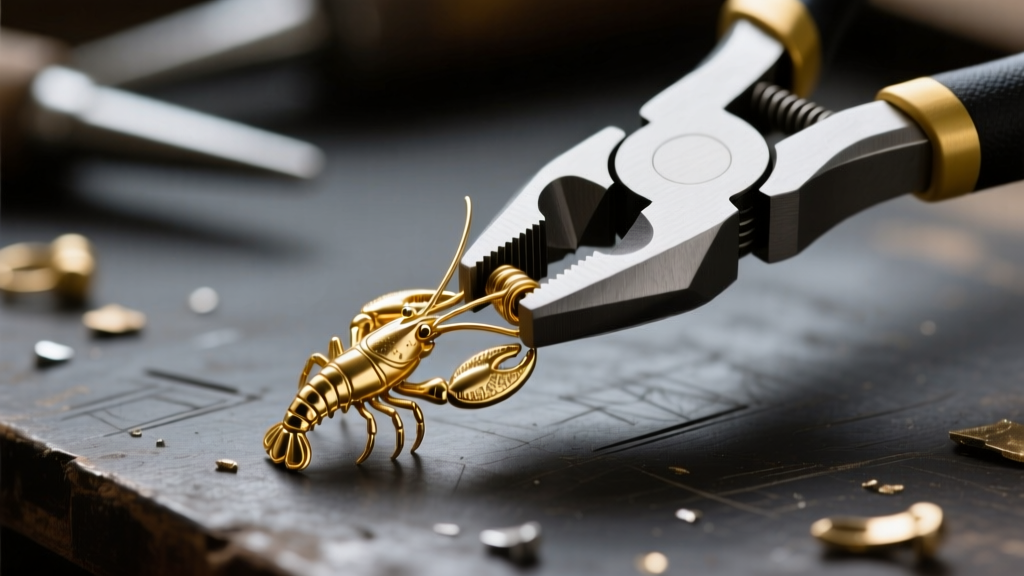
Spring Ring Failures
A standard 5mm or 6mm spring ring contains a tiny internal steel spring. If the lever fails to snap back into the closed position, the internal spring is either fatigued or clogged with skin oils and lotion. First, try flushing the mechanism with a drop of isopropyl alcohol to dissolve the lipid buildup. If the lever still feels spongy, the spring has lost its temper. Spring rings are generally non-serviceable due to their micro-welded construction; replacement is the only safe option.
Lobster Claw Tension Loss
Lobster claws are more durable but can suffer from lever misalignment. If the clasp feels loose or catches on your clothing, the trigger lever may have been bent outward. Using flat-nose pliers with nylon or polymer jaws (never bare steel, which will mar the gold or silver), gently squeeze the sides of the clasp body to restore the internal tension. If the tiny metal loop connecting the clasp to the chain has stretched into an oval shape, use chain-nose pliers to gently squeeze it back into a perfect circle, preventing the clasp from slipping off the jump ring.
Preventative Storage and Long-Term Care
Troubleshooting is reactive; true necklace maintenance is proactive. The environment in which you store your jewelry dictates its lifespan.
"The single greatest enemy of fine chains is PVC plastic. Many cheap jewelry boxes use PVC linings that off-gas plasticizers and chlorides, which rapidly accelerate silver tarnishing and degrade gold alloys."
Always store individual necklaces in polyethylene (PE) ziplock bags. Polyethylene is chemically inert and will not off-gas harmful compounds. For added protection, drop a 3M anti-tarnish strip into each bag; these strips contain copper-based compounds that act as a sacrificial anode, absorbing airborne sulfides before they can reach your silver. Finally, never store necklaces in a pile. Hang them on a multi-tiered jewelry stand with padded hooks, or lay them completely flat in a divided, fabric-lined tray to eliminate the kinetic agitation that causes rope and cable chains to knot.


