Mastering the Necklace Neck Fit: A Technical Sizing Guide
Explore the biomechanics of the necklace neck interface. Learn precision sizing, chain gauge tensile limits, and clasp engineering for a flawless fit.


In the realm of fine jewelry, the intersection of human anatomy and metallurgical engineering is most critical at the cervical junction. When master jewelers and bench technicians discuss the necklace neck interface, they are not merely referring to a body part; they are analyzing a dynamic, high-mobility mechanical zone. A poorly engineered chain or an imprecise measurement doesn't just result in an aesthetic failure—it leads to tensile fatigue, clasp deformation, and ultimately, catastrophic breakage. This technical deep dive explores the biomechanics, precise measurement protocols, and material tolerances required to achieve the perfect fit.
The Biomechanics of the Cervical Jewelry Interface
The human neck is a complex assembly of muscles, cartilage, and vascular structures that undergoes constant volumetric changes. The sternocleidomastoid and platysma muscles contract during rotation, while the trachea and esophagus expand during swallowing. Studies in ergonomic jewelry design indicate that the circumference of the lower neck can expand by up to 12% to 15% during extreme physical exertion or deep inhalation.
When a rigid or poorly sized collar rests against the jugular notch, it creates a friction point. Over time, this localized pressure causes the metal links at the front of the chain to experience asymmetric wear. Conversely, a chain that is too loose will migrate laterally, placing undue shear stress on the clasp mechanism at the nape. Understanding these kinetic forces is the first step in mastering the necklace neck fit.
Precision Measurement: Beyond the Standard Cloth Tape
The most common error in jewelry sizing is the use of standard cloth tailor's tapes. Cloth stretches, degrades, and yields inaccurate readings, often resulting in a chain that is 3mm to 5mm too tight. According to manufacturing guidelines from Rio Grande, professional bench jewelers rely on non-stretch fiberglass or flexible steel measuring tapes for anatomical mapping.
The Three-Point Measurement Protocol
- The Baseline (Resting): Measure the exact circumference at the desired resting point (e.g., the clavicle for a princess length, or the sternum for a matinee) while the subject is breathing normally.
- The Expansion Tolerance: Add exactly 12mm to 15mm to the baseline measurement to account for tracheal expansion and swallowing. This is non-negotiable for chokers and collar-length pieces.
- The Nape Drop: Measure the distance from the prominent vertebra (C7) at the base of the neck to the desired pendant drop point. This ensures the pendant rests correctly without pulling the posterior chain upward.
Chain Gauge, Alloy Density, and Cervical Tension
The perceived comfort of a necklace is heavily dictated by the specific gravity of the chosen alloy and the wire gauge of the links. A 4mm cable chain in solid 18k yellow gold (specific gravity ~15.5) will exert significantly more downward force on the cervical spine than the exact same dimension in Grade 5 Titanium (Ti-6Al-4V, specific gravity ~4.43).
Bench technicians must calculate the total gram weight relative to the chain's footprint on the skin. Below is a technical matrix comparing common chain profiles, their average weight per inch, and their recommended minimum neck circumference tolerances.
| Chain Profile | Wire Gauge (mm) | Avg. Weight (18" in 14k Gold) | Tensile Yield Point | Recommended Fit Tolerance |
|---|---|---|---|---|
| Cable (Standard) | 1.2mm (16ga) | 4.8 grams | 18 lbs | +10mm to baseline |
| Curb (Interlocked) | 2.5mm (10ga) | 14.2 grams | 45 lbs | +15mm to baseline |
| Box (Square Link) | 1.8mm (14ga) | 9.5 grams | 28 lbs | +12mm to baseline |
| Rope (Twisted) | 3.0mm (8ga) | 22.1 grams | 60 lbs | +18mm to baseline |
Heavier chains, such as the 3.0mm rope, require a larger expansion tolerance. The interlocking geometry of a rope chain distributes weight evenly, but its mass requires a slightly looser fit to prevent the links from binding against the skin's micro-texture during rotation.
Clasp Engineering and Tensile Failure Modes
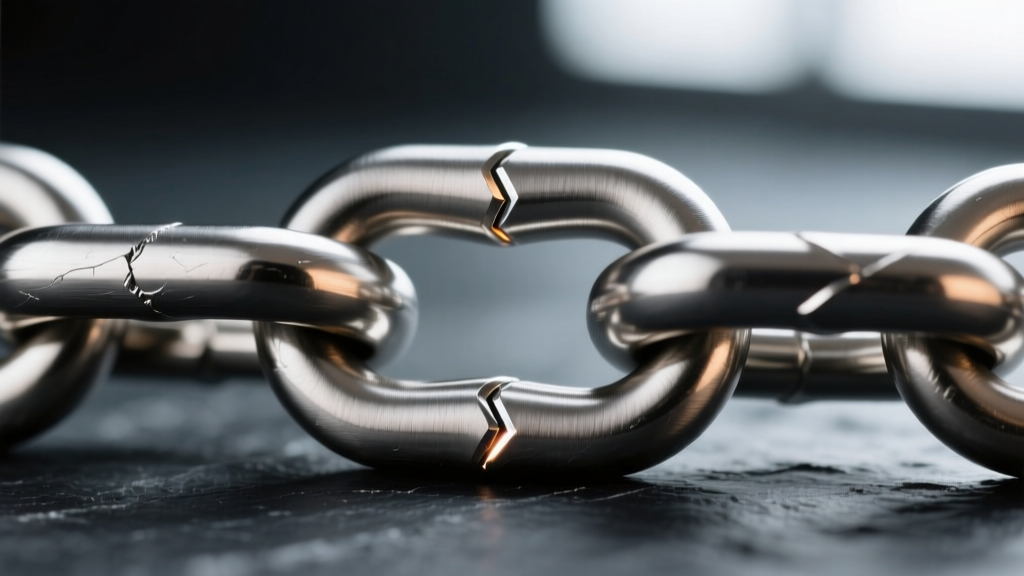
The clasp is the most vulnerable node in any necklace neck assembly. The Gemological Institute of America (GIA) and various metallurgical labs frequently analyze returned broken chains, noting that 80% of failures occur within 5mm of the clasp or the accompanying jump ring. This is due to work hardening and repetitive shear stress.
Spring Ring vs. Lobster Claw: A Tensile Comparison
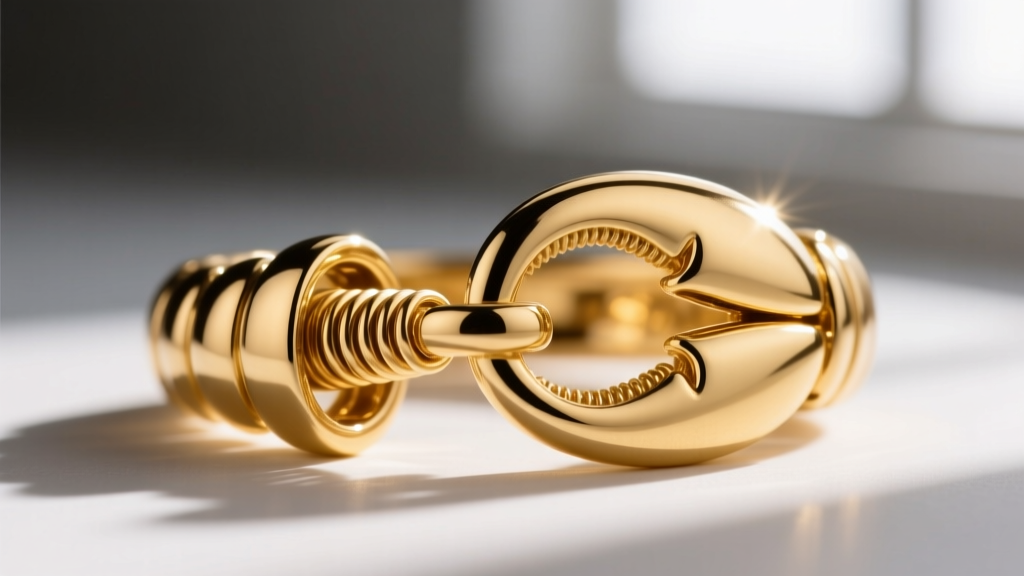
A standard 5mm spring ring clasp relies on a microscopic internal steel spring. Under sudden kinetic loads (e.g., the chain being snagged on clothing), the spring can compress past its elastic limit, causing the gate to deform outward and release the jump ring. Conversely, a 12mm solid-cast lobster claw utilizes a thicker, external lever mechanism with a higher tensile threshold. For any chain exceeding 15 grams in total weight, a spring ring is mechanically insufficient; a lobster claw or a hidden box clasp with a figure-eight safety catch is mandatory.
Bench Tip: Always solder the jump ring on the opposite end of the clasp. An open, unsoldered jump ring will slowly twist open under the rotational friction of the neck, leading to a silent failure and lost jewelry.
Corrective Sizing for Asymmetrical Structures
Human anatomy is rarely perfectly symmetrical. Many clients present with a slight drop in one clavicle or a more pronounced sternocleidomastoid muscle on their dominant side. When fitting a rigid collar or a heavy, structured bib necklace, this asymmetry causes the piece to slide laterally, making the pendant rest off-center.
To counteract this, expert jewelers employ asymmetric link weighting. By subtly increasing the wire gauge or adding micro-beads to the lighter side of the chain, the center of gravity is shifted, forcing the pendant to self-center over the sternum regardless of the underlying skeletal asymmetry. This level of bespoke engineering separates mass-produced jewelry from master-crafted pieces.
Quick-Reference Troubleshooting Matrix
- Symptom: Chain constantly slides to the left/right.
Diagnosis: Clasp is too heavy, or client has clavicle asymmetry.
Solution: Switch to a lightweight隐形 (invisible) magnetic clasp or add counter-weights. - Symptom: Links are pinching the skin at the nape.
Diagnosis: Chain profile has high-friction edges (e.g., unpolished box chain).
Solution: Re-polish the posterior links or switch to a rounded curb profile. - Symptom: Pendant flips upside down.
Diagnosis: The bail's inner diameter is too large for the chain gauge, altering the center of gravity.
Solution: Install a smaller bail or add a silicone micro-stop bead inside the bail.
Mastering the fit of a necklace requires looking past mere aesthetics and embracing the physical realities of the human form. By respecting the biomechanics of the neck, utilizing precision measurement tools, and engineering the clasp and chain gauge to withstand real-world tensile forces, jewelers can create pieces that are not only beautiful but structurally enduring.


