How to Craft a Durable Homemade Necklace: Step-by-Step
Learn how to craft a durable homemade necklace with professional wire-wrapping and beading techniques. Step-by-step guide for lasting jewelry.

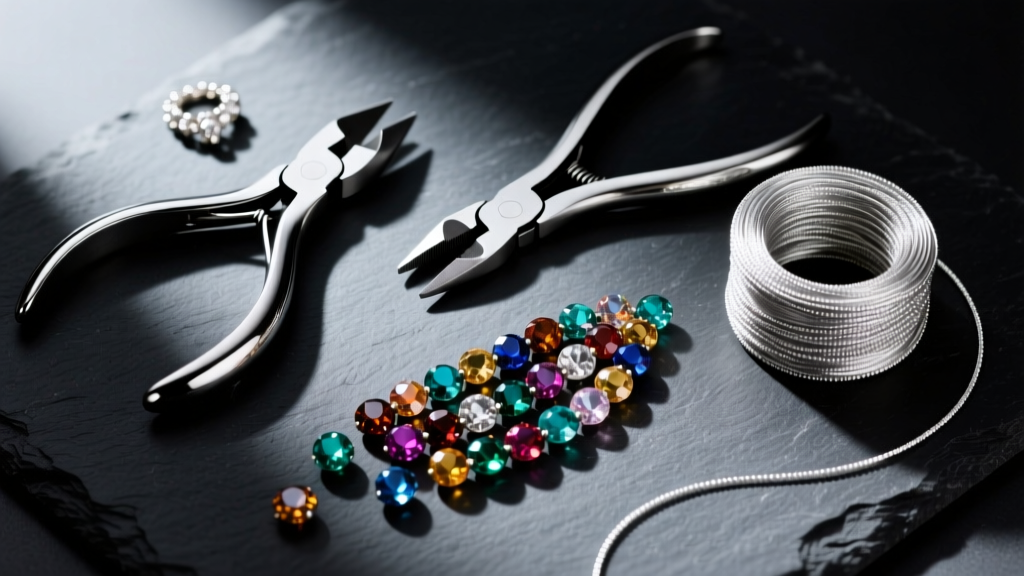
The Anatomy of a Professional-Grade Homemade Necklace
Crafting a homemade necklace often results in pieces that look amateurish, lack proper drape, or break within weeks of wear. The difference between a fragile DIY craft project and a durable, boutique-quality piece of jewelry lies entirely in the structural engineering of the findings, the tension management of the stringing material, and the precision of your wire work. In this comprehensive guide, we will walk through the exact process of creating a professional-grade beaded necklace featuring a wire-wrapped briolette pendant. By utilizing 49-strand stainless steel beading wire, precision micro-crimping techniques, and proper wire-hardening mechanics, you will create a homemade necklace capable of withstanding daily wear while maintaining a luxurious, high-end aesthetic.
Essential Materials and Tool Specifications
Before beginning, you must source the correct materials. Using base-metal crimp beads or 7-strand wire will guarantee premature failure. Below is the exact bill of materials required for an 18-inch princess-length necklace with a focal pendant.
| Component | Specification | Purpose & Expert Notes |
|---|---|---|
| Beading Wire | 49-Strand, 0.018" diameter | Provides superior drape and kink-resistance compared to 7 or 19-strand alternatives. Brands like Soft Flex Company offer premium nylon-coated options. |
| Wrapping Wire | 24-Gauge Dead-Soft Sterling Silver | Dead-soft wire is malleable enough for tight wraps but work-hardens as you manipulate it, locking the pendant bail securely in place. |
| Crimp Tubes | 2x2mm Seamless Sterling Silver | Seamless tubes prevent the wire from slicing through the metal edge during the crimping process. Avoid cheap plated brass crimps. |
| Crimp Covers | 4mm Sterling Silver | Snaps over the folded crimp tube and is squeezed into a perfect round bead shape, hiding the mechanical connection. |
| Findings | 10mm Lobster Clasp, 18-Gauge 5mm Jump Rings | 18-gauge jump rings are thick enough to resist pulling apart under the weight of heavy gemstone beads. |
| Tools | Crimping Pliers, Flush Cutters, Chain-Nose, Round-Nose | Use high-quality flush cutters (like those from Beadalon) to ensure flat cuts that won't pierce your nylon wire coating. |
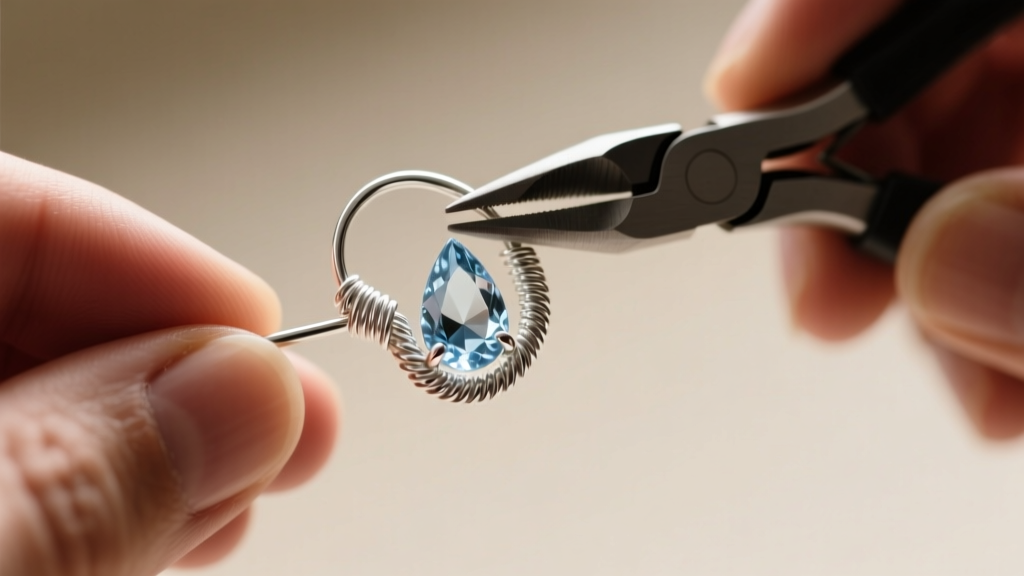
Step 1: Preparing the Wire-Wrapped Briolette Pendant
A top-drilled briolette requires a secure wire-wrapped bail to hang properly without twisting or snapping the delicate stone tip. Cut exactly 3 inches of 24-gauge dead-soft sterling silver wire using your flush cutters. Thread the wire through the top-drilled hole of the briolette, leaving a 0.5-inch tail on one side and a 2.5-inch working tail on the other.
Using your chain-nose pliers, bend the 2.5-inch working tail straight up at a 90-degree angle, flush against the top of the stone. Pinch the wire just above the stone with your round-nose pliers and bend the working tail backward over the top jaw to create a smooth, rounded loop. This loop is where your beading wire will eventually pass through.
Next, take the remaining working tail and wrap it tightly around the 0.5-inch neck wire directly above the stone. Make exactly three to four tight, flush wraps. The friction and the natural work-hardening of the sterling silver will lock this wrap permanently. Use your flush cutters to trim the excess wire, and gently press the sharp cut tail flat against the neck wire using the flat side of your chain-nose pliers to ensure it will not scratch the wearer's skin or snag on clothing.
Step 2: Stringing the Beads and Managing Tension
The secret to a professional drape in a homemade necklace is proper tension management. If you string beads too tightly, the wire will kink and the necklace will stiffen into an unnatural arc. If strung too loosely, the wire will show between the beads, looking sloppy.
Unspool approximately 26 inches of your 49-strand 0.018" beading wire (always cut 8 inches longer than your desired finished length to allow room for crimping). Thread the wire through the bottom of your lobster clasp, then through a 2x2mm crimp tube, and back through the crimp tube to form a small loop. Do not crimp it yet.
Lay out your gemstone beads on a velvet bead board. Slide the beads onto the wire, ensuring the wire passes cleanly through the center of each bead. When you reach the center point of the necklace, slide your wire-wrapped briolette pendant onto the wire. Continue adding the remaining beads symmetrically. Once all beads are on, hold the necklace up in a natural U-shape. You should see approximately 1/16th of an inch of bare wire at the very bottom curve of the necklace. This micro-gap is the "tension allowance" that allows the beads to articulate smoothly against one another without buckling the steel wire inside.
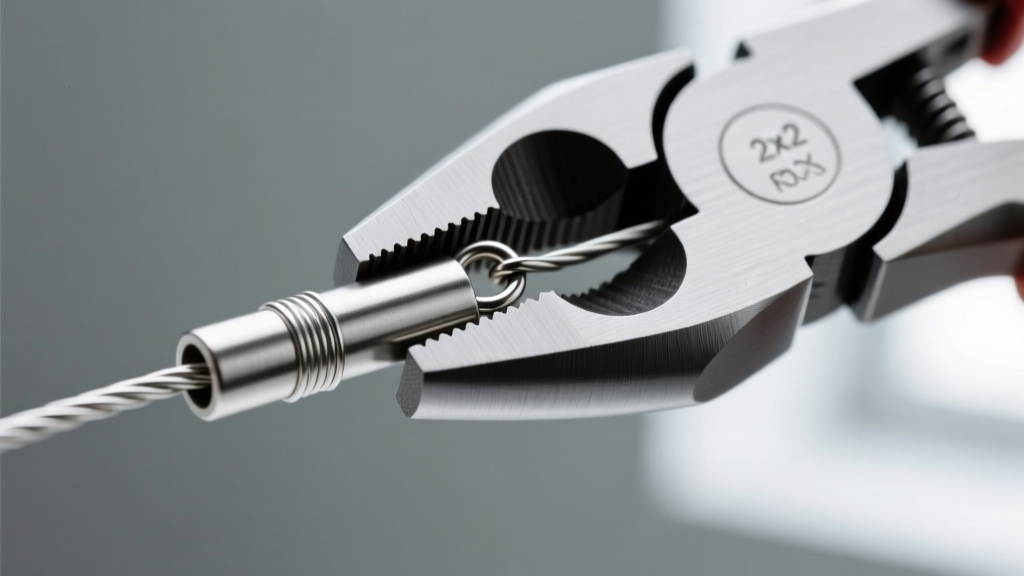
Step 3: Securing with Crimp Beads and Covers
Crimping is the most critical structural step in jewelry making. A poorly executed crimp is the number one reason homemade necklaces break. Slide a 2x2mm sterling silver crimp tube onto the wire end, followed by a 5mm jump ring. Pass the wire tail back down through the crimp tube, ensuring both strands of wire sit perfectly parallel inside the tube without overlapping or crossing each other.
Pull the wire tail to tighten the loop around the jump ring, maintaining the tension allowance you established in Step 2. Place the crimp tube into the second (outer) U-shaped notch of your crimping pliers (sourced from suppliers like Rio Grande). Squeeze firmly to fold the tube in half, trapping the two wires in separate channels. Next, move the folded crimp into the first (inner) oval-shaped notch of the pliers and squeeze again to roll the folded metal into a tight, rounded bead shape.
Trim the excess wire tail flush against the crimp. Finally, place a 4mm sterling silver crimp cover over the folded crimp. Using the very tips of your chain-nose pliers, gently squeeze the crimp cover shut. The cover will close over the mechanical crimp, transforming it into what looks like a perfectly seamless, professional metal bead.
Troubleshooting Common Homemade Necklace Failures
Even with premium materials, structural issues can arise. Here is how to diagnose and fix the most common failure modes in DIY necklace stringing:
- Wire Kinking Near the Clasp: This occurs when the crimp tube is placed too close to the jump ring, leaving no room for the wire to bend. Always leave a 2mm gap between the crimp and the jump ring to act as a flexible hinge.
- Crimp Tube Slipping: If your crimp slides off the wire under tension, you are likely using cheap base-metal round crimp beads, which do not fold properly. Switch to seamless sterling silver or gold-filled crimp tubes, which provide internal ridges that bite into the nylon coating of the beading wire.
- Pendant Sitting Crooked: If your briolette pendant twists to one side, the wire-wrapped bail was likely formed off-center. Ensure the neck wire is bent at a perfect 90-degree angle exactly in the center of the top-drilled hole before forming the loop.
- Necklace Stiffness: A stiff, rigid necklace lacks the necessary tension allowance. Un-crimp the end, remove one small 2mm spacer bead to add slack, and re-crimp. The necklace must be able to fold back on itself without resistance.
By adhering to these precise material specifications and mechanical techniques, your homemade necklace will rival the structural integrity and visual polish of fine jewelry retailing for hundreds of dollars. Proper tool maintenance, such as keeping your flush cutters clean and your crimping pliers calibrated, will ensure consistent, professional results across all your future jewelry-making endeavors.


