Red Cross Necklace Buying Guide: Enamel, Ruby & Garnet Picks
Discover how to choose the perfect red cross necklace. Compare durable red enamel, ruby, and garnet pendants, chain pairings, and pricing.

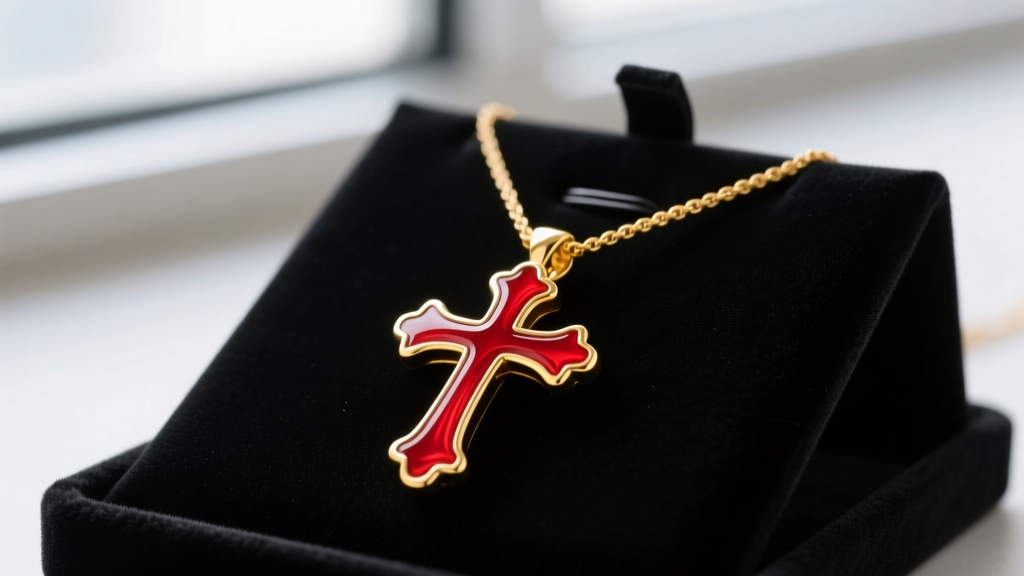
The red cross necklace occupies a unique space in jewelry design, bridging historical symbolism, medical homage, and bold fashion statements. Whether you are drawn to the glossy depth of fired enamel or the refractive brilliance of a faceted gemstone, selecting the right piece requires an understanding of material science and structural durability. This comprehensive buying guide breaks down exactly what to look for when investing in a red cross pendant, ensuring your jewelry withstands daily wear while maintaining its striking crimson hue.
Decoding the Red Cross Pendant: Enamel vs. Gemstone
The most critical decision when shopping for a red cross necklace is choosing the medium that delivers the red coloration. The market is broadly divided into two categories: enameled metals and red gemstones. Each offers a distinct visual profile, weight, and maintenance requirement.
| Material | Mohs Hardness | Visual Profile | Primary Durability Risk | Average Price Range |
|---|---|---|---|---|
| Vitreous Enamel | 5.5 - 6.5 | Glassy, opaque, deep color | Chipping from hard impacts | $150 - $600 |
| Cold Epoxy Enamel | 2.0 - 3.0 | Plastic-like, slightly domed | Yellowing and scratching | $40 - $120 |
| Natural Ruby | 9.0 | Highly refractive, pleochroic | Prong wear, inclusion fracturing | $1,500 - $10,000+ |
| Lab-Grown Ruby | 9.0 | Identical to natural, flawless | Prong wear | $300 - $800 |
| Red Garnet (Pyrope) | 7.0 - 7.5 | Deep crimson, dark in low light | Abrasion, facet chipping | $80 - $400 |
According to the Gemological Institute of America (GIA), understanding the Mohs hardness scale is vital for gemstone jewelry. While ruby is exceptionally hard, garnet requires more protective settings. Conversely, enamel relies on the tensile strength of the underlying metal rather than surface hardness.
Material Durability & Failure Modes
A red cross necklace is often worn daily, making it susceptible to specific failure modes depending on its construction. Recognizing these vulnerabilities will help you evaluate the craftsmanship of a piece before purchasing.
The Enamel Chipping Problem (and How to Avoid It)
Vitreous enamel is essentially fused glass. While it offers an unmatched, permanent crimson color that will never fade or yellow, it is inherently brittle. The most common failure mode is "crazing" (micro-fractures) or outright chipping when the metal base flexes. To prevent this, look for pendants where the enamel is applied over a thick, rigid base—such as 14k or 18k solid gold with a minimum thickness of 1.2mm. Avoid thin, hollow-backed enamel crosses, as the metal will bend under minor pressure, causing the glass to pop out. For a deeper understanding of traditional jewelry enameling, resources like Ganoksin detail how proper counter-enameling (applying enamel to the back of the piece) equalizes tension and prevents warping.
Gemstone Hardness & Prong Wear
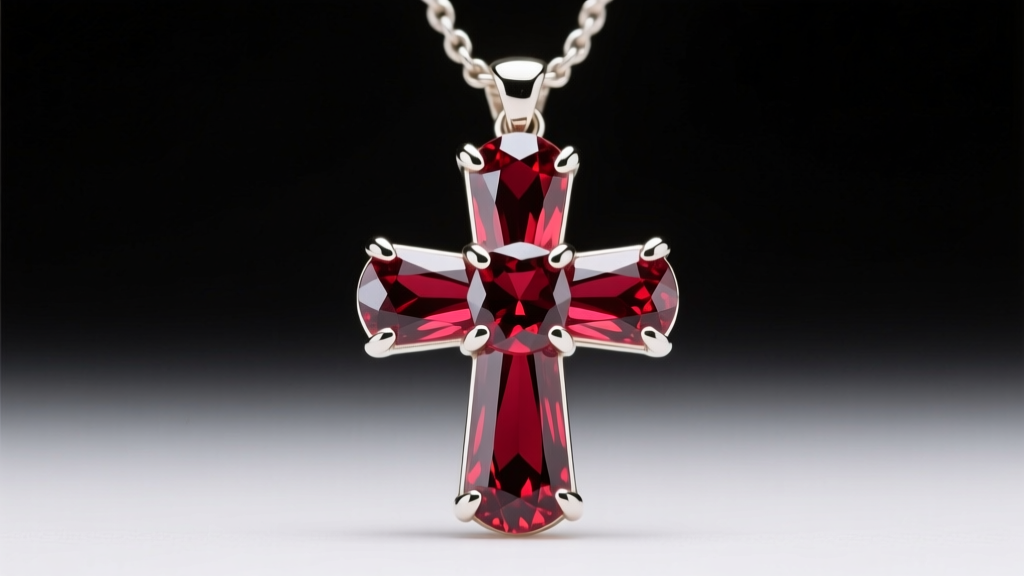
If you opt for a gemstone red cross necklace, the setting dictates the lifespan of the piece. Cross pendants featuring multiple small rubies or garnets are typically set in prongs. Over time, friction from clothing can wear down the metal prongs, leading to stone loss.
- Bezel Settings: The safest option for active lifestyles. A thin rim of metal surrounds the entire perimeter of the red stone, protecting the girdle from impacts.
- Prong Settings: Ensure the prongs are at least 0.8mm thick and feature a "taco" or rounded profile rather than flat, sharp edges that catch on knitwear.
- Channel Settings: Excellent for baguette-cut rubies or garnets forming the arms of the cross, as the stones are secured between two continuous metal walls.
Chain Selection: Gauge, Length, and Metal Pairings
The chain you pair with your red cross pendant is just as important as the pendant itself. A mismatched chain can cause premature wear on the pendant's bail (the loop it hangs from) or break under the pendant's weight.
Chain Types and Gauge Recommendations
For enamel crosses, friction is the enemy. Cable chains feature numerous small links that can act like a microscopic saw against the enamel surface or the bail. Instead, opt for a Box Chain or a Wheat Chain. These feature smoother, more continuous surfaces that minimize friction.
Gauge Sizing Guide:
- Under 3 grams (Delicate Enamel/Single Gem): 0.9mm to 1.1mm box chain.
- 3 to 8 grams (Standard Solid Gold Cross): 1.2mm to 1.5mm rope or wheat chain.
- Over 8 grams (Statement/Chunky Cross): 1.8mm to 2.5mm curb or figaro chain.
The Jump Ring Bottleneck
Always check the inner diameter (ID) of the pendant's bail and the width of the chain's end-caps. A common manufacturing flaw is a bail that is too small to slide over the chain's lobster clasp, forcing the wearer to rely on a thin, unsoldered jump ring. Ensure the chain features a soldered end-loop or that the pendant's bail has an ID of at least 3.0mm to accommodate standard clasps securely.
Sizing and Proportions: Finding the Right Drop
The visual impact of a red cross necklace relies heavily on its proportions relative to the wearer's neckline and the chosen chain length. Because red is a high-contrast, visually "heavy" color, sizing must be deliberate.
Dimension Guidelines
1. The Subtle Layering Piece (10mm x 15mm)
Ideal for 14-inch chokers or 16-inch princess chains. This size works best in vitreous enamel or a single, bezel-set cabochon garnet. It sits perfectly in the suprasternal notch and layers easily under unbuttoned collars without looking costume-like.
2. The Standard Statement (20mm x 30mm)
The most versatile size, designed for 18-inch chains. At this scale, a faceted red spinel or ruby cross will catch the light dynamically. This size rests on the upper chest and serves as the focal point of a minimalist outfit.
3. The Bold Outerwear Piece (35mm x 50mm+)
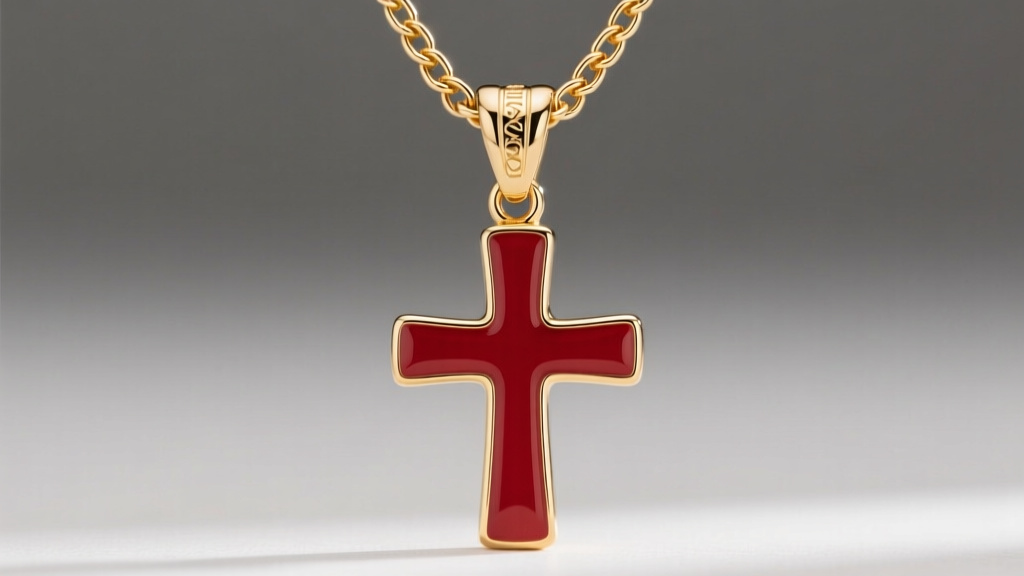
Reserved for 20-inch to 24-inch chains. Large red crosses are visually aggressive and are best executed in opaque red enamel with thick gold borders. These are designed to be worn over turtlenecks, heavy knits, or streetwear.
Price Tiers & Market Realities in 2026
Understanding the current market will protect you from overpaying for misrepresented materials. Here is what you should expect to pay for authentic, well-crafted pieces.
- Budget Tier ($40 - $150): You will find sterling silver with cold epoxy enamel or gold vermeil with small, low-grade garnets. Beware of epoxy enamel, which will inevitably scratch and yellow within 12 to 18 months of daily wear.
- Mid-Range Tier ($250 - $800): This is the sweet spot for solid 14k gold with vitreous enamel or lab-grown rubies. As of 2026, lab-grown rubies offer identical chemical and physical properties to mined stones but at a fraction of the cost, allowing for larger, more vibrant red crosses without the luxury markup.
- Fine Jewelry Tier ($1,500+): Reserved for solid 18k gold featuring natural, untreated Burmese or Mozambican rubies. At this level, demand a certificate from a reputable gemological laboratory verifying the origin and lack of heat treatment.
Final Verdict: What to Look For
When evaluating a red cross necklace, prioritize the integrity of the base metal and the method of color application. If choosing enamel, demand vitreous over epoxy and ensure the metal base is rigid. If choosing gemstones, prioritize bezel or channel settings over delicate prongs for daily wear. By focusing on structural mechanics rather than just the initial visual appeal, you will secure a red cross pendant that remains vibrant and intact for decades.


