How to Repair a Broken Necklace Chain Before Gifting
Learn how to repair a broken necklace chain before a major occasion. Compare DIY fixes, professional soldering costs, and gifting presentation tips.

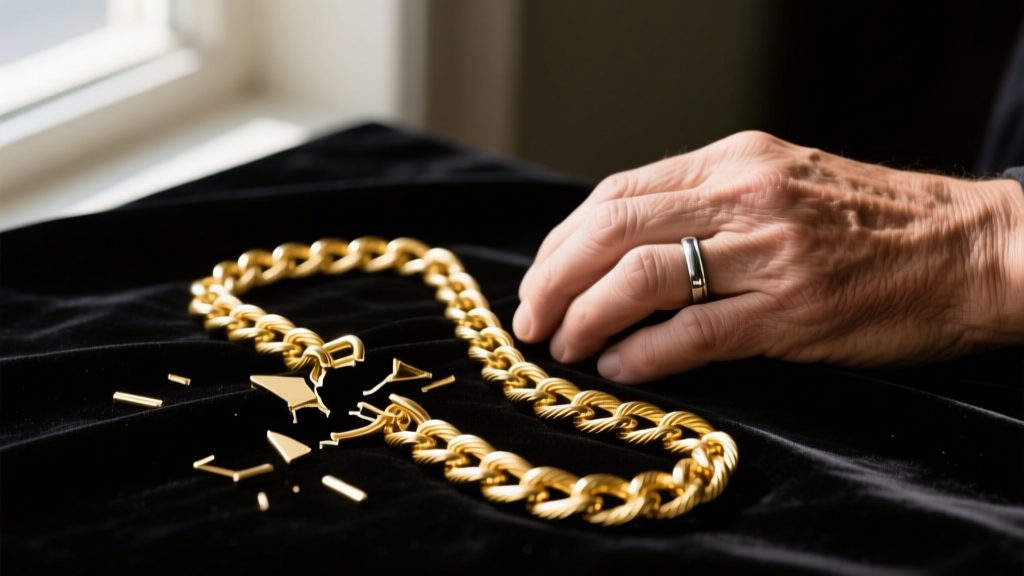
The Pre-Gift Panic: Assessing the Damage
There are few things more stressful for a jewelry gifter than discovering a snapped chain days before a major anniversary, graduation, or holiday. Whether you are preparing to pass down a vintage family heirloom or presenting a newly purchased pendant, knowing how to repair a broken necklace chain is an essential skill for any serious jewelry enthusiast. In 2026, with the rise of sustainable gifting and heirloom restoration, presenting a thoughtfully repaired piece often carries more emotional weight than buying something brand new.
Before you attempt a fix, you must accurately assess the damage. The repair strategy depends entirely on three factors: the metal composition (e.g., 14k gold, 18k gold, platinum, or sterling silver), the chain link style, and the exact location of the break. A snapped jump ring at the clasp is a five-minute DIY fix, while a fractured link in the middle of a complex rope chain requires specialized bench jeweler equipment.
Identifying Your Chain Link and Break Type
Understanding the anatomy of your chain is the first step in the repair process. According to the Gemological Institute of America (GIA), the structural integrity of a chain is dictated by its link geometry and the karat weight of the alloy.
- Cable Chains: The most common and easiest to repair. Breaks usually occur when a single oval link stretches and snaps.
- Curb and Figaro Chains: Interlocking flat links. These rarely snap in the middle but frequently break at the soldered joints of the clasp.
- Box Chains: Made of folded square links. If a box chain kinks and breaks, it is nearly impossible to repair invisibly at home due to the complex folded geometry.
- Rope Chains: Twisted links that mimic a rope. A break here requires professional laser welding to avoid melting the adjacent twisted links.
DIY vs. Professional Repair: A Decision Matrix
Choosing between a home repair and a professional jeweler depends on your budget, timeline, and the chain's material. Use the table below to determine the safest route for your specific gifting scenario.
| Chain Type & Metal | Break Location | DIY Feasibility | 2026 Pro Repair Cost | Recommended Pro Method |
|---|---|---|---|---|
| Sterling Silver Cable | Clasp / Jump Ring | High (Easy) | $35 - $50 | Torch Soldering |
| 14k Yellow Gold Curb | Mid-Chain Link | Low (Risk of damage) | $65 - $95 | Torch Soldering |
| 18k Gold Rope | Mid-Chain Twist | None (Impossible) | $110 - $160 | Laser Welding |
| Platinum Box | Kinked / Snapped | None (Impossible) | $150 - $220 | Laser Welding |
Step-by-Step: How to Repair a Broken Necklace Chain at Home
If your assessment reveals that the break is located at the clasp or a simple jump ring, you can confidently perform the repair at home. This is highly common for delicate 0.8mm to 1.2mm pendant chains that catch on clothing.
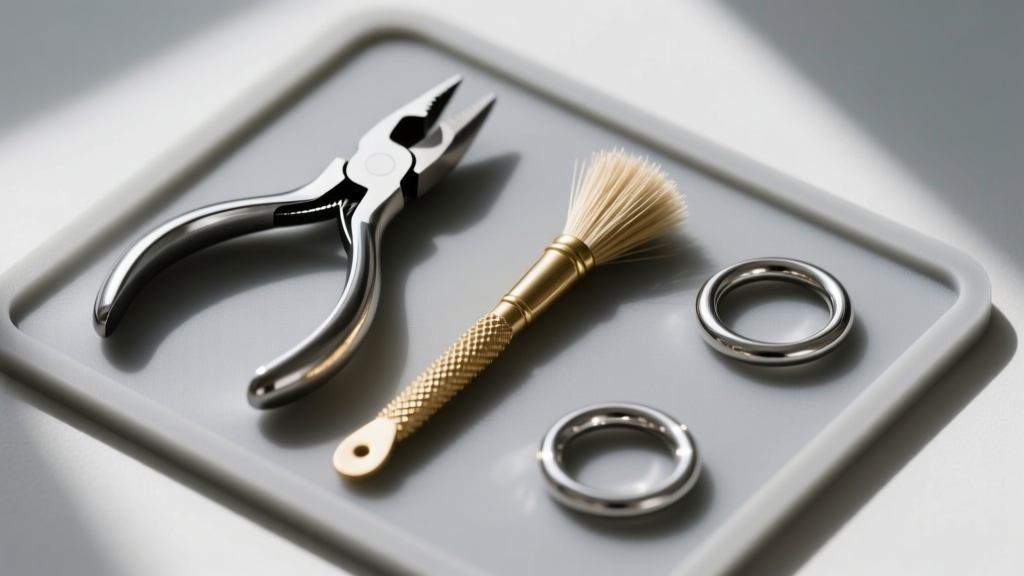
Tools You Need (and What to Avoid)
To execute a clean repair, you need precision tools. Avoid standard household hardware pliers, as their serrated teeth will permanently mar the precious metal. Instead, invest in a basic jewelry bench kit (typically $25–$45).
- Chain-Nose Pliers: For gripping small links without slipping.
- Flat-Nose Pliers: For applying even pressure when closing jump rings.
- Replacement Jump Rings: You must match both the Inner Diameter (ID) and the American Wire Gauge (AWG). For a standard 1.2mm cable chain, you will typically need a 3.0mm ID, 20-gauge jump ring.
- Brass Brush & Polishing Cloth: For final cleanup.
Pro Tip: Never pull a jump ring apart laterally (side-to-side). This distorts the perfect circle and weakens the metal's temper. Instead, use two pairs of pliers to twist the ends of the jump ring open vertically (push one end toward you, pull the other away), thread the chain and clasp, and twist them back until you hear a faint 'click' indicating the ends are perfectly flush.
When to Trust the Experts: Laser Welding and Soldering
When a chain breaks in the middle, or when you are dealing with high-purity metals and high-melting-point alloys, DIY repairs will result in a ruined gift. You must consult a certified bench jeweler. You can locate reputable professionals through the Jewelers of America directory.
'The metallurgy of 18k gold and platinum demands extreme precision. 18k gold contains 75% pure gold, giving it a lower melting point than 14k gold, which makes it highly susceptible to warping under a standard jeweler's torch. Platinum, requiring temperatures exceeding 3200°F (1768°C), is virtually impossible to solder traditionally without specialized flux and high-heat lasers.'
The Rise of Laser Welding in 2026
For delicate chains like micro-pave diamond necklaces or intricate 18k gold rope chains, laser welding has become the industry standard. Unlike torch soldering, which heats a broad area and risks melting adjacent links or shattering heat-sensitive gemstones (like emeralds or opals), a laser welder uses concentrated pulses of light to fuse metal at a microscopic level.
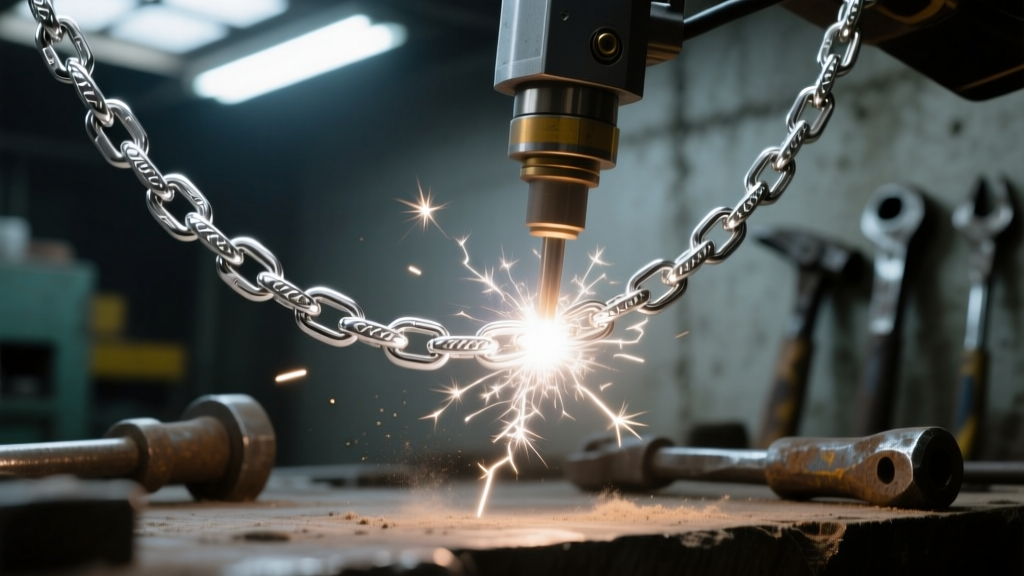
Laser welding leaves a nearly invisible seam and preserves the structural integrity of the surrounding links. While it costs roughly 40% more than traditional torch soldering, the premium is entirely justified when repairing an irreplaceable heirloom intended for a milestone gift.
Gifting the Restored Piece: Occasion Matching & Presentation
Once the chain is repaired, the final step is presentation. In the context of occasion matching, a repaired necklace should never be hidden or presented as 'second-best.' Instead, lean into the narrative of restoration.
The 'Kintsugi' Approach to Jewelry Gifting
Borrowing from the Japanese art of Kintsugi—where broken pottery is repaired with gold lacquer to highlight its history—you can frame the repair as part of the jewelry's unique journey. This approach is incredibly powerful for specific occasions:
- Anniversaries: Presenting a restored vintage piece from a grandparent emphasizes enduring love and the passage of time. Include a handwritten note detailing the chain's origin and the care taken to restore it for the next generation.
- Graduations: A repaired heirloom symbolizes resilience and the mending of past challenges, making it a profound metaphor for entering a new phase of life.
- Milestone Birthdays (30th, 40th, 50th): Pair the restored necklace with a professional appraisal certificate. This not only validates the piece's material worth but also documents its restoration for insurance purposes.
Packaging the Restored Heirloom
Avoid standard glossy cardboard gift boxes. For a restored piece, invest in a hinged wooden presentation box lined with anti-tarnish treated flannel. Place the necklace flat, ensuring the repaired link is not bent or stressed by the box's insert. Include a small, high-quality loupe (10x magnification) in the box, inviting the recipient to inspect the craftsmanship of the repair themselves. By transforming a stressful break into a deliberate, story-rich presentation, you elevate a simple necklace into an unforgettable, deeply personal gift.


