Ladder Yarn Necklace Repair: Fix Snags, Tension & Clasp Failures
Learn how to troubleshoot and repair common ladder yarn necklace issues, from fixing snags and tension warping to reinforcing heavy clasps.

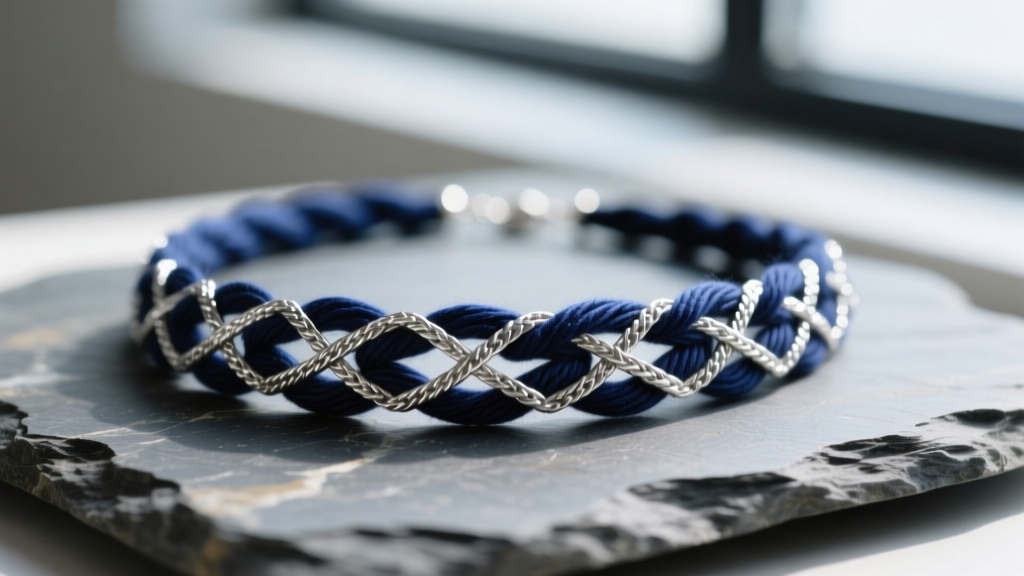
Working with mixed-media fiber jewelry presents a unique set of structural challenges. The ladder yarn necklace—a striking statement piece characterized by its parallel longitudinal rails and intermittent cross-thread rungs—is particularly prone to specific failure modes. Whether you are working with vintage nylon ladder ribbon or modern 2026 recycled-PET fiber blends, the open architecture of the yarn makes it vulnerable to snagging, tension warping, and catastrophic clasp pull-outs. As a jewelry repair specialist, I have seen countless beautiful fiber necklaces relegated to the back of a drawer due to preventable damage. This comprehensive troubleshooting guide will walk you through the exact material science and repair techniques required to restore your ladder yarn necklace to pristine condition.
Understanding Ladder Yarn Anatomy and Failure Points
Before attempting any repairs, it is critical to understand the structural anatomy of ladder yarn. Unlike spun yarns, ladder yarn (often referred to in textile manufacturing as track or ribbon yarn) is constructed using two continuous outer threads (the rails) held together by intermittent cross-threads (the rungs). When this material is crocheted, knitted, or woven into a necklace, the structural integrity relies entirely on the tension of the rails. The most common failure points include: rung snags from sharp edges, asymmetrical warping due to improper storage, and clasp detachment caused by the sheer weight of the fiber and beadwork pulling against standard crimp beads.
Troubleshooting Snags and Pulled Rungs
The open spaces between the rungs of a ladder yarn necklace are notorious for catching on jewelry, zippers, and fingernails. When a rung is pulled, it creates a localized distortion in the rails, leading to an unsightly puckering effect. Never cut a pulled rung; doing so will compromise the lateral stability of the entire necklace, causing the rails to separate and unravel over time.
The Micro-Hook Redistribution Technique
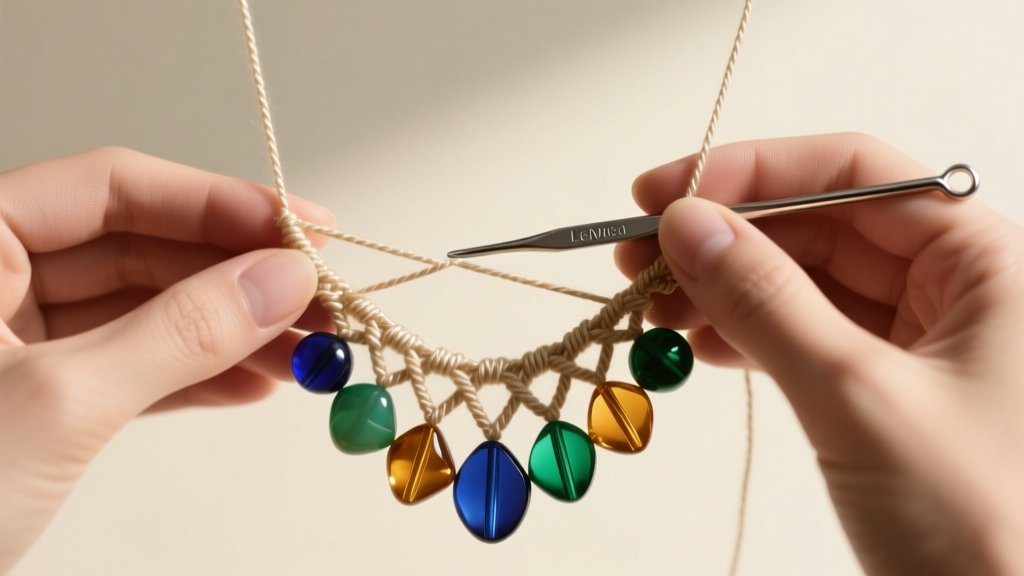
To fix a snagged rung, you will need a 0.5mm or 0.75mm steel crochet hook, or a specialized tool like the Dritz Snag Nab-It. Lay the necklace completely flat on a high-friction surface, such as a neoprene mat or a piece of velvet. Gently insert the micro-hook under the pulled rung. Instead of yanking the rung back, apply micro-tension to the parallel rails on either side of the snag. By gently stretching the rails longitudinally, you encourage the pulled cross-thread to slide back into its original equidistant spacing. If the rung remains stubbornly bunched, apply a microscopic drop of distilled water to the fiber to relax the material memory, then massage the threads flat with your thumb and forefinger.
Fixing Tension Warping and Asymmetry
Ladder yarn necklaces are highly susceptible to environmental humidity and improper hanging, which can cause the fiber to stretch asymmetrically. If your necklace twists or hangs unevenly, you must re-block the fiber. According to fiber arts experts at Interweave, blocking is essential for resetting the memory of mixed-media textiles.
The Wet-Blocking Protocol
- Lay the necklace on a rust-proof foam blocking board.
- Mist the ladder yarn lightly with a 50/50 solution of distilled water and unscented fabric relaxer. Avoid soaking the yarn, especially if it incorporates metallic threads that may oxidize.
- Using rust-proof T-pins, secure the outer rails of the necklace into the desired symmetrical shape. Pin through the spaces between the rungs, never through the threads themselves.
- Allow the piece to air-dry completely for 24 hours. For stubborn synthetic blends (like polyester or nylon ladder yarn), you may use a garment steamer held exactly four inches above the fiber to introduce heat, which will permanently reset the polymer chains.
Reinforcing Clasp Attachments on Fiber
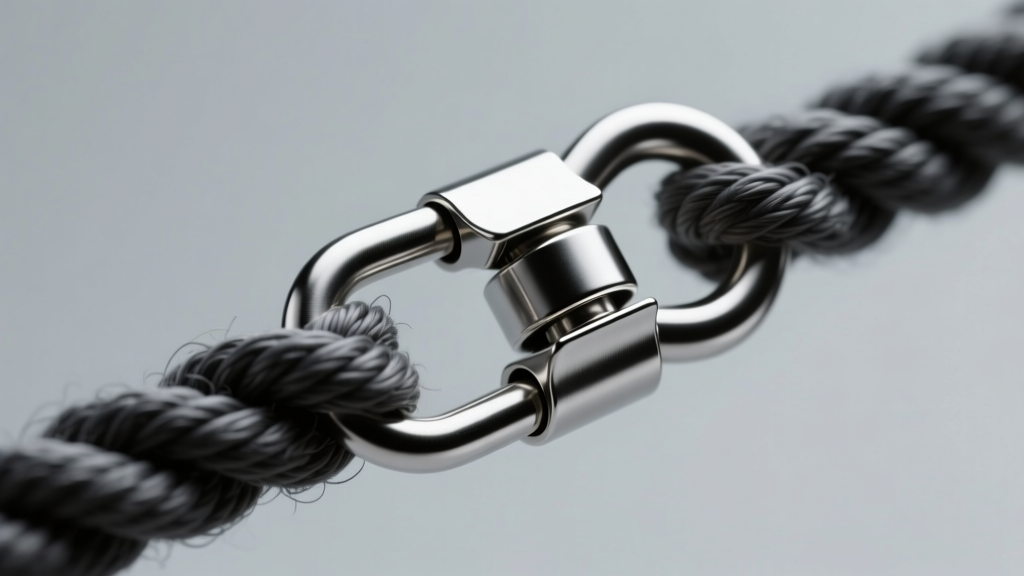
The most catastrophic failure in a ladder yarn necklace is the clasp tearing through the yarn. Standard metal crimp beads are designed for flexible beading wire (like 0.018-inch Accu-Flex), not for flat, porous fibers. When a crimp bead is compressed onto ladder yarn, the sharp metal edges act like a guillotine, eventually slicing through the rails under the weight of the necklace.
Transitioning to Fold-Over Crimps and Ribbon Clamps
To permanently secure a ladder yarn necklace, you must distribute the clamping force across a wider surface area. Suppliers like Fire Mountain Gems offer specialized end-findings designed specifically for flat fibers and ribbons. Below is a comparison of the most effective clasp reinforcement methods for ladder yarn:
| Method | Best For | Durability Rating | Required Adhesive |
|---|---|---|---|
| 4mm-6mm Fold-Over Crimp | Single-layer flat ladder yarn | High | Rubber-toughened cyanoacrylate |
| Serrated Ribbon Clamp | Multi-layer or bulky yarn weaves | Very High | Two-part jeweler's epoxy |
| Wire Guardian Loop | Delicate, easily frayed vintage yarn | Medium | None (relies on mechanical knot) |
When using a fold-over crimp, apply a micro-drop of rubber-toughened cyanoacrylate adhesive (such as Loctite 4861) to the inside of the metal flap before folding it down with nylon-jaw pliers. The rubber particles in the adhesive remain slightly flexible, absorbing the kinetic shock of the necklace swinging, whereas standard super glue will become brittle and shatter under stress.
Addressing Bead Abrasion and Fiber Fraying
Many ladder yarn necklaces incorporate heavy glass, stone, or metal beads woven directly into the rungs. Over time, the sharp edges of the bead holes can abrade the yarn rails, leading to fraying and eventual breakage. If you notice the fibers looking fuzzy or worn near the beadwork, immediate intervention is required.
To halt fraying, carefully thread a flexible beading needle with a matching color of ultra-fine silk or nylon thread (size OO or OOO). Whip-stitch tightly around the frayed section of the rail, binding the damaged fibers to the intact core. Once secured, apply a tiny amount of clear, flexible nail polish or specialized fray-check liquid to the repair site. Allow it to cure fully before wearing. To prevent this issue proactively, always ensure that beads woven into ladder yarn have been treated with a bead reamer to smooth out any microscopic glass or stone burrs left from the drilling process.
Cleaning and Maintenance Protocols
Ladder yarn necklaces act as magnets for dust, skin oils, and cosmetics, which can weigh down the fiber and dull the appearance of the rungs. Never submerge a ladder yarn necklace in water or use harsh chemical jewelry dips, as these will strip the dyes and degrade the structural integrity of the yarn.
Instead, use a dry-cleaning method. Lay the necklace flat and use a clean, soft-bristled makeup brush to gently sweep dust out from between the rungs. For localized oil stains near the clasp, dip a cotton swab in a small amount of anhydrous ethanol (99% isopropyl alcohol) and gently dab the soiled area. The alcohol will dissolve the sebum without introducing moisture that could cause the yarn to stretch or the metal findings to tarnish. Store the repaired necklace flat in an acid-free tissue-lined box, away from direct sunlight, to preserve both the fiber tension and the vibrancy of the dye.


