How to Clean and Restore a Vintage Park Lane Pearl Necklace
Learn how to safely clean, evaluate, and restring your vintage Park Lane pearl necklace with this expert step-by-step restoration guide.

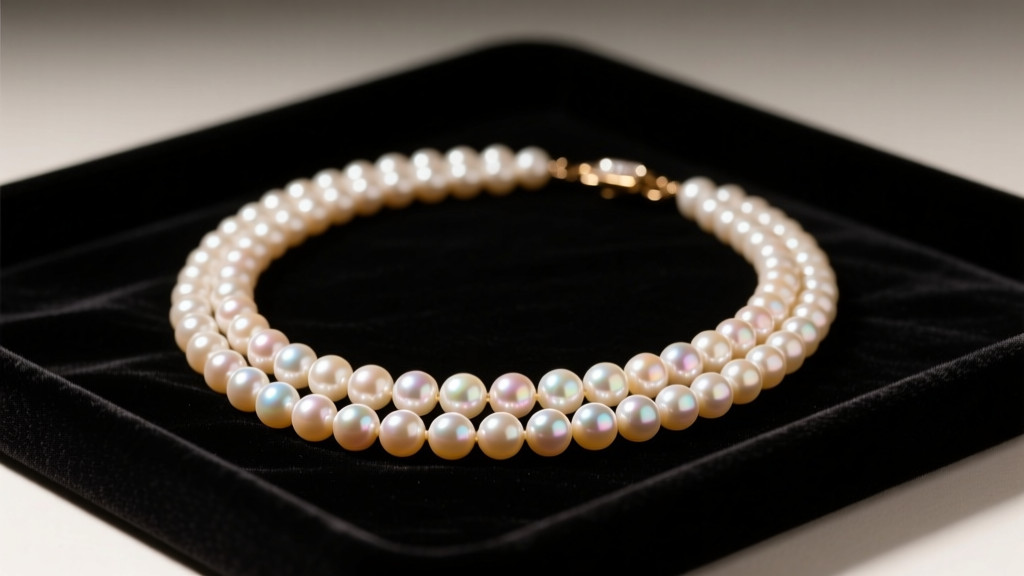
The 2026 Resurgence of Vintage Park Lane Pearls
As of 2026, vintage Park Lane jewelry has experienced a massive renaissance among collectors and fashion archivists. Founded in 1955, Park Lane dominated the direct-sales jewelry market for decades, producing thousands of distinct pearl necklace designs. Their mid-century simulated pearl pieces are particularly coveted today. However, finding a vintage Park Lane pearl necklace in pristine condition is rare. Decades of wear, exposure to cosmetics, and improper storage often leave these strands dull, yellowed, or broken. Restoring a Park Lane pearl necklace requires a deep understanding of the specific materials the company used, as treating them like genuine nacre or modern acrylics will result in irreversible damage. This comprehensive guide will walk you through the exact steps to identify, clean, and professionally restring your vintage Park Lane pearls.
Understanding Your Park Lane Pearls: Glass vs. Plastic
Before applying any cleaning solution, you must identify the core material of your Park Lane pearls. From the 1960s through the early 1980s, Park Lane frequently utilized high-quality glass beads coated with essence d'orient. This pearlescent coating is derived from guanine, a crystalline material extracted from fish scales, which gives the beads a deep, realistic luster. By the late 1980s and 1990s, the brand transitioned heavily toward plastic pearlized beads to reduce weight and manufacturing costs.
Identification Framework
- The Temperature Test: Glass pearls feel distinctly cool to the touch and take several seconds to warm up against your skin. Plastic pearls feel room temperature immediately upon contact.
- The Weight Differential: Glass is significantly denser. A standard 16-inch strand of 8mm glass pearls will weigh roughly 45 grams, while plastic equivalents hover around 15 grams.
- Magnification Inspection: Under a 10x jeweler's loupe, coated glass pearls often show overlapping platelet structures or a perfectly smooth, deep luster if coated on the inside (similar to Majorica pearls). Plastic pearls will often reveal microscopic mold seams or a painted, uniform surface that lacks optical depth.
Step 1: The Safe Cleaning Protocol
The most common mistake vintage buyers make is using modern jewelry cleaning solutions on mid-century faux pearls. According to the Gemological Institute of America (GIA), simulated pearls with organic coatings are highly susceptible to chemical stripping. Never use ultrasonic cleaners; the cavitation bubbles will strip the guanine coating off glass pearls in seconds. Furthermore, avoid ammonia, bleach, vinegar, and commercial silver dips, as these will dissolve the pearlescent finish and leave you with bare, transparent glass beads.
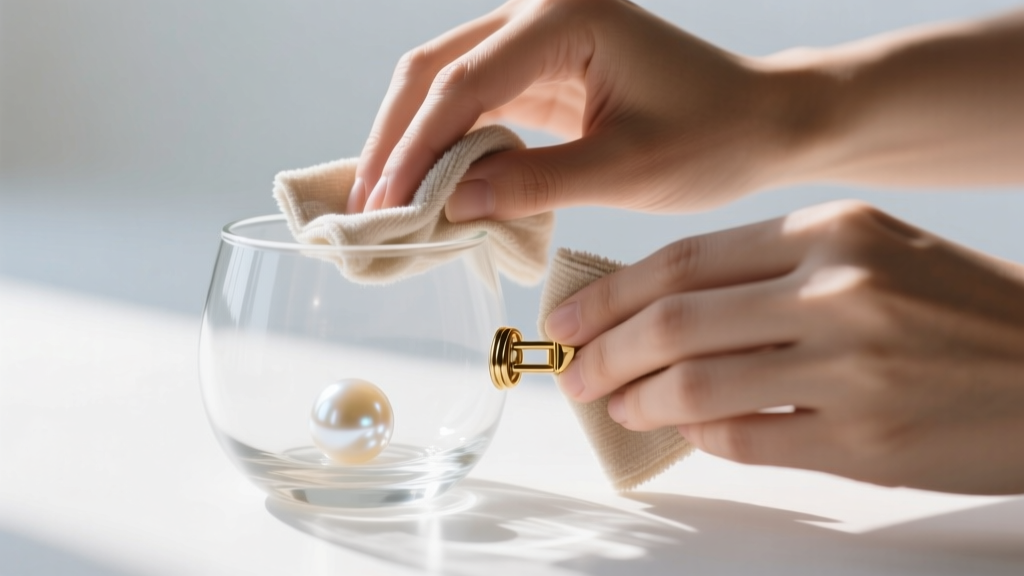
Step-by-Step Cleaning Instructions
- Mix a Mild Solution: Combine a few drops of pH-neutral baby shampoo into a bowl of distilled water. Tap water contains minerals and chlorine that can leave microscopic deposits on the pearl surface.
- Dampen, Do Not Soak: Lightly dampen a lint-free microfiber cloth. Never submerge the strand in water. Water trapped inside the drill holes can rot the internal cotton or early nylon thread, leading to sudden breakage.
- Wipe Individually: Gently wipe each pearl one by one, rotating the bead to ensure you remove body oils and perfume residue from the entire surface. Avoid rubbing the metal clasps, especially if they are gold-plated brass, as friction can wear through the plating.
- Dry Immediately: Use a separate, dry microfiber cloth to buff the pearls dry. Allow the strand to lay completely flat on a towel for 24 hours to ensure any moisture trapped near the drill holes fully evaporates before storage.
Step 2: Inspecting the Hardware and Clasps
Park Lane utilized a variety of clasps over their 50-year history. Early 1960s pieces often feature simple spring-ring clasps or fold-over safety clasps made of gold-plated base metal. By the 1970s, they introduced their signature hang-tags and more secure lobster claws. Inspect the jump rings connecting the clasp to the pearl strand. If the metal shows signs of verdigris (a green, powdery corrosion common in vintage brass), you must carefully clean it with a dry, soft-bristled toothbrush. Do not apply liquid cleaners to the jump rings, as the liquid will inevitably wick into the adjacent pearl's drill hole.
Step 3: Restringing Your Necklace (When and How)
If the thread is yellowed, brittle, or you notice gaps between the knots, restringing is mandatory. Park Lane originally strung many of their necklaces on heavy cotton or early synthetic threads that degrade and stretch over 30 to 40 years. The Fire Mountain Gems Beading Encyclopedia recommends using natural silk for vintage glass pearls, as it provides the correct drape and historical accuracy.
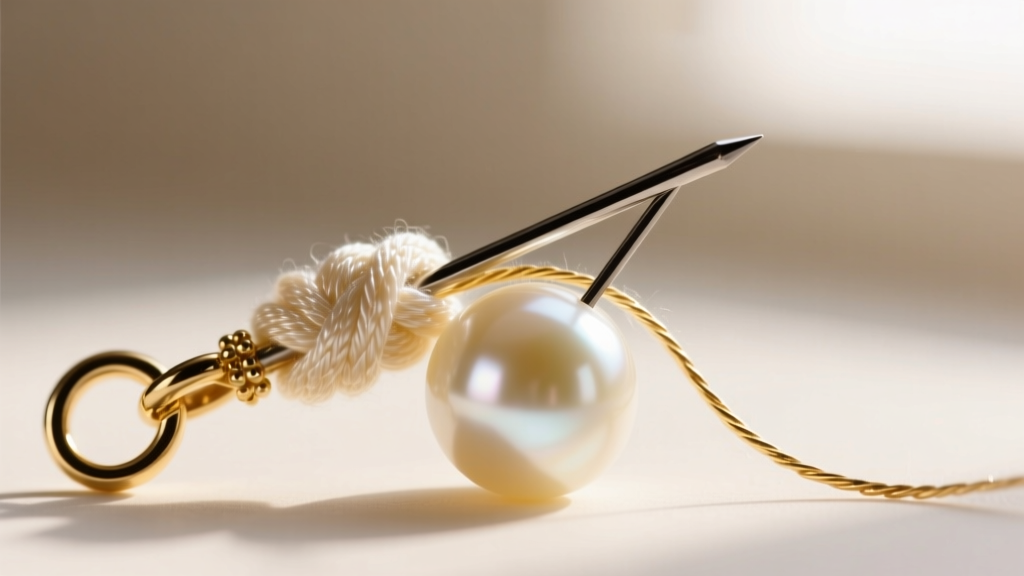
Tools Required for Restringing
- Griffin 100% natural silk beading thread with an attached twisted wire needle (Size D for 6-7mm pearls, Size E for 8-9mm pearls).
- A stainless steel beading awl for seating knots.
- Gold-filled or sterling silver French wire (also known as bullion) to protect the silk from fraying against the metal clasp.
- Sharp, flush-cutting beading scissors.
The Restringing Process
1. Secure the Clasp: Cut a piece of French wire about 1 inch long. Thread the silk through the French wire, then through the jump ring of your clasp. Fold the silk back on itself and tie a secure surgeon's knot. The French wire acts as a protective metal shield so the silk doesn't saw against the metal ring.
2. The Anchor Pearls: String the first three pearls onto the needle. Pass the needle back through the first two pearls to create a locked loop, then tie a half-hitch knot. This prevents the clasp from pulling through if the main thread breaks.
3. Knotting Between Pearls: String one pearl, then tie an overhand knot. Insert the tip of your beading awl into the knot and slide it down tightly against the pearl before pulling the thread taut. This ensures zero gaps between the pearls and prevents them from rubbing against one another, which can chip the drill holes.
4. Finishing the Strand: Once all pearls are strung, attach the opposite side of the clasp using the same French wire and surgeon's knot technique. Apply a microscopic drop of flexible jewelry adhesive (like GS Hypo Cement) to the final knot, let it cure for 24 hours, and trim the excess silk.
Material Comparison: Restringing Threads
| Thread Material | Best Used For | Pros | Cons |
|---|---|---|---|
| Natural Silk (Griffin) | Vintage glass pearls, high-end faux pearls | Historical accuracy, beautiful drape, knots securely | Can stretch over time, degrades with moisture |
| Nylon (Nymo) | Plastic pearlized beads, heavy statement pieces | Incredible tensile strength, moisture resistant | Stiff drape, knots can slip if not melted |
| Stainless Steel Wire | Heavy crystal or gemstone beads | Unbreakable, no stretching | Cannot be knotted, requires crimp beads, ruins vintage aesthetic |
Step 4: Proper Storage to Prevent Peeling
How you store your restored Park Lane necklace dictates its lifespan. Never hang a pearl necklace on a jewelry tree or hook; gravity will permanently stretch the silk thread, creating unsightly gaps between the knots. Always store the necklace flat in its original Park Lane box, or wrap it in acid-free, unbuffered tissue paper. Avoid storing pearls in PVC plastic bags or modern vinyl jewelry rolls, as these materials off-gas chemicals that will yellow and degrade the pearl coating over time. Keep the necklace in a climate-controlled environment, as extreme fluctuations in humidity can cause the glass core and the organic guanine coating to expand and contract at different rates, leading to peeling.
Sourcing Replacement Parts and Appraisal Tips
If your Park Lane necklace is missing its signature hang-tag or features a broken clasp, sourcing period-correct replacements is vital for maintaining its collector value. Search specialized vintage jewelry supply forums or estate sale liquidators for original Park Lane findings. When evaluating the piece for insurance or resale, remember that multi-strand chokers and opera-length ropes from the 1960s command the highest premiums in the current market. By following these meticulous restoration steps, you ensure that your vintage Park Lane pearl necklace remains a wearable piece of fashion history for decades to come.


