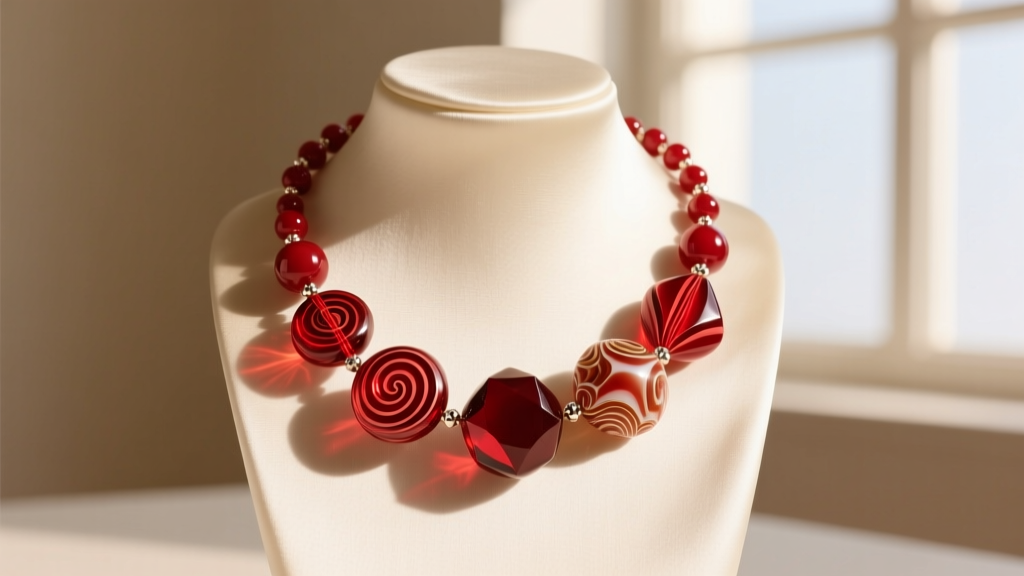
How to Clean and Restring Vintage Beaded Necklaces Safely
Learn how to safely clean, authenticate, and restring vintage beaded necklaces. Step-by-step guide to preserving patina and choosing the right thread.

Assessing Your Vintage Beaded Necklaces Before Restoration
Restoring vintage beaded necklaces requires a meticulous understanding of mid-century and antique materials. Unlike modern mass-produced jewelry, vintage pieces often feature organic gems, early synthetics, and hand-blown glass that react poorly to standard jewelry cleaners. Before you even think about restringing, you must accurately identify the bead composition. Misidentifying a 1930s celluloid bead as glass and cleaning it with alcohol will literally melt the surface, destroying its historical and monetary value.
According to the conservation guidelines outlined by Lang Antiques University, the first step in any vintage jewelry restoration is a non-destructive material assessment. You must examine the bead holes for wear, check the clasps for structural fatigue, and identify the core materials. For early plastics like Bakelite, avoid the destructive "hot pin test" favored by amateur collectors. Instead, use the hot water smell test (Bakelite emits a distinct formaldehyde odor when warmed) or apply a tiny dot of Simichrome polish on a cotton swab; if it turns yellow, it is genuine Bakelite.
Material Identification and Cleaning Restrictions
| Material | Era Commonality | Safe Cleaning Agent | Strictly Avoid |
|---|---|---|---|
| Bakelite | 1920s-1940s | Damp microfiber, mild soap | Alcohol, ammonia, ultrasonic |
| Celluloid | 1900s-1930s | Dry soft cloth only | Water, chemicals, heat |
| Murano Glass | 1950s-Present | Dish soap, distilled water | Harsh abrasives |
| Jet (Fossilized Wood) | Victorian | Mineral oil, soft cloth | Water, ultrasonic, steam |
The Safe Cleaning Protocol for Antique Beads
Once you have identified the materials, you can proceed with cleaning. The golden rule for vintage beaded necklaces is to never submerge the entire strand. Water trapped inside the bead holes can cause internal degradation, especially in porous stones like turquoise or lapis lazuli, and will rot any remaining organic thread.

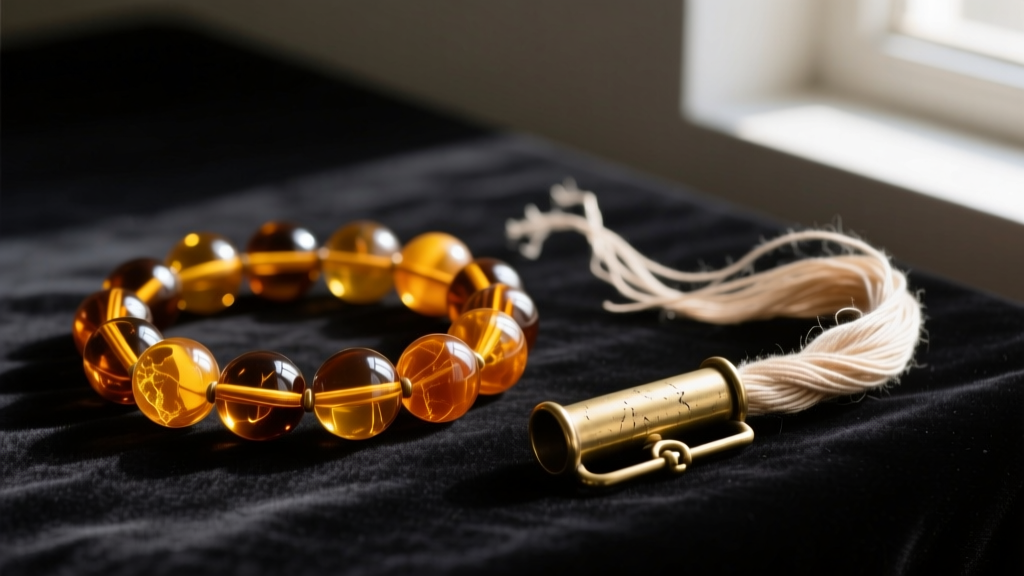
For stable materials like glass, agate, or amber, prepare a solution of lukewarm distilled water and a single drop of pH-neutral castile soap. Dip a soft-bristled makeup brush or a microfiber swab into the solution, gently agitate the surface of each bead, and immediately dry it with a lint-free cloth. For metal beads or findings with heavy oxidation, do not use silver dip or brass polish. These chemicals strip the antique patina that collectors prize. Instead, use a dry polishing cloth specifically treated with jeweler's rouge to gently buff only the high points of the metal, leaving the dark oxidation in the crevices intact to highlight the vintage craftsmanship.
Step-by-Step Guide to Restringing Vintage Beads
The most critical mistake novices make when restoring vintage beaded necklaces is using modern beading wire (like Soft Flex). While beading wire is incredibly strong, it acts like a saw against the interior of antique glass and stone bead holes. Over time, the steel core will cut right through the bead, ruining it. According to the Gemological Institute of America (GIA), matching the stringing material to the bead's hardness and hole size is paramount for long-term preservation.
Selecting the Right Thread
- Size F or G Silk Thread (Griffin): The gold standard for vintage pearls, small glass beads, and amber. Silk drapes beautifully and knots securely, but it stretches over time and requires periodic restringing.
- Nymo D or Power Pro (#8): Ideal for heavier vintage stone beads, large Lucite, or Bakelite. Nylon does not stretch like silk and offers superior tensile strength without the abrasive qualities of steel wire.
- French Wire (Bullion): Not a stringing material, but a necessary finding. Use fine silver or gold-filled French wire to protect the silk or nylon thread where it loops through the clasp ring, preventing metal-on-thread friction.
The French Knotting Technique
If your vintage beads are heavy or have large holes, knotting between each bead is non-negotiable. It prevents the beads from grinding against one another and ensures that if the necklace breaks, you only lose one bead rather than the entire strand. Use a traditional beading awl to push the knot tight against the bead hole. For beads with holes too small for a doubled thread, use a collapsible eye needle and a single strand of nylon, relying on a secure surgeon's knot at the clasp.
Preserving Original Clasps and Findings
The clasp on a vintage beaded necklace is often a primary indicator of its age and authenticity. A 1920s flapper necklace might feature a delicate brass barrel clasp, while a 1950s piece might use a sturdy sterling silver box clasp with a figure-eight safety catch. Whenever possible, reuse the original clasp. Replacing an original patinated brass clasp with a modern shiny lobster clasp instantly diminishes the piece's historical integrity and resale value.
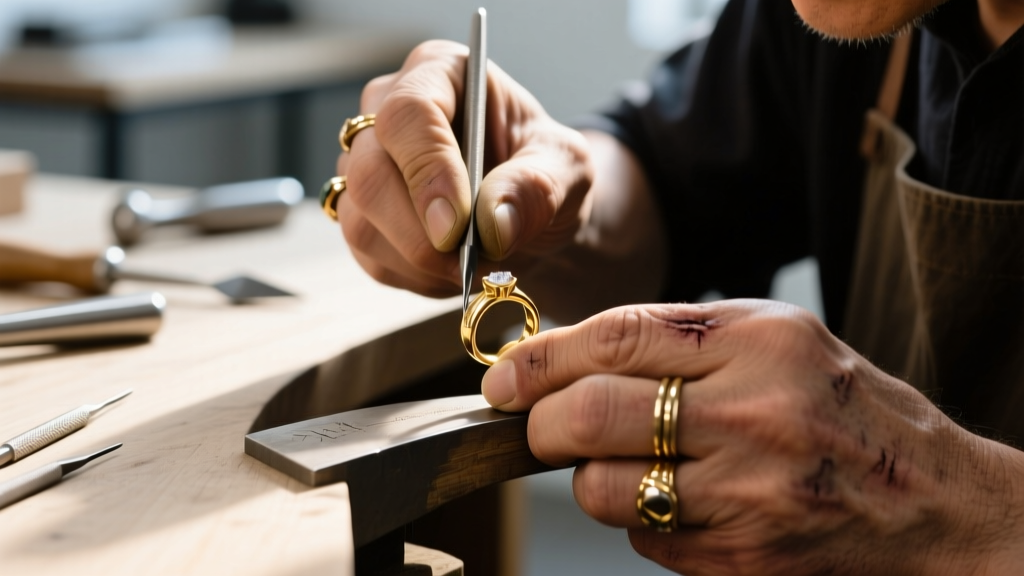
To reattach the original clasp, carefully open the jump ring using two pairs of flat-nose pliers, twisting it laterally rather than pulling it apart, which weakens the metal. If the original jump ring is deeply grooved or structurally compromised, replace it with a vintage-style split ring or a heavy-gauge jump ring that matches the original metal color and finish. Always solder the jump ring closed if you have the tools and expertise; if not, ensure the gap is completely flush to prevent the silk thread from slipping through.
Troubleshooting Common Restoration Failures
Even experienced jewelers encounter issues when working with antique materials. Here is how to troubleshoot the most common failure modes associated with vintage beaded necklaces:
- Thread Rot Inside the Bead: If you are restringing and the old cotton thread keeps snapping inside the bead hole, do not pull forcefully. Use a fine-gauge reamer or a piece of stiff fishing line to gently push the old thread out. Forcing it can crack fragile glass from the inside.
- Enlarged Bead Holes: Decades of wear can cause bead holes to become oval or oversized, making knots slip through. The solution is to use bead tips (clamshell knot covers) or tie a double knot with a tiny seed bead acting as a washer against the main bead.
- Clasp Slippage: Vintage barrel clasps often unscrew themselves due to body oils and movement. Apply a microscopic drop of clear, jewelry-safe threadlocker (not superglue) to the threads of the barrel clasp to keep it secure while allowing future opening for cleaning.
By respecting the historical materials and utilizing period-appropriate stringing techniques, you ensure that your vintage beaded necklaces remain wearable, structurally sound, and historically accurate for decades to come.