Restoring a Vintage Gold Locket Necklace: Repair Guide
Learn how to troubleshoot, repair, and restore a vintage gold locket necklace. Expert tips on fixing hinges, clasps, and preserving antique patina.

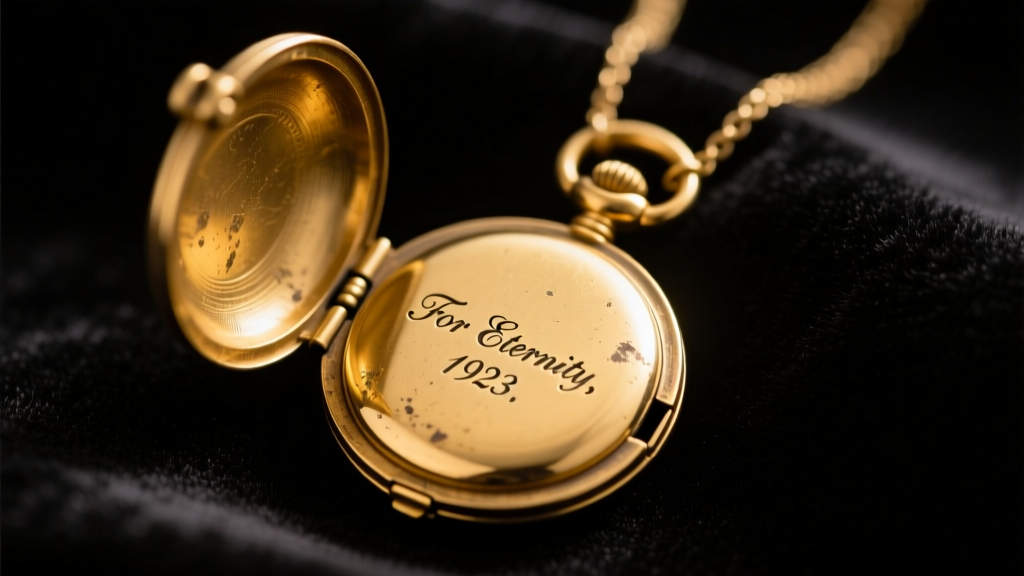
The Anatomy of Antique Lockets: Identifying the Damage
A vintage gold locket necklace is more than just an accessory; it is a tangible piece of history and a vessel for profound sentimental value. Whether inherited from a grandmother or discovered at an estate sale, these antique treasures often arrive with decades of wear. Before attempting any restoration, it is crucial to understand the delicate anatomy of a locket. The primary components include the bail (the loop connecting the locket to the chain), the jump ring, the hinge barrel, the hinge pin, the clasp mechanism, the glass or acrylic bezels, and the internal photo inserts.
Diagnosing the exact point of failure is the first step in problem-solving. Is the locket failing to close because of a bent hinge barrel, or is the hinge pin simply missing? Is the gold chain breaking at the jump ring due to friction wear? By isolating the specific mechanical or cosmetic issue, you can determine whether a gentle DIY approach is safe or if the piece requires the steady hands of a master jeweler.
Troubleshooting Common Vintage Gold Locket Issues
Below is a diagnostic framework for the most frequent problems encountered with antique lockets. Use this table to identify your issue and the appropriate intervention level.
| Issue | Probable Cause | DIY Fix | Professional Fix |
|---|---|---|---|
| Locket won't close flush | Bent hinge barrel or internal debris | Clean hinge with a wooden toothpick and compressed air | Re-solder or reshape the barrel with a mandrel |
| Hinge pin missing or loose | Decades of friction wear and tear | Replace with 0.8mm brass wire (temporary) | Laser weld a new karat-matched gold pin |
| Clasp won't latch securely | Weak spring tension or worn jump ring | Replace the jump ring with a heavier gauge | Solder a new spring ring or lobster clasp |
| Glass insert cracked or loose | Impact damage or frame bending | Order custom beveled replacement glass | Re-seat glass and tighten the bezel lip |
Stuck or Broken Hinges: The Galvanic Corrosion Trap
The hinge is the most critical mechanical joint on any vintage gold locket necklace. Over time, the microscopic friction of opening and closing wears down the hinge pin. A common mistake made by amateur repairers is replacing a lost gold pin with a standard steel sewing needle or steel wire. This introduces galvanic corrosion. When steel touches gold in the presence of ambient moisture, the steel will rapidly oxidize, rust, and eventually seize the hinge entirely, potentially cracking the gold barrel.
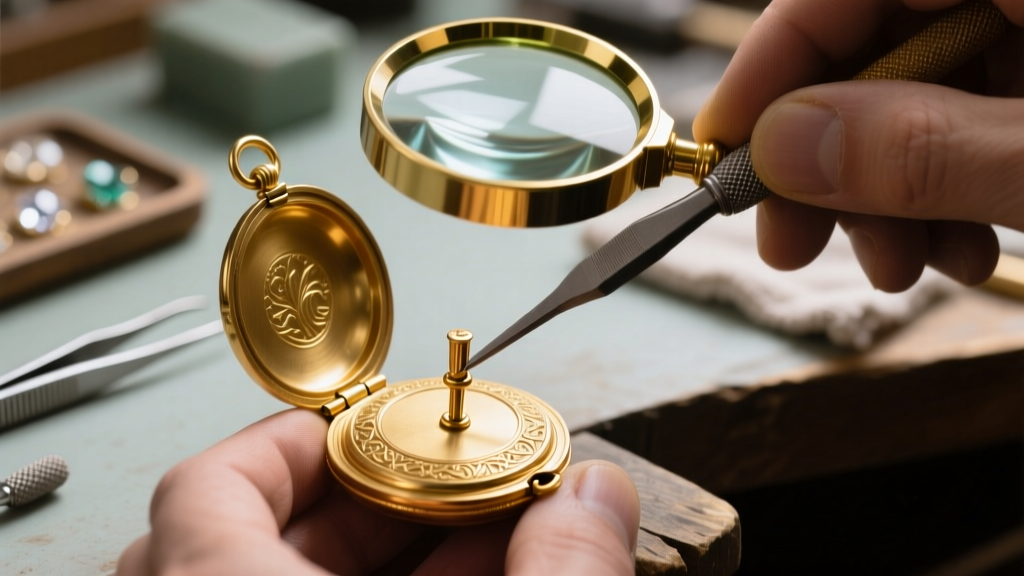
If you must perform a temporary field repair, use 0.8mm or 1.0mm brass or copper wire, which are softer and less reactive. However, for a permanent restoration, a jeweler will use a laser welder to fuse a new 14k or 18k gold pin into place. Laser welding is preferred over traditional torch soldering because the localized heat prevents damage to any antique enamel guilloché on the locket's exterior and protects the fragile glass bezels from thermal shock.
Faulty Spring Ring and Jump Ring Clasps
Examine the jump ring that connects the chain to the locket's bail. This is the primary "rub point" of the necklace. Over 50 to 100 years, the friction from the chain can wear a circular groove into the jump ring, creating a weak "C" shape that is prone to snapping. If you see a visible groove or thinning of the metal, the jump ring must be replaced immediately to prevent the loss of the locket. Upgrade to a soldered, solid jump ring rather than a split ring to ensure maximum security for heavy gold lockets.
Authenticating and Cleaning Without Ruining the Patina
Restoration is not just about mechanical repair; it is about preserving the historical integrity of the piece. Aggressive cleaning can strip away the antique value of a vintage gold locket necklace in minutes.
Verifying Gold Purity (Karat Marks vs. Acid Tests)
Before applying any chemical cleaners or attempting soldering, you must verify the gold purity. Look for hallmarks on the inside of the locket cover or on the bail. According to the Assay Office London, common vintage marks include 375 (9k gold), 585 (14k gold), and 750 (18k gold). You may also see a lion passant for British sterling/gold standards or an eagle head for French 18k gold. If the piece is unmarked, a professional jeweler can perform a non-destructive XRF (X-ray fluorescence) test to determine the exact alloy composition without filing or acid testing the antique surface.
The Right Way to Clean Oxidized Engraved Gold
Never place a vintage locket in an ultrasonic cleaner. The high-frequency cavitation bubbles can easily shatter antique glass bezels and will instantly dissolve the fragile emulsions of any 19th-century daguerreotype or tintype photographs housed inside. Furthermore, ultrasonic waves can shake loose the delicate enamel inlay.
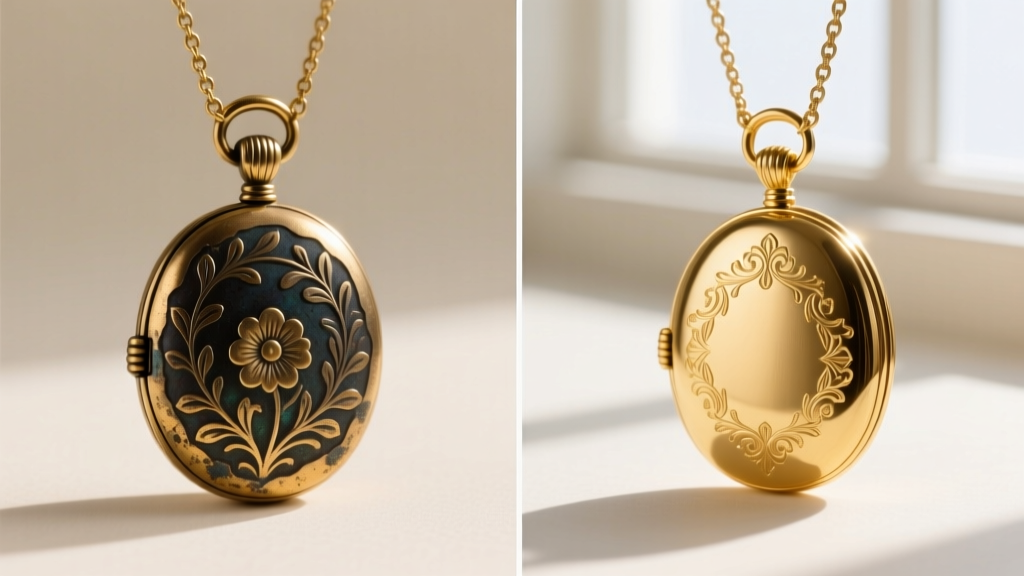
Expert Rule of Thumb: Patina is the dark oxidation that settles into the crevices of engravings. It provides contrast and proves the age of the piece. Never polish the crevices; only polish the high points.
To clean the exterior safely, use a solution of distilled water and a few drops of phosphate-free dish soap. Gently agitate with an extra-soft baby toothbrush. Rinse with distilled water to avoid hard water spots, and pat dry with a microfiber cloth. For the high-relief areas, use a treated jeweler's polishing cloth, deliberately avoiding the deep floral or monogrammed engravings to preserve the dark, historical contrast. For more on preserving precious metals, refer to the Gemological Institute of America (GIA) guidelines on gold care.
Sourcing Replacement Parts for Discontinued Lockets
Finding replacement parts for a locket manufactured in the 1890s or 1920s requires specialized sourcing. If the glass inserts are cracked, standard glass cutters will not suffice. Lockets require beveled edge glass to sit flush within the microscopic lip of the gold bezel frame. Master jewelers typically source these from specialized lapidaries or suppliers like Stuller, who can cut custom 1mm thick beveled glass to the exact millimeter.
If the internal photo retaining rings (the thin metal clips that hold the picture in place) are missing, do not use modern tape or glue, which will off-gas and destroy the photograph over time. Instead, cut custom retaining washers from archival-quality, acid-free Mylar or polyester film. This ensures the photograph remains chemically stable and secure without adhering directly to the antique paper.
When to Call a Master Jeweler vs. DIY Fixes
While replacing a jump ring or gently cleaning the exterior of your vintage gold locket necklace is safe for a careful owner, structural repairs demand professional intervention. If the locket's hinge barrel is cracked, if the gold itself is suffering from metal fatigue (micro-fractures along the fold), or if the piece features intricate guilloché enamel, hand it over to a jeweler who specializes in antique restoration. By combining careful diagnostics with historically respectful cleaning techniques, you can ensure that your vintage locket survives to hold memories for another century.


