Restoring a Turquoise Bead Necklace Vintage Piece: Expert Guide
Discover expert troubleshooting for your turquoise bead necklace vintage piece. Learn to identify fakes, restring degraded cords, and stabilize cracked beads.

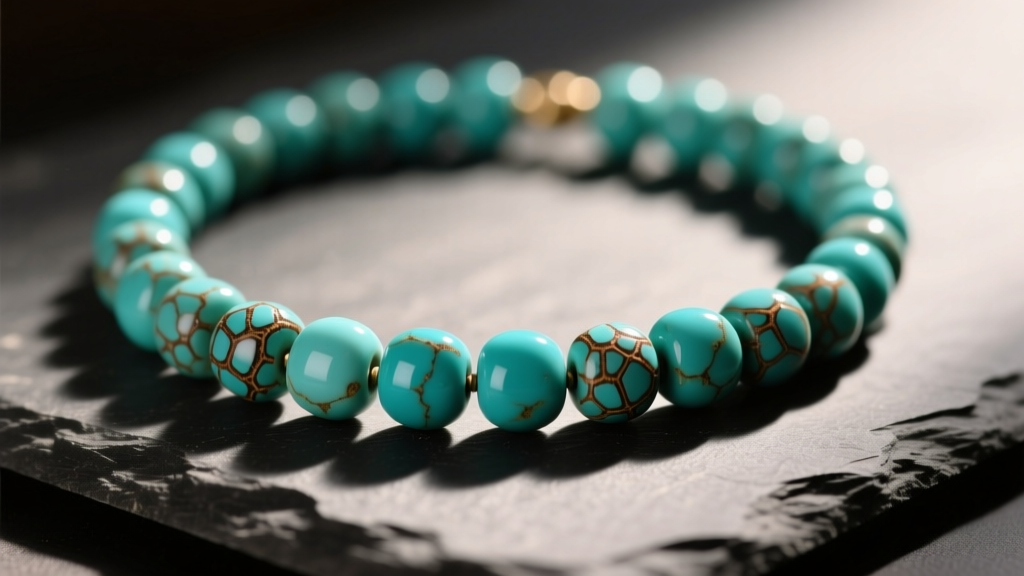
Acquiring a turquoise bead necklace vintage piece is a thrilling experience for any jewelry collector, but it often comes with a unique set of structural and material challenges. Unlike modern, machine-cut gemstones, vintage turquoise beads carry decades of environmental exposure, outdated stringing methods, and, in some cases, undisclosed chemical treatments. Whether you have inherited a mid-century Navajo strand or found a 1970s bohemian choker at an estate sale, troubleshooting these issues requires a deep understanding of mineralogy and jewelry conservation.
In this comprehensive guide, we will diagnose the most common failures found in vintage turquoise strands, provide actionable frameworks for authentication, and detail the exact materials needed to restore your piece to wearable condition without compromising its historical integrity.
The Authentication Challenge: Real vs. Treated Vintage Turquoise
The secondary market is flooded with turquoise simulants and heavily treated stones. Before attempting any physical restoration, you must accurately identify the material. According to the Gemological Institute of America (GIA), natural turquoise is a porous, hydrous copper aluminum phosphate that is frequently stabilized or imitated to improve durability and color.
Visual and Tactile Diagnostics
When examining your beads, use a 10x jeweler's loupe to inspect the matrix (the host rock webbing) and the bead surface. Natural, untreated vintage turquoise will show micro-pitting, uneven color zoning, and a matrix that sits slightly recessed or flush with the stone. If the matrix looks like uniform, painted-on black lines that pool in the crevices, you are likely looking at dyed howlite or magnesite.
Another common vintage treatment is 'block turquoise'—a composite of turquoise dust and plastic resin. Block beads feel unnaturally warm to the touch and lack the deep, waxy luster of solid stone. While the traditional 'hot pin test' (touching a heated needle to an inconspicuous area to smell for melting plastic) was popular in the past, conservationists strongly advise against it today, as it causes irreversible thermal shock and scarring to the bead.
| Material Type | Mohs Hardness | Visual Clues under 10x Loupe | Restoration Approach |
|---|---|---|---|
| Natural Untreated | 5.0 - 6.0 | Micro-pitting, natural color zoning, recessed matrix | Gentle cleaning, silk restringing |
| Stabilized (Epoxy) | 6.0 - 7.0 | Overly perfect surface, glass-like luster, dye concentration in cracks | Standard restringing, avoid solvents |
| Dyed Howlite | 3.5 | Uniform gray/white base, black dyed veins pooling in cracks | Avoid abrasion, keep away from acids |
| Block Composite | 4.0 - 5.0 | Plastic-like luster, lack of natural crystal structure | Treat as costume jewelry, no ultrasonics |
Troubleshooting Structural Failures in Vintage Strands
The most frequent point of failure in any vintage bead necklace is the stringing material. Mid-century pieces were often strung on cotton thread, early nylon monofilaments, or low-grade synthetic cords that degrade, stretch, and become brittle over decades of wear and exposure to skin oils.
Diagnosing Cord Degradation
Gently flex the necklace. If you see gaps between the beads where the cord is visible, or if the strand feels rigid and kinked rather than draping fluidly, the internal cord has suffered structural fatigue. Continuing to wear the necklace in this state risks a catastrophic snap, resulting in lost beads and potential chipping if they hit a hard floor.
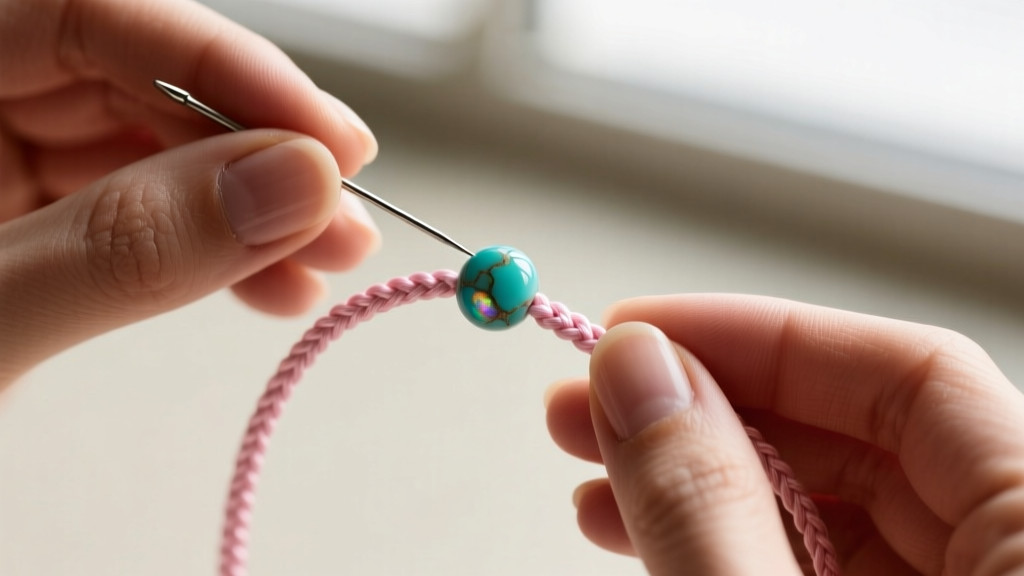
Step-by-Step Restringing with Modern Micro-Cords
Vintage turquoise beads often feature irregular, roughly drilled holes ranging from 1.2mm to 2.5mm. To accommodate these varying diameters while ensuring maximum tensile strength, you must select the correct modern stringing material.
- For heavy, irregular nuggets: Use a 49-strand micro-wire, such as Beadalon 0.018-inch stainless steel wire coated in nylon. This provides the necessary drape and a breaking strength of over 20 pounds.
- For smooth, round, or heishi beads: Use a high-quality braided polyethylene cord (like Power Pro 10lb test) or Griffin 100% silk cord (size #4 or #6). Silk offers the traditional vintage drape but requires regular replacement.
Pro-Troubleshooting Step: Always use French wire (also known as gimp or bullion) at the clasp connection points. Vintage metal clasps often have sharp, unfinished internal edges that will saw through a nylon or silk cord over time. Thread the cord through a 2mm piece of fine French wire before attaching the jump ring to create a protective, flexible metal shield.
When finishing the strand, avoid standard overhand knots which can slip through irregular vintage drill holes. Instead, tie a surgeon's knot followed by two half-hitches, and secure the knot with a micro-drop of flexible jewelry adhesive (such as GS Hypo Cement) rather than rigid cyanoacrylate, which can shatter under impact.
Addressing Surface Damage: Cracks, Chalkiness, and Matrix Loss
Turquoise is highly sensitive to its environment. As noted by mineralogical databases like Mindat.org, turquoise can lose its structural water content over time, leading to a condition known as 'crazing'—a network of fine, spiderweb-like cracks across the surface of the bead.
Stabilizing Chalky and Crazed Turquoise at Home
If your vintage beads feel chalky, leave a blue residue on your skin, or exhibit micro-cracks, they are likely low-grade, highly porous turquoise that was never properly stabilized at the time of manufacture. You can halt this degradation at home using a fracture sealer.
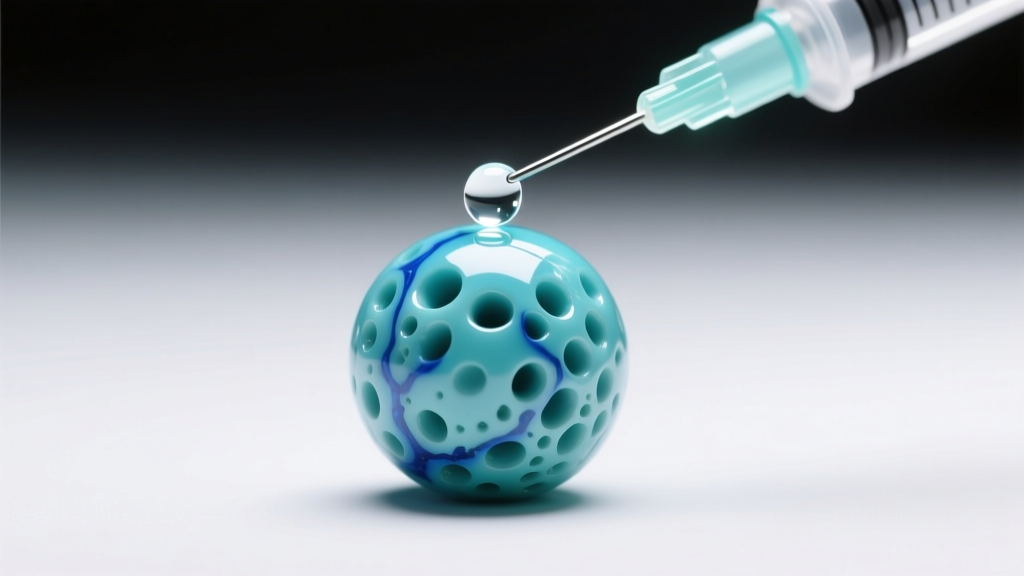
- Clean the beads gently with a dry, soft-bristled brush. Never use water or commercial jewelry dips, as ammonia and harsh chemicals will react with the copper in the turquoise, permanently altering the blue hue to a sickly green or brown.
- Apply a thin, penetrating fracture sealer like Opticon or a low-viscosity cyanoacrylate (CA) glue using a precision syringe tip.
- Allow the sealer to wick into the micro-cracks via capillary action. Wipe away any excess immediately with a dry microfiber cloth before it cures on the surface.
- Let the beads cure in a low-humidity environment for 24 hours before restringing.
Conservation Warning: Never attempt to polish vintage turquoise with a rotary tool or abrasive compounds. Turquoise is relatively soft, and the host rock matrix is often even softer. Polishing will unevenly wear away the matrix, destroying the bead's natural topography and significantly reducing its vintage value.
Long-Term Preservation and Storage Protocols
Once your turquoise bead necklace vintage piece has been authenticated, stabilized, and restrung, proper storage is critical to preventing future troubleshooting sessions. Turquoise is notoriously porous and will absorb oils, lotions, and perfumes, which can darken the stone unevenly and degrade the stringing material.
Store the necklace flat in a soft, anti-tarnish flannel pouch. Avoid hanging the necklace on a jewelry tree for extended periods; the constant gravitational pull can cause the internal cord to stretch, particularly if you used silk or nylon. Furthermore, keep the piece away from extreme heat sources and direct, prolonged sunlight, which can dehydrate the stone and trigger new crazing fractures.
By applying these diagnostic and restorative techniques, you ensure that your vintage turquoise strand remains not just a beautiful artifact of mid-century style, but a structurally sound heirloom ready for decades of future wear.


