Step-by-Step Guide: How to Restring a White Beads Necklace
Learn how to clean, polish, and restring a white beads necklace with our step-by-step guide. Master silk thread knotting and bead care techniques.

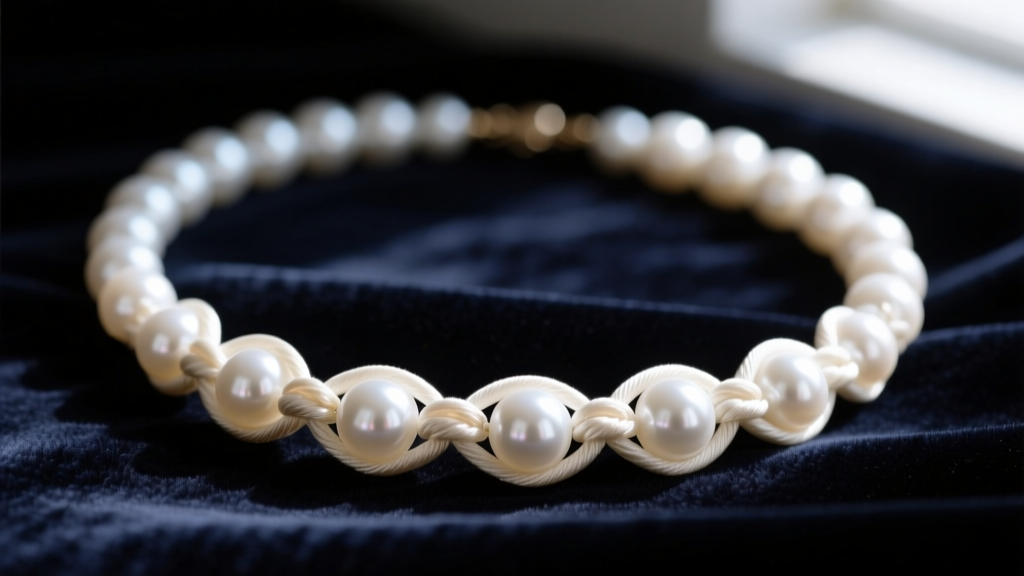
Introduction: The Anatomy of a White Beads Necklace
A classic white beads necklace—whether crafted from lustrous freshwater pearls, milky moonstone, or high-glaze ceramic—is a cornerstone of versatile jewelry styling. However, the structural integrity of these pieces relies entirely on the stringing material. Over time, skin oils, cosmetics, and environmental humidity degrade the silk or nylon threads, leading to catastrophic strand failure. According to the Gemological Institute of America (GIA), organic beads require meticulous care to prevent nacre deterioration and thread rot.
This comprehensive, step-by-step guide will teach you how to safely clean, assess, and professionally restring a white beads necklace at home. By mastering the traditional hand-knotting technique and understanding material grades, you can restore your jewelry to its original elegance while saving hundreds of dollars in bench fees.
Essential Tools and Material Grades
Before beginning, you must source the correct materials. Using rigid threads like fishing line or standard nylon will cause bead-on-bead abrasion, eventually sawing through the drill holes of softer materials like pearls. We recommend 100% natural silk thread, which offers a slight, forgiving stretch that cushions the beads.
| Material | Specification / Grade | Purpose |
|---|---|---|
| Silk Thread | Griffin 100% Silk, Size F (0.35mm) | Primary stringing material for 6mm-9mm beads with 0.8mm drill holes. |
| French Wire (Bullion) | 0.3mm Sterling Silver or Gold-Filled | Protects the silk thread from fraying against the metal clasp. |
| Beading Awl | Steel tip, 0.4mm diameter | Used to push and seat knots flush against the beads. |
| Adhesive | G-S Hypo Cement | Flexible, clear-drying glue that will not become brittle and snap. |
| Clasp | 10mm-12mm Lobster or Spring Ring | Secure closure; avoid toggle clasps for lightweight bead strands. |
Step 1: Assessment and Safe Cleaning
Never restring a dirty necklace. Debris trapped in the drill holes will act like sandpaper against your new silk thread. However, you must avoid ultrasonic cleaners and harsh chemicals, which will strip the nacre off pearls or craze the glaze on ceramic beads.
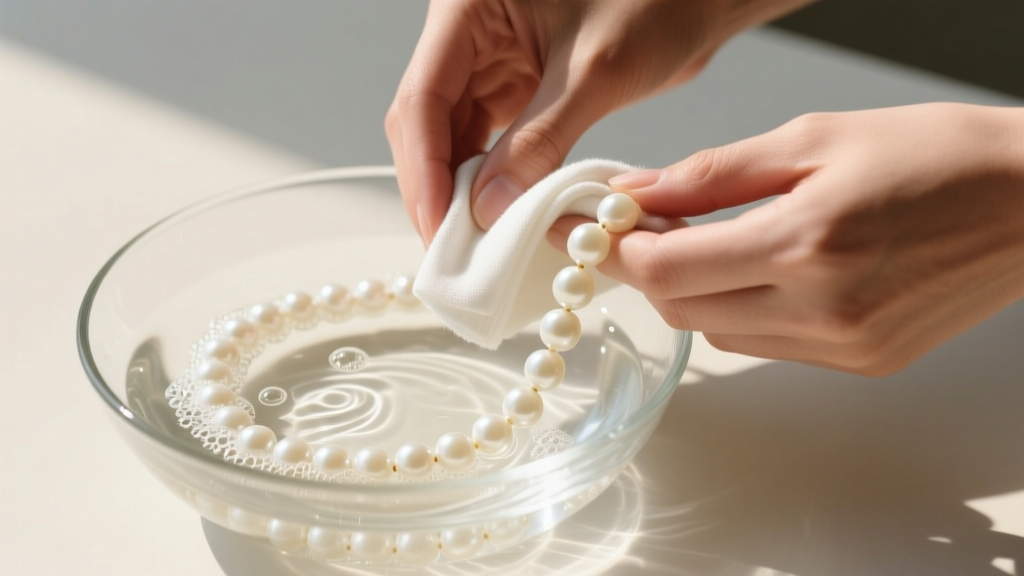
The Cleaning Protocol
- Prepare the Solution: Mix lukewarm distilled water with a few drops of pH-neutral, phosphate-free dish soap. The pH should be close to 7.0 to protect calcium carbonate structures.
- Surface Wipe: Dip a lint-free microfiber cloth into the solution, wring it out until it is barely damp, and gently wipe each individual bead. Do not submerge the necklace if it is still on its old, compromised thread.
- Clear the Drill Holes: Use a wooden toothpick (never metal) to gently ream out any compacted skin cells or cosmetic buildup from the bead channels.
- Dry Completely: Lay the beads flat on a dry towel for 24 hours. Moisture trapped inside the drill holes will mildew the new silk thread from the inside out.
Step 2: Preparing the Clasp and French Wire
The weakest point of any white beads necklace is where the soft thread meets the hard metal clasp. To prevent friction failure, jewelers use French wire (also known as bullion or gimp). This coiled metal wire acts as a protective sleeve for the silk.
Pro-Tip: Cut your French wire using flush cutters, not standard scissors. Standard scissors will crush the delicate coils, making it impossible to thread your needle through the center.
Cut a 3/4-inch piece of French wire. Thread your needle through the jump ring of your clasp, then pass the needle back through the French wire, creating a small loop. Finally, pass the needle down through the first white bead. Apply a microscopic drop of G-S Hypo Cement to the knot you tie to secure this loop, ensuring the glue does not seep onto the visible silk.
Step 3: The Hand-Knotting Technique
Hand-knotting between every single bead is the hallmark of fine jewelry. It prevents the beads from rubbing together and ensures that if the strand breaks, you only lose one bead rather than the entire necklace spilling onto the floor.
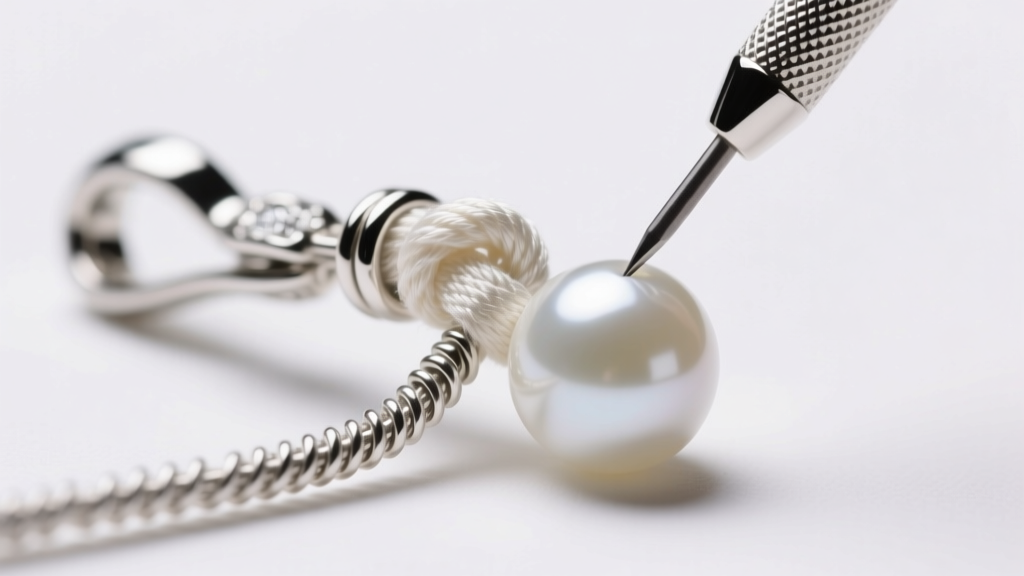
Executing the Overhand Knot
- Thread the Bead: Slide your first white bead down the silk thread until it rests against the French wire loop.
- Tie the Overhand: Form a simple overhand knot (like the first step of tying a shoelace) loosely around the thread.
- Position the Knot: Before tightening, use your 0.4mm beading awl to slide the knot down the thread until it is resting directly against the top of the bead.
- Seat the Knot: Pull the thread taut with one hand while using the awl to gently push the knot flush into the drill hole of the bead. The knot should be tight, centered, and invisible from the front profile.
- Repeat: Slide the next bead down and repeat the process. Maintain consistent tension; if the thread is too loose, you will see unsightly gaps. If it is too tight, the necklace will lack drape and feel rigid.
Troubleshooting Common Failure Modes
Even experienced beaders encounter issues when restringing a white beads necklace. Here is how to diagnose and fix the most common structural failures, drawing on best practices outlined by the Fire Mountain Gems Encyclopedia:
- Thread Fraying at the Drill Hole: This indicates that the bead was drilled with a cheap, dull bit, leaving sharp interior edges. Solution: Use a diamond-coated bead reamer to smooth the interior channel before restringing.
- Gaps Between Knots and Beads: This happens when the thread size is too thin for the drill hole, allowing the knot to slip partially inside the bead. Solution: Upgrade from Size D (0.30mm) to Size F (0.35mm) or Size G (0.40mm) silk thread to ensure a bulky knot that seats on the surface.
- Brittle Glue Joints: If you used cyanoacrylate (Super Glue) instead of flexible jewelry cement, the glue will crystallize and snap when the necklace bends. Solution: Always use G-S Hypo Cement or a flexible two-part epoxy designed for porous materials.
Cost Analysis: DIY vs. Professional Jeweler
Restringing a white beads necklace is a labor-intensive process, which is why professional bench fees can be steep. Below is a comparative breakdown of the costs involved in 2026, assuming an 18-inch princess-length strand.
| Service Level | Estimated Cost | Turnaround Time | Pros & Cons |
|---|---|---|---|
| DIY Restringing | $15 - $25 | 2 - 3 Hours | Pro: Highly cost-effective; you control the materials. Con: Steep learning curve; risk of uneven knots. |
| Local Mall Jeweler | $75 - $120 | 1 - 2 Weeks | Pro: Convenient drop-off. Con: Often outsource to third-party stringers; may use nylon instead of silk. |
| Master Pearl Stringer | $150 - $250+ | 3 - 6 Weeks | Pro: Flawless, traditional French wire and silk knotting. Con: Expensive and requires shipping or travel to a specialist. |
Conclusion
Maintaining a white beads necklace requires patience, precision, and an understanding of material science. By selecting the correct grade of silk thread, utilizing French wire to protect your clasp connections, and mastering the beading awl technique for flush knotting, you can ensure your necklace remains a secure, elegant staple in your wardrobe for decades. Regular cleaning and an annual tension check will prevent sudden breaks, keeping your prized beads safe and beautifully displayed.


