How to Choose and Arrange a Necklace Box Organizer Properly
Learn how to set up a necklace box organizer to prevent tangling and tarnishing. Step-by-step guide on spacing, linings, and chain care.

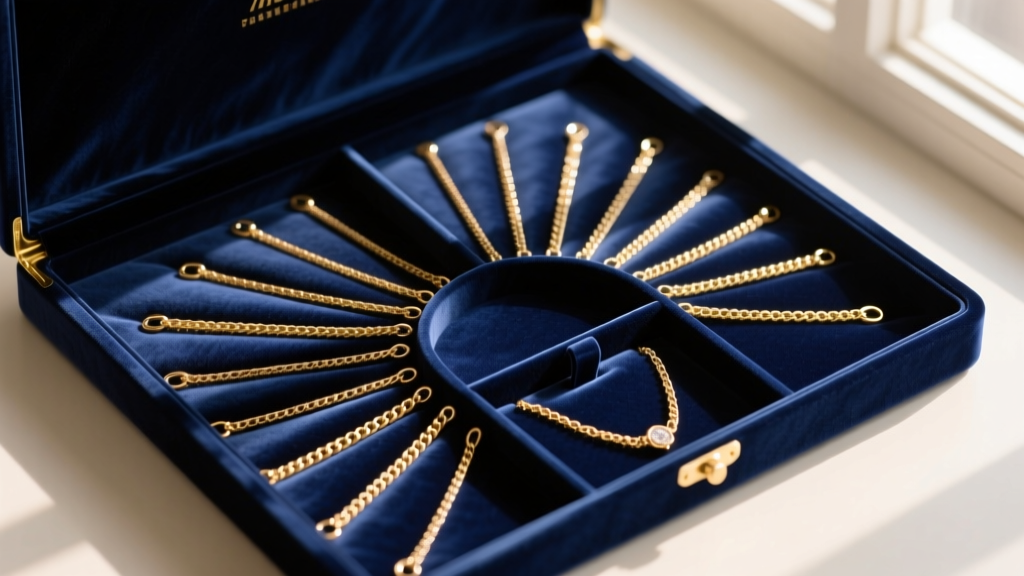
Storing fine jewelry is not merely about keeping pieces in one place; it is an exercise in material science and spatial geometry. A poorly configured necklace box organizer will accelerate tarnishing, induce micro-abrasions, and cause the dreaded 'spontaneous knotting' phenomenon that plagues delicate chains. Whether you are storing a heavy 18k gold Cuban link or a fragile sterling silver herringbone chain, the way you arrange your storage dictates the lifespan of your jewelry.
This step-by-step guide will walk you through the exact methodology for selecting, lining, and spatially mapping your storage to ensure your pendants and chains remain pristine, untangled, and ready to wear.
The Physics of Tangling: Why Your Current Setup Fails
Before arranging your jewelry, it is crucial to understand why chains tangle. In 2007, physicists Dorian Raymer and Douglas Smith published a landmark paper on the spontaneous knotting of agitated strings. They proved that when a string (or chain) is subjected to even minor agitation, the ends will weave through the coils, creating complex knots in seconds.
In a standard jewelry box where necklaces are piled together, opening and closing the drawer provides the exact kinetic energy required for knotting. Furthermore, chains with high link density (like cable chains) act like microscopic gears, catching on the open loops of neighboring chains. To defeat this physics problem, your necklace box organizer must eliminate lateral movement and isolate the chain ends.
Step 1: Selecting the Right Base Material
The structural foundation of your organizer dictates its off-gassing properties. Many mass-market organizers use MDF (medium-density fiberboard) or PVC plastics, which emit formaldehyde and acidic vapors that actively degrade soft metals and porous gemstones like pearls.
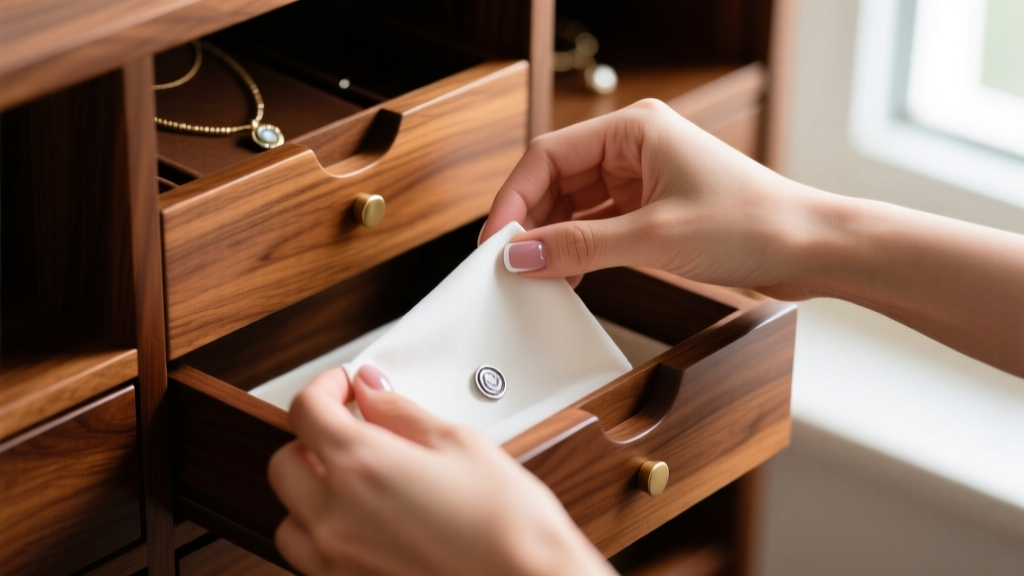
Material Grades for Storage
- Kiln-Dried Hardwoods (Walnut, Maple): Excellent structural integrity, but must be sealed with a water-based polyurethane to prevent natural wood acids from leaching into the lining.
- Acrylic (PMMA): Chemically inert and ideal for modern aesthetics. Ensure the acrylic is cast, not extruded, to prevent warping over time.
- Archival-Grade Cardboard: Used in high-end museum storage. It is acid-free and buffered with calcium carbonate to neutralize ambient acids.
According to the Victoria and Albert Museum's conservation guidelines, avoiding acidic environments is paramount for preserving both metals and organic gems. Always verify that the base material of your organizer is pH-neutral.
Step 2: Integrating Anti-Tarnish Linings
Sterling silver tarnishes when it reacts with hydrogen sulfide (H2S) in the air, forming silver sulfide (Ag2S). Standard velvet or felt linings do nothing to stop this chemical reaction. In fact, some synthetic felts trap moisture, accelerating the process.
To properly line your necklace box organizer, you must use active or barrier anti-tarnish materials:
- Pacific Silvercloth: A 100% cotton flannel embedded with microscopic silver particles. These particles act as a sacrificial anode, absorbing the sulfides before they reach your jewelry. It requires no washing and lasts for years.
- Activated Carbon Foam: Polyurethane foam infused with activated carbon. This is the industry standard for high-humidity environments as it adsorbs a wide spectrum of corrosive gases.
- Anti-Tarnish Strips: If you are on a budget, line the bottom of standard felt drawers with 3M anti-tarnish strips, replacing them every six months.
Step 3: Spatial Mapping for Different Chain Gauges
Not all chains can be stored the same way. Hanging a herringbone chain will ruin its structural integrity, while laying a long cable chain flat wastes valuable drawer real estate. You must map your organizer based on the chain's gauge and link structure.
| Chain Type | Standard Gauge | Storage Orientation | Required Clearance | Vulnerability |
|---|---|---|---|---|
| Herringbone | 2.0mm - 5.0mm | Strictly Flat | Full length + 2 inches | Permanent kinking if bent |
| Snake Chain | 1.5mm - 3.0mm | Flat or Wide Drape | 4-inch minimum drape radius | Micro-fractures at the joints |
| Cable Chain | 1.0mm - 2.5mm | Vertical Hanging | 1.5 inches lateral spacing | Interlocking with other chains |
| Cuban Link | 3.0mm - 10.0mm+ | Flat or Hanging | 2.5 inches lateral spacing | Surface scratching from friction |
When configuring the pegs or hooks in your necklace box organizer, ensure that hanging chains do not touch the bottom of the drawer. A standard 18-inch princess-length necklace requires a vertical drop space of at least 10 inches to hang freely without bunching at the base.
Step 4: The Anchoring and Layering Technique
To completely eliminate the kinetic agitation that causes tangling, you must anchor the chains. Here is a professional jeweler's trick for customizing your organizer:
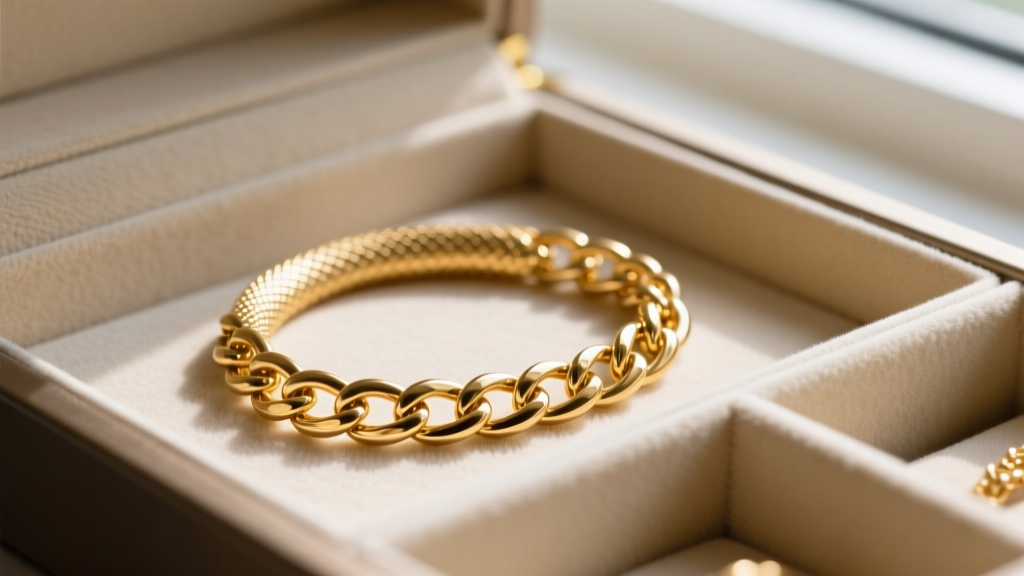
The Silicone Stopper Hack
Purchase food-grade silicone tubing (3mm inner diameter) from a hardware or brewing supply store. Cut the tubing into 5mm segments. When hanging a necklace on a peg, slide one of these silicone rings over the peg and down onto the chain's clasp. The high-friction silicone grips the metal and the peg, completely immobilizing the chain. This prevents the clasp from slipping through the ring and stops the chain from swaying when the drawer is opened.
Layering with Acid-Free Tissue
If your organizer features shallow trays that require stacking chains, never let metal touch metal. The Gemological Institute of America (GIA) notes that friction between pieces can cause micro-scratches, especially on high-polish finishes. Place a sheet of unbuffered, acid-free archival tissue paper between each layer of flat-stored chains. Avoid standard tissue paper, which is highly acidic and will promote tarnishing.
Maintenance Routine for Long-Term Preservation
Setting up your necklace box organizer is only the first step. To maintain an optimal micro-climate inside the box, implement the following maintenance schedule:
- Bi-Annual Silica Gel Replacement: Place two 5-gram indicating silica gel packets in the corners of the main compartment. When the crystals turn from orange to green, recharge them in a 250°F oven for two hours.
- Cleaning Before Storage: Never store a necklace that has been worn without wiping it down. Skin oils, lotions, and sweat contain salts and lactic acid that will corrode metals and degrade silk cords over time. Wipe each chain with a clean, lint-free microfiber cloth before placing it in the organizer.
- Clasp Security Checks: Use the time you spend organizing to inspect lobster clasps and spring rings. A failing spring inside a clasp is much easier to fix before the necklace is lost.
By treating your jewelry storage as a controlled environment rather than a simple container, you protect the financial and sentimental value of your collection. A properly engineered necklace box organizer pays for itself by eliminating the need for professional chain untangling, polishing, and soldering repairs.


