How to Shorten Necklace Chain: Expert Guide for Every Link Type
Learn how to shorten necklace chain links safely. Expert techniques for cutting cable, box, and snake chains without damaging precious metals.

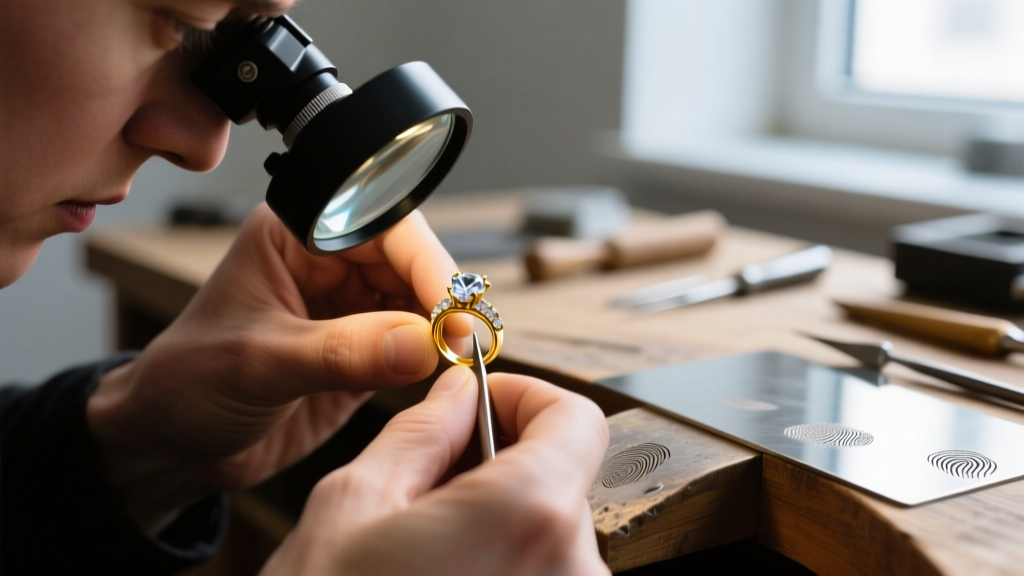
The Metallurgy of Chain Resizing
Learning how to shorten necklace chain structures requires more than just a pair of hardware store wire cutters. Jewelry chains are engineered with specific tension, work-hardening, and structural tolerances. When you alter a chain, you are permanently disrupting the metallurgical balance of the piece. Using improper tools can crush hollow links, induce micro-fractures in solid gold, or cause immediate kinking in snake chains. According to manufacturing standards outlined by Stuller, the integrity of a chain relies heavily on the uniform distribution of stress across its interlocking links. This expert guide breaks down the technical execution of shortening various chain styles, ensuring your alterations remain invisible and structurally sound.
Essential Jewelry Bench Tools for Chain Alteration
Before making a single cut, you must select the correct tool for the specific chain topology. Standard diagonal cutters leave a sharp burr and pinch the wire, creating a stress point that will eventually snap. Professional jewelers rely on specialized equipment to ensure clean, flush cuts.
| Tool Type | Best Used On | Avoid Using On | Technical Specification |
|---|---|---|---|
| Flush Cutters (e.g., Lindstrom RX) | Cable, Curb, Figaro, Rolo | Box, Snake, Herringbone | Leaves a flat, burr-free cut on wire up to 2.0mm |
| Jeweler's Saw (3/0 to 8/0 blade) | Box, Rope, Wheat | Delicate hollow chains | Removes a kerf of metal, preventing link crushing |
| Laser / Pulse Arc Welder | Platinum, Titanium, Snake | Low-melting base metals | Pinpoints heat to 0.1mm, avoiding thermal damage |
| Chain Nose Pliers (Smooth Jaw) | Opening/Closing Jump Rings | Soft high-karat gold | Prevents marring the surface finish of findings |
How to Shorten Necklace Chain: Link-by-Link Methodology
The technique for removing length varies drastically depending on whether the chain is constructed from open links or continuous interlocking weaves.
Open-Link Chains (Cable, Curb, Figaro)
For open-link chains, the goal is to sever the wire of a single link without compromising the mating link it passes through. Place the chain on a steel bench pin. Using high-quality flush cutters, position the flat side of the blade against the link you intend to keep, and the beveled side against the scrap side. Snip the wire cleanly. Once the target link is removed, use two pairs of smooth-jaw chain nose pliers to gently close the severed link back into a perfect circle, ensuring the ends meet flush without overlapping.
Closed-Link & Continuous Chains (Box, Snake, Rope)
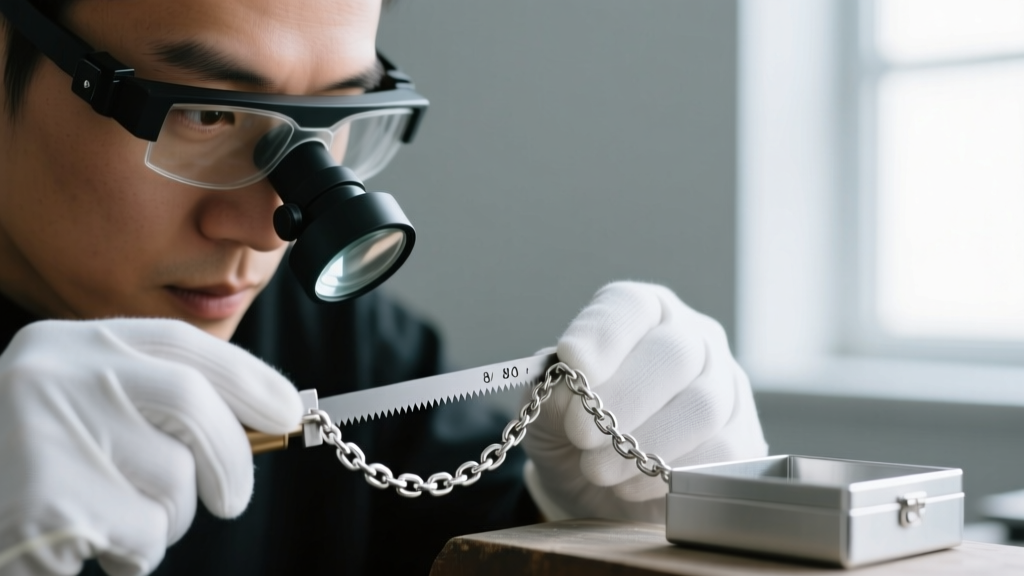
Box and rope chains cannot be cut with shears. The compressive force of the blades will crush the geometric alignment of the links, causing the chain to stiffen and eventually break at the cut site. Instead, secure the chain in a ring clamp or hold it firmly against a bench pin. Using a jeweler's saw fitted with a 4/0 or 6/0 blade, carefully saw through the link. The saw removes a microscopic amount of metal (the kerf), allowing you to detach the link without bending the surrounding structure.
Reattaching the Clasp: Cold Connection vs. Soldering
Once the chain is shortened to the desired length, the clasp must be reattached. While cold connections (simply twisting a jump ring closed) are acceptable for lightweight costume jewelry, precious metal chains require soldering to prevent the jump ring from pulling apart under the weight of a pendant.
Jump Ring Sizing Parameters
Selecting the correct jump ring is critical for both aesthetics and security. The outer diameter (OD) and wire gauge (AWG) must be proportional to the chain's width.
- Chains 1.0mm - 1.5mm: Use 3.0mm OD jump rings in 22 AWG wire.
- Chains 2.0mm - 3.0mm: Use 4.5mm OD jump rings in 20 AWG wire.
- Chains 4.0mm - 6.0mm: Use 6.0mm OD jump rings in 18 AWG wire.
Soldering Parameters for Precious Metals
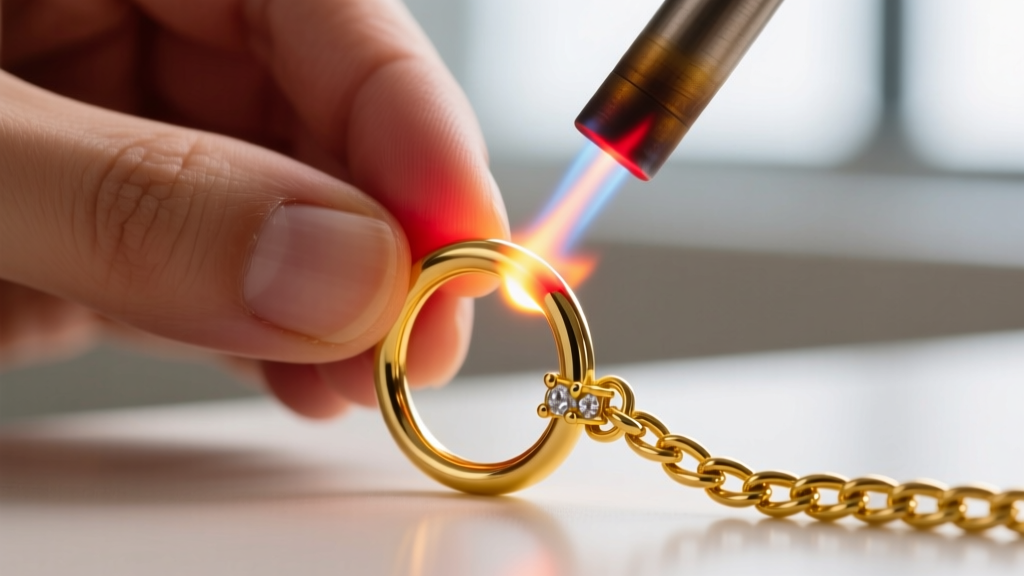
When soldering a jump ring to a chain, you must use a lower-temperature solder than what was used to manufacture the chain. According to metallurgical data from Rio Grande, 14k yellow gold chains are typically manufactured using 'Hard' solder (melting point ~1450°F). If you use Hard solder to attach your jump ring, the heat required will melt the existing solder joints in the chain links, causing the chain to fall apart. Always use 'Easy' solder (melting point ~1250°F) for jump rings and clasp attachments. Apply a small chip of Easy solder to the seam of the jump ring, flux with boric acid or a commercial paste flux, and use a micro-torch (like the Smith Little Torch) with a #4 or #5 gas tip to flow the solder cleanly.
Troubleshooting Common Resizing Failures
Even experienced jewelers encounter issues when altering complex chains. Here is how to troubleshoot the most common technical failures:
- Kinked Snake Chains: Snake chains are essentially continuous, interlocking metal tubes. If bent past a 45-degree angle, the internal structure buckles. If you kink a snake chain while clamping it, it cannot be repaired by bending it back; the metal has work-hardened and fractured internally. The only fix is to cut out the kinked section and laser-weld a new jump ring in its place.
- Mismatched Solder Color: When soldering white gold chains, standard Easy solder will leave a visible yellow or pink seam. You must use 'White Gold Easy Solder' or opt for a pulse arc welder, which fuses the base metal without introducing foreign alloys.
- Crushed Hollow Links: Many modern curb and figaro chains are diamond-cut and hollow to reduce cost and weight. These will crush instantly under the pressure of a saw clamp. Always pack hollow chains with a soft jeweler's wax or use a specialized V-groove holding jig before applying pressure.
Pro Tip: Always measure the chain while it is being worn by the client, or use a standardized necklace sizing mandrel. A chain that measures 18 inches flat may require 18.5 inches to drape correctly over the clavicle due to the geometry of the links and the thickness of the wearer's neck.
Mastering how to shorten necklace chain designs is a fundamental bench skill that bridges the gap between basic repair and master goldsmithing. By respecting the metallurgy of the piece and utilizing the correct micro-tools, you ensure the longevity and aesthetic perfection of the jewelry.


