DIY Gift Guide: How Do You Make a Slip Knot for a Necklace?
Learn how do you make a slip knot for a necklace to craft adjustable DIY gifts. Match cords and pendants for any occasion in our expert guide.

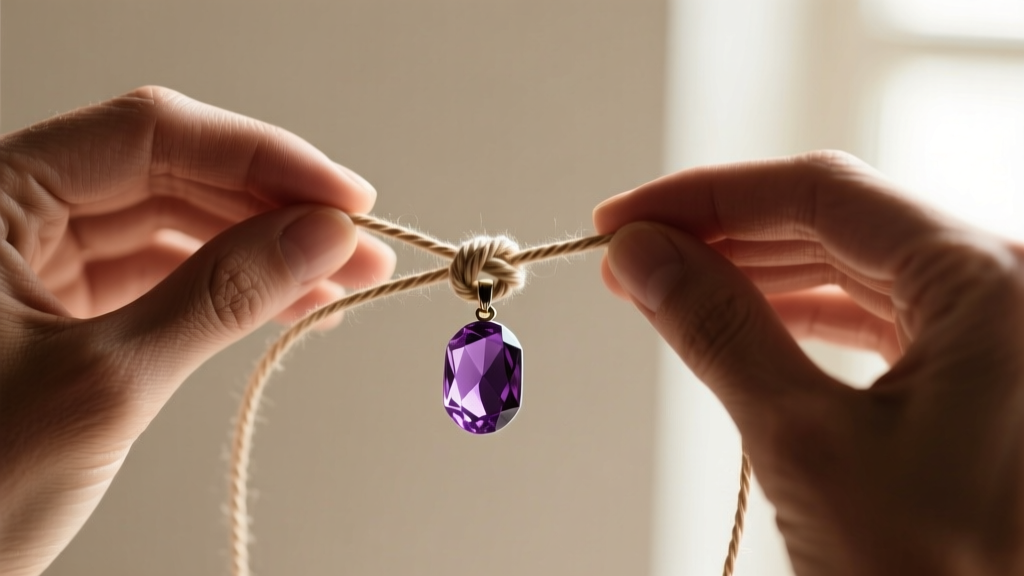
The Appeal of Adjustable Gifting
Gifting jewelry is a deeply personal gesture, but it often comes with a common point of friction: sizing. While rings and bracelets require precise measurements, necklaces offer a bit more leniency. However, to completely eliminate the guesswork and ensure your recipient can wear their new pendant at the perfect length, adjustable cord necklaces are the ultimate solution. In 2026, the trend of gifting artisanal, adjustable cord necklaces featuring raw gemstones, lab-grown diamonds, and hand-forged metal pendants has surged. These pieces blend bohemian aesthetics with modern minimalism, making them suitable for a wide array of recipients.
The secret to a professional-looking adjustable necklace lies in the closure mechanism. While simple overhand knots can work in a pinch, they often jam, fray, or look bulky. To create a seamless, durable, and elegant finish, you need to master the sliding square knot (often referred to in jewelry making as a macramé slip knot). This guide will walk you through occasion matching, material selection, and provide a definitive answer to the question: how do you make a slip knot for a necklace?
Occasion Matching: Selecting the Right Cord and Pendant
Before you begin knotting, you must select the appropriate cord material based on the occasion and the weight of your chosen pendant. A delicate silk cord will snap under the weight of a heavy brass pendant, while a thick leather cord will overwhelm a tiny, elegant pearl. According to jewelry supply experts at Rio Grande, matching the tensile strength of your cord to your pendant's bail size and weight is critical for longevity.
| Cord Material | Best Occasion | Pendant Weight Limit | Avg. Price Range |
|---|---|---|---|
| Waxed Cotton (1mm) | Friendship, Casual, Festivals | Up to 10g | $5 - $15 |
| Braided Leather (2mm) | Rustic, Masculine, Everyday | 10g - 25g | $15 - $30 |
| Griffin Silk (1.5mm) | Anniversary, Elegant, Formal | Up to 5g | $20 - $45 |
| Hemp Cord (1mm) | Eco-Friendly, Graduation | Up to 8g | $8 - $18 |
For a graduation gift, a waxed cotton cord with a raw amethyst or citrine pendant symbolizes growth and clarity. For an anniversary, a high-grade Griffin silk cord paired with a freshwater pearl or a small lab-grown diamond pendant offers a sophisticated, understated elegance that layers beautifully with other fine jewelry.
Step-by-Step: How Do You Make a Slip Knot for a Necklace?
When beginners ask, "how do you make a slip knot for a necklace?", they are usually looking for a knot that slides smoothly to adjust the length but holds firm when pulled. The sliding square knot is the industry standard for this. It requires a main cord (which goes around the neck) and a separate, shorter "knotting cord" to bind the ends together.
Step 1: Material Prep and Measurement
Cut your main cord to approximately 36 inches. This length ensures the necklace can slip easily over the recipient's head when fully expanded, and can be tightened down to a choker length (14-16 inches) when pulled closed. Thread your pendant onto the main cord and center it. Next, cut an 8-inch piece of the same cord material to serve as your knotting cord. If you are using waxed cotton, the wax will naturally help the knots grip; if using leather, ensure it is supple and not overly stiff.
Step 2: The Sliding Square Knot Technique
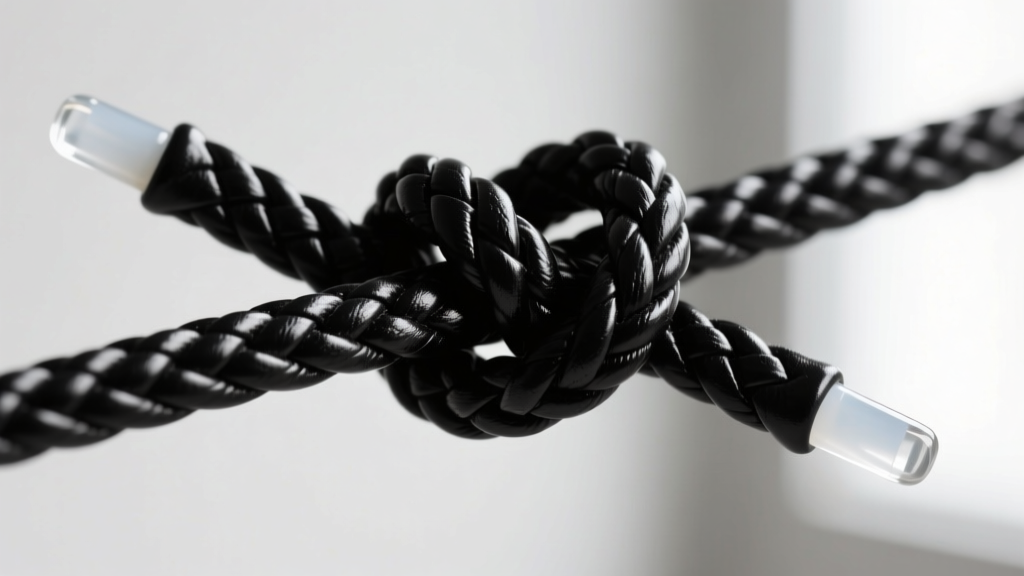
Overlap the two ends of your 36-inch main cord by about 3 inches, laying them flat on your workspace. Take your 8-inch knotting cord and place it horizontally underneath the overlapped main cords, finding its exact center. Now, you will tie a series of square knots around the two main cords.
- First Half Knot: Take the right side of the knotting cord and pass it over the two main cords, then under the left side of the knotting cord. Take the left side of the knotting cord and pass it under the two main cords, then up through the loop created by the right side. Pull tight.
- Second Half Knot: Reverse the process. Take the left side of the knotting cord and pass it over the main cords, then under the right side. Take the right side, pass it under the main cords, and pull it through the left loop. Pull tight.
Repeat this alternating pattern for 4 to 6 complete square knots. As The Spruce Crafts notes in their macramé tutorials, maintaining consistent tension on every single half-knot is what prevents the closure from twisting or warping over time.
Step 3: Securing and Finishing the Ends
Once you have completed your square knots, trim the excess knotting cord as close to the knot as possible using flush cutters. To prevent fraying and ensure the knot never unravels, apply a microscopic drop of GS Hypo Cement or a flexible jewelry adhesive to the cut ends. Avoid super glue (cyanoacrylate), as it dries brittle and will crack when the cord flexes. Finally, tie a simple overhand knot at the very ends of the two main cords, or thread a small decorative bead onto each end and secure it, to act as a "stopper" so the necklace cannot be accidentally pulled apart.
Troubleshooting Common Knot and Cord Failures
Even with the right technique, jewelry makers encounter specific failure modes when working with adjustable cords. Here is how to troubleshoot them like a professional:
- The Knot is Too Stiff to Slide: This usually happens if you pulled the half-knots too tightly or used a cord with a high wax content. Gently massage the finished knot with your thumb and forefinger to break up the wax and loosen the weave. If using leather, apply a tiny amount of leather conditioner to the main cords where they slide through the knot.
- The Pendant Bail is Too Small for the Cord: A 2mm leather cord will not fit through a delicate sterling silver bail designed for a 1mm chain. Instead of forcing it and damaging the metal, use a wire-wrapping technique to create a custom bail, or attach a sterling silver jump ring to the pendant and thread the cord through the ring.
- Silk Cord Degrades Quickly: According to gemological care guidelines from the Gemological Institute of America (GIA), organic materials like silk and pearls are highly susceptible to damage from sweat, perfumes, and acidic skin pH. If gifting a silk cord necklace, include a care card advising the recipient to wipe the cord with a dry microfiber cloth after wearing and to store it away from direct sunlight.
Gifting and Packaging Best Practices
Presentation is just as important as the craftsmanship of the knot. Because cord necklaces can easily tangle, they require specific packaging to look premium upon unboxing.
"A handmade adjustable necklace should never be tossed loosely into a bag. The sliding knot must be tightened to its smallest circumference and secured with a small piece of tissue paper or a branded cord wrap to maintain its shape and prevent the cord from developing permanent kinks before it reaches the recipient."

Invest in long, narrow jewelry boxes specifically designed for cord necklaces, or use a rigid setup box with a velvet insert that features a top slit. The slit allows the sliding knot to sit on the outside of the velvet pad while the pendant rests elegantly in the center. Including a small, beautifully printed card that explains the symbolism of the pendant and provides instructions on how to adjust the slip knot adds a layer of thoughtfulness that elevates the gift from a simple accessory to a cherished keepsake.
Final Thoughts
Mastering the adjustable closure transforms your DIY jewelry from amateur crafts into professional-grade gifts. By carefully selecting your cord material to match the occasion, understanding the weight limits of your pendants, and executing a flawless sliding square knot, you ensure your necklace is both beautiful and functional. The next time a friend asks you how do you make a slip knot for a necklace, you can confidently guide them through the art of the macramé square knot, ensuring their handmade gifts are built to last a lifetime.


