How to Tie a Slip Knot Necklace: The Ultimate Adjustable Gift Guide
Learn how to tie a slip knot necklace for custom-adjustable gifting. Discover cord materials, pendant pairing, and occasion-matching tips.

The Art of the Adjustable Gift: Why Slip Knot Necklaces Reign Supreme
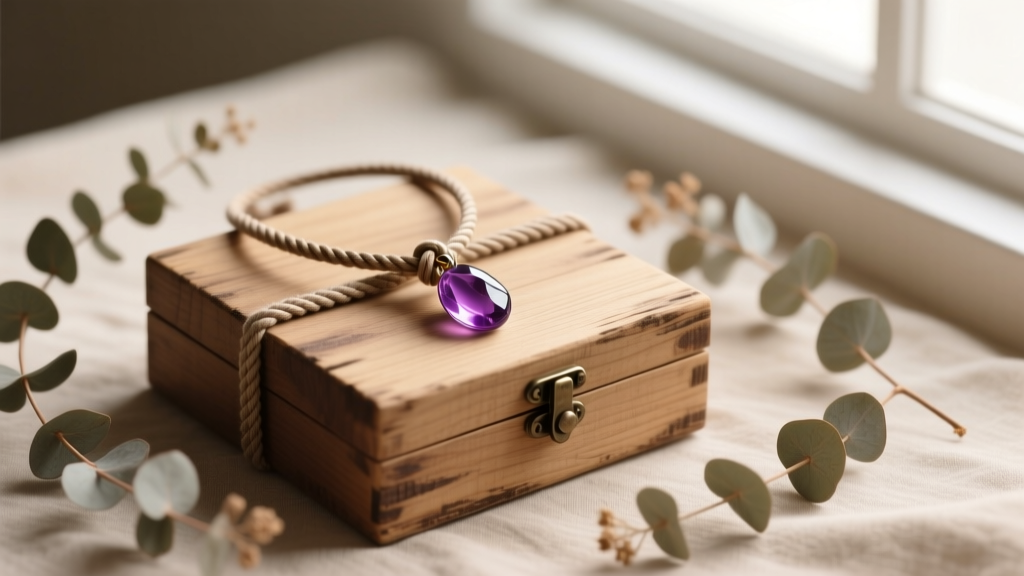
When it comes to gifting jewelry, sizing is the ultimate gamble. A chain that sits perfectly on one person might choke another or hang too low on a third. As we navigate the gifting landscape of 2026, the 'slow gifting' movement has elevated handmade, customizable pieces to the top of the hierarchy. Enter the adjustable cord necklace. Learning how to tie a slip knot necklace transforms a simple strand of cord and a pendant into a universally sized, deeply personal gift that adapts to any neckline, layering preference, or body type.
Whether you are crafting a piece for a partner's anniversary, a friend's birthday, or a holiday exchange, an adjustable slip knot necklace removes the anxiety of guessing neck circumferences. The sliding mechanism allows the wearer to adjust the length from a snug 14-inch choker to a relaxed 24-inch matinee drop with a simple tug. But the success of this gift relies entirely on choosing the right cord material, understanding friction dynamics, and mastering the knot itself.
Step-by-Step: How to Tie a Sliding Slip Knot
The sliding knot (often called a macrame slip knot or barrel knot) relies on the friction of the cord wrapping around itself. If the wrap is too loose, the pendant will slide down to the wearer's navel; if it is too tight, the cord will fray from excessive pulling. Here is the professional method for tying a secure, smooth-gliding double sliding knot.
1. Prep the Cord and Pendant
Thread your chosen pendant onto the cord. Ensure the pendant's bail (the loop it hangs from) has an inner diameter at least 1mm larger than your cord's thickness to prevent abrasive wear. Cross the two ends of the cord over each other, forming an 'X' about four inches from the ends. The left cord should be over the right cord.
2. The Wrapping Phase
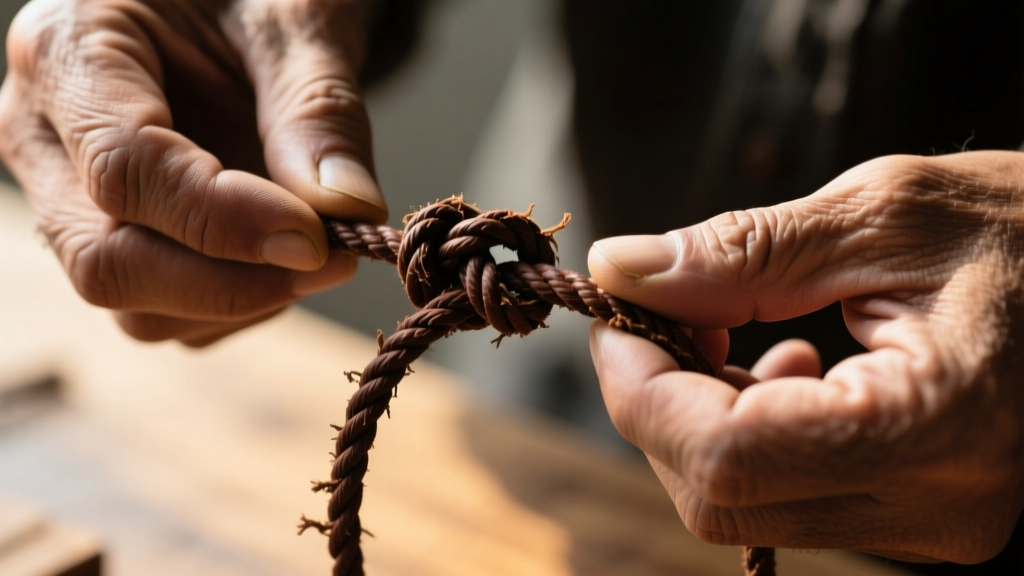
Take the left cord end and wrap it under both the right cord and the left cord's own base. Pull it up and over the top, creating a loop. Repeat this wrapping motion three to four times, moving down the shaft of the right cord. Keep the wraps snug and parallel—do not let them overlap or cross, as this will cause the knot to jam.
3. Securing and Repeating
Pass the end of the left cord through the bottom loop you created on the very first wrap. Pull the base of the left cord to tighten the wraps down securely. Now, repeat the exact process on the opposite side using the right cord, wrapping it around the left base cord. According to the experts at Animated Knots, ensuring both knots are wrapped in the same directional tension is vital for a symmetrical slide.
4. Finishing the Ends
Trim the excess cord, leaving about a half-inch tail. If using a synthetic blend or nylon, carefully melt the tip with a lighter to create a small bead that prevents it from slipping through the knot. For natural fibers like cotton or leather, apply a tiny drop of clear jewelry glue or flexible fabric adhesive to the tail and press it flat against the base cord.
Matching Cord Materials to Gifting Occasions
The cord is not just a utility; it is a foundational design element that dictates the necklace's formality, durability, and aesthetic. Selecting the wrong cord for the occasion can downgrade a beautiful gemstone pendant into a casual craft project. Below is a decision matrix to help you match the material to your gifting scenario.
| Cord Material | Optimal Gauge (Thickness) | Friction Level | Best Gifting Occasion | Knot Wraps Needed |
|---|---|---|---|---|
| Waxed Cotton | 0.8mm - 1.0mm | High | Everyday wear, Festivals, Casual Birthdays | 3 to 4 wraps |
| Round Leather | 1.5mm - 2.0mm | Medium | Men's Gifts, Rustic Anniversaries, Boho-Chic | 4 to 5 wraps |
| Silk Thread | 0.5mm - 0.8mm | Very Low | Formal Events, Bridal, Milestone Anniversaries | 6 to 8 wraps (Barrel Knot) |
| Suede Lace | 2.0mm - 3.0mm | Low | Winter Holidays, Cozy/Comfort Gifts | 3 wraps (requires wide bail) |
For high-friction cords like waxed cotton, the natural tackiness of the wax grips the base cord, meaning fewer wraps are required to hold a heavy pendant in place. Conversely, silk and suede are incredibly smooth. If you are gifting a silk-corded pearl necklace, you must use a multi-wrap barrel knot to generate enough surface friction to prevent the necklace from expanding throughout the day.
Pendant Pairing: Choosing the Right Focal Point
An adjustable cord necklace places the pendant front and center, often resting against varying fabrics depending on how the wearer adjusts the length. When curating this gift, the pendant's weight and bail size must harmonize with the cord.

The Bail-to-Cord Ratio
A common mistake amateur jewelry makers make is selecting a pendant with a bail that is too small for the cord, or a cord that is too thick for the bail. The golden rule in jewelry fabrication, as noted by suppliers like Rio Grande, is that the cord should occupy no more than 75% of the bail's inner diameter. This allows the pendant to swing freely and prevents the cord from kinking, which leads to premature snapping.
Weight Distribution
- Lightweight Pendants (Under 10g): Ideal for 0.5mm silk or thin macrame. Think delicate opal cabochons, small seed bead clusters, or minimalist gold bars.
- Medium Pendants (10g - 25g): Perfect for 1.0mm waxed cotton. Raw crystal points, medium sterling silver charms, and coin pendants thrive here.
- Heavy Pendants (25g+): Require 1.5mm+ leather or braided suede. Large geode slices, heavy bronze castings, and thick tungsten beads need the tensile strength of thicker cords to prevent the slip knot from slowly creeping open under the weight.
Troubleshooting Common Slip Knot Issues
Even with perfect technique, environmental factors and material quirks can affect the performance of a slip knot necklace. Here is how to troubleshoot the most common issues before wrapping your gift.
Pro-Tip for Gifters: If you are pre-tying the necklace for the recipient, always test the slide mechanism while wearing it over the thickest fabric you expect them to pair it with (like a winter sweater). Cord friction changes drastically depending on what it rubs against.
Issue 1: The Knot is Too Stiff to Adjust
Cause: Over-tightening during the final pull, or using a cord with a highly aggressive wax coating.
Fix: Apply a minuscule amount of jojoba oil or natural beeswax to the base cord where the knot slides. Work the knot back and forth to distribute the lubricant. Avoid synthetic oils, which can degrade natural cotton or leather fibers over time.
Issue 2: The Knot Slips Open on Its Own
Cause: Insufficient wraps, or using a low-friction cord like suede without adapting the knot style.
Fix: Untie the knot and add two more wraps. If using suede or silk, switch from a standard sliding knot to a 'Snake Knot' or a multi-wrap 'Barrel Knot', which locks onto itself much more aggressively.
Issue 3: Cord Fraying at the Ends
Cause: Repeated pulling of the unsealed cord ends to adjust the necklace length.
Fix: Never pull the necklace open by tugging the extreme tails. Teach the recipient (perhaps via a small, beautifully printed instruction card included in the gift box) to pinch the knot itself and slide it along the base cord. Seal all natural fiber ends with a flexible cyanoacrylate (jewelry glue) to maintain flexibility while preventing unravelling.
Final Thoughts on Gifting Adjustable Jewelry
Mastering how to tie a slip knot necklace is about more than just crafting a functional accessory; it is about offering the recipient the gift of versatility. By carefully selecting the appropriate cord gauge, matching the pendant weight, and executing a clean, friction-appropriate knot, you elevate a simple DIY project into a high-end, bespoke piece of jewelry. Whether layered over a summer linen dress or worn snug against a winter turtleneck, an adjustable slip knot necklace remains one of the most thoughtful, foolproof gifts in the modern jewelry landscape.


