Expert Buying Guide for Solid Gold Pendant Necklaces
Discover what to look for when buying solid gold pendant necklaces. Learn about metal purity, bail types, chain strength, and gemstone settings.

Why Most Pendant Necklaces Fail (And How to Avoid It)
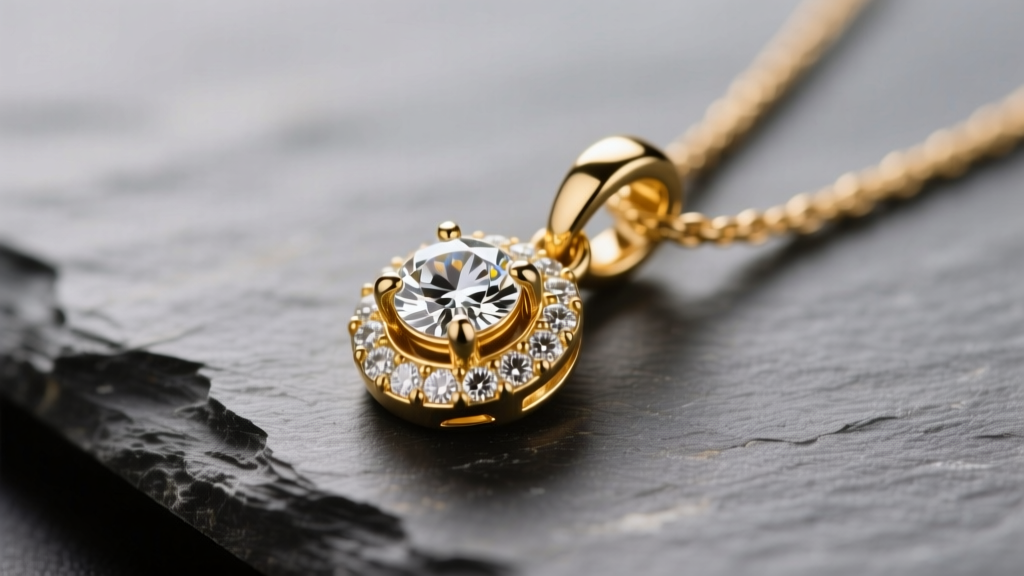
When investing in fine jewelry, pendant necklaces are among the most popular and versatile choices. Yet, they also suffer from the highest rate of structural failure in the jewelry box. From snapped chains to lost gemstones, the anatomy of a pendant necklace presents unique engineering challenges. The pendulum effect of a swinging pendant places concentrated tensile stress on the chain and the bail, meaning a necklace that might survive as a standalone chain will quickly fail when burdened with a heavy pendant.
As a senior jewelry analyst, I have evaluated thousands of pieces. This buying guide strips away the marketing fluff and focuses on the metallurgical and mechanical realities of choosing high-quality pendant necklaces that will last a lifetime. Whether you are shopping for a 14k gold cable chain or an 18k gold rope chain, understanding the specific failure points will save you hundreds of dollars in repairs and replacements.
Decoding Metal Purity: The Science of 14k vs. 18k Gold
The foundation of any enduring piece of jewelry is its metal alloy. Pure 24k gold is far too soft for daily wear, which is why it is alloyed with metals like copper, silver, and zinc. However, the ratio of these alloys drastically changes the physical properties of the necklace.
Tensile Strength and the Vickers Hardness Scale
For the chain component of pendant necklaces, 14k gold (58.5% pure gold) is objectively superior to 18k gold (75% pure gold). On the Vickers hardness scale (HV), standard 14k yellow gold scores between 120 and 140 HV, while 18k gold typically scores between 90 and 110 HV. This increased hardness gives 14k gold the tensile strength required to support the dynamic weight of a pendant without stretching or snapping.
Conversely, 18k gold is ideal for the pendant body itself. Its richer, deeper yellow hue and higher hypoallergenic profile make it perfect for the decorative element that rests against the skin. According to the Gemological Institute of America (GIA), understanding these alloy differences is crucial for matching the metal to the mechanical demands of the jewelry piece.
Avoiding the Gold-Plated Trap
In 2026, the market is flooded with 'demi-fine' jewelry. If you are buying solid gold, avoid gold vermeil and gold-filled alternatives for pendants. The Federal Trade Commission (FTC) mandates that vermeil must have a minimum of 2.5 microns of gold plating over sterling silver. While beautiful, the friction between the pendant bail and the chain will inevitably wear through this microscopic layer, exposing the silver beneath and leading to rapid tarnishing.
The Bail: The Most Overlooked Failure Point
The bail is the mechanical bridge that connects the pendant to the chain. It is the single most common point of failure in pendant necklaces, yet it is rarely discussed in buying guides.
Standard Bails vs. Hidden Bails
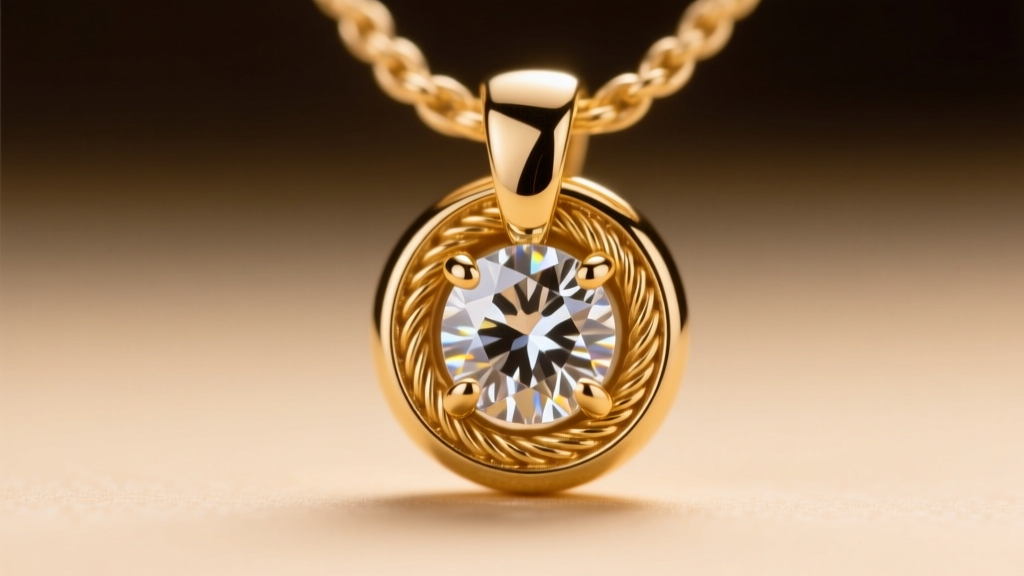
A standard bail features a visible loop at the top of the pendant. While classic, they can detract from the design of the stone. Hidden bails, which thread the chain directly through a hollowed-out channel in the pendant's mounting, offer a seamless look but require precise manufacturing to prevent the chain from rubbing against sharp internal metal edges.
The Soldered Jump Ring Rule
If your pendant uses a standard bail, it will connect to the chain via a jump ring (a small circular wire link). This jump ring must be soldered closed. An unsoldered jump ring relies purely on the tension of the bent wire. Under the repetitive swinging motion of a pendant, an unsoldered ring will slowly pull apart, resulting in a lost pendant. When inspecting pendant necklaces in a store or online, zoom in on the bail connection. If you see a visible seam or slit in the jump ring, walk away. High-end jewelers will always use a laser or torch to solder this connection shut.
Chain Gauge, Style, and Weight Capacity
A delicate 0.8mm chain might look elegant on a velvet display tray, but it will snap under the dynamic load of a 4-gram pendant. The thickness (gauge) and link style of the chain dictate its structural integrity.
| Chain Style | Minimum Gauge for Pendants | Durability & Repairability | Best For |
|---|---|---|---|
| Cable Chain | 1.2mm | High durability; very easy to repair if links stretch. | Lightweight to medium pendants (2g - 5g) |
| Box Chain | 1.5mm | Excellent tensile strength; prone to kinking if bent. | Medium to heavy pendants (4g - 10g) |
| Rope Chain | 2.0mm | Beautiful light reflection; extremely difficult to repair if snapped. | Heavy statement pendants (8g+) |
| Wheat Chain | 1.5mm | Superior strength due to woven links; rarely kinks or snaps. | Everyday wear with medium pendants |
The Clasp Mechanics
Never pair a heavy pendant with a spring ring clasp. Spring rings rely on a tiny, fragile internal spring that frequently jams or breaks under tension. Always insist on a lobster claw clasp for pendant necklaces. Lobster clasps feature a solid internal mechanism and a larger surface area for the jump ring to rest against, distributing the weight of the necklace more evenly across the nape of the neck.
Gemstone Setting Durability in Pendants
Because pendants swing freely and are prone to being bumped against desks, doors, and steering wheels, the way the gemstone is secured is paramount.
Bezel vs. Prong Settings
Prong settings (using 4 or 6 metal claws to hold the stone) allow maximum light to enter the gemstone, increasing brilliance. However, prongs are notorious for catching on cashmere sweaters, silk blouses, and hair. Over time, these snags pull the prongs outward, loosening the stone. For daily-wear pendant necklaces, a bezel setting is vastly superior. A bezel setting encircles the entire girdle (the outer edge) of the gemstone with a continuous rim of metal. While it slightly reduces the stone's visible surface area, it offers near-total protection against impact and eliminates the risk of snagging.
Your Pre-Purchase Inspection Checklist
Before you finalize your purchase, whether from a legacy jeweler or a modern online brand, run the pendant necklace through this rigorous checklist:
- Hallmark Verification: Look for the '14k', '18k', or '585'/'750' stamp on both the chain clasp and the pendant bail. If only one is stamped, you may be buying a mixed-metal piece.
- The Bail Tug Test: Gently attempt to twist the jump ring connecting the bail to the pendant. It should be completely rigid. Any movement indicates an unsoldered ring.
- Chain Fluidity: Drape the chain over your finger. It should fall like liquid. If it feels stiff or holds its shape, the links are too thick for the wire gauge, which will cause premature wear and friction.
- Clasp Spring Tension: Open and close the lobster clasp. It should snap shut with a firm, audible click, returning to the closed position instantly without manual assistance.
By prioritizing structural engineering over fleeting aesthetic trends, you ensure that your pendant necklaces remain secure, brilliant, and structurally sound for decades to come.


