Stacked Necklace Buying Guide: Layering Chains Without Tangling
Master the art of the stacked necklace with our expert buying guide. Learn chain weights, ideal lengths, and anti-tangle clasps for perfect layering.

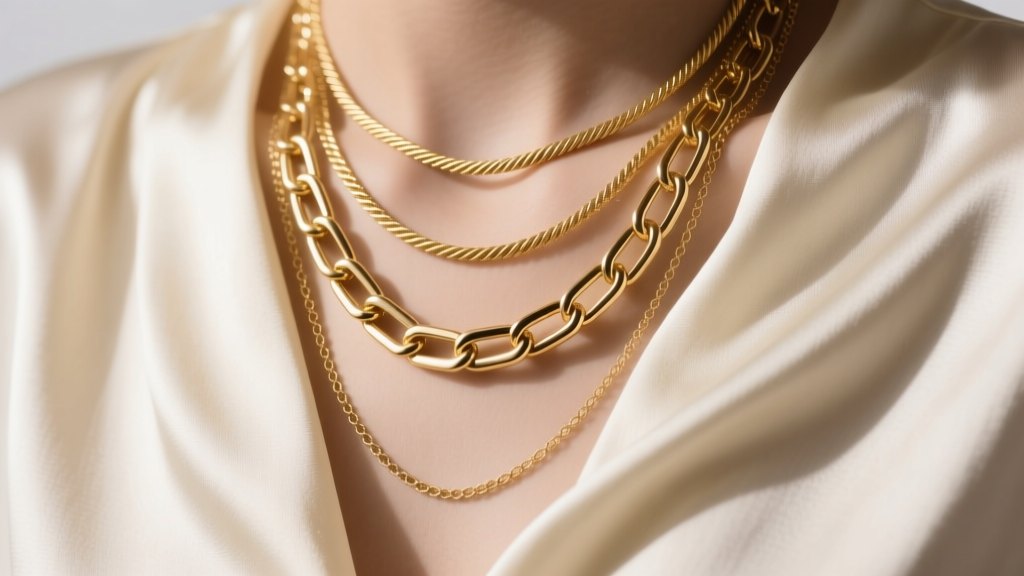
The stacked necklace has evolved from a fleeting trend into a permanent staple of modern jewelry wardrobes. However, as we move through 2026, the focus has shifted from merely piling on chains to engineering a curated, tangle-free layering system. Buying a stacked necklace setup requires an understanding of chain geometry, metal friction, and clasp mechanics. If you have ever spent ten minutes untangling a knotted mess of gold chains before an event, this guide will fundamentally change how you shop for and curate your necklayers.
The Anatomy of a Perfect Stacked Necklace
A successful stack relies on a three-point structural framework: the Anchor, the Bridge, and the Statement. When shopping, you should not buy three identical chains; you must buy chains that serve distinct visual and mechanical purposes.
- The Anchor (Base Layer): Sits at the collarbone (14 to 16 inches). This chain should be delicate, typically 1.0mm to 1.5mm in width, featuring a smooth profile like a box or cable chain.
- The Bridge (Middle Layer): Drops to the upper chest (18 to 20 inches). This layer requires a heavier gauge (2.0mm to 3.0mm) and a contrasting texture, such as a rope or wheat chain, to create visual separation.
- The Statement (Long Layer): Rests on the sternum (22 to 24+ inches). This is where you introduce a substantial pendant, a lariat drop, or a thick 4.0mm+ curb chain to anchor the eye vertically.
Chain Weights and Textures: The Secret to Anti-Tangle Layering
The primary cause of necklace tangling is mechanical friction. When two chains of the exact same link size and texture rub against each other, the links act like gears, catching and weaving together. To prevent this, you must intentionally mismatch the chain profiles.
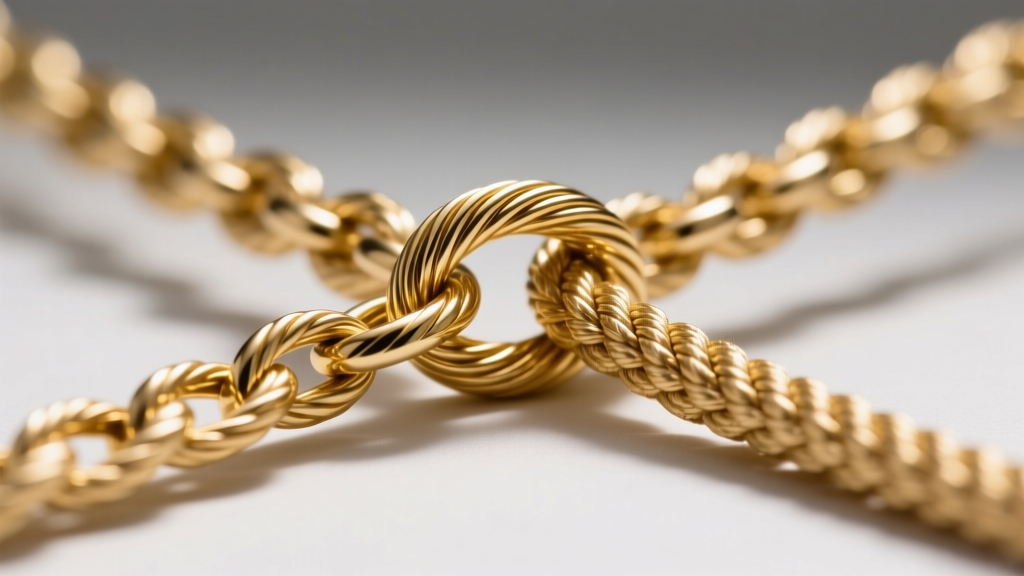
According to jewelry manufacturing standards, mixing a smooth, flat-surfaced chain with a highly textured, rounded chain drastically reduces the friction coefficient. A flat box chain will glide harmlessly over a rounded rope chain without the links interlocking.
| Chain Style | Ideal Width | Best Stack Position | Tangling Risk |
|---|---|---|---|
| Box Chain | 1.0mm - 1.5mm | Anchor (Base) | Low (Smooth surface) |
| Cable Chain | 1.5mm - 2.5mm | Bridge (Middle) | Medium (Can catch on similar sizes) |
| Rope Chain | 2.5mm - 4.0mm | Bridge / Statement | Low (Highly textured, deflects smooth chains) |
| Snake Chain | 1.5mm - 3.0mm | Anchor (Base) | Very Low (Completely flush surface) |
| Curb / Cuban | 4.0mm+ | Statement (Long) | High if layered with identical curbs |
Length Graduation: Calculating the Ideal Drop
A common mistake when buying pre-layered stacked necklaces is purchasing sets with insufficient length graduation. The golden rule of layering is the 2-inch minimum gap. If your base chain is 16 inches, your middle chain must be at least 18 inches.
Furthermore, you must account for pendant drop. If your 16-inch anchor chain features a 1.5-inch pendant, the total drop is 17.5 inches. If your middle chain is 18 inches, the pendant will physically strike the middle chain, causing continuous friction and eventual tangling. Always measure the 'total drop length' (chain + pendant) rather than just the chain length when calculating your stack's geometry.
Pro-Tip for V-Necks and Scoops: When wearing deep necklines, increase the length graduation to 3 or 4 inches. A 16-inch, 20-inch, and 24-inch stack will map perfectly to the geometric lines of a deep V-neck blouse without the chains bunching at the collarbone.
Clasp Engineering: What to Look For
The clasp is the most frequent point of failure in a stacked necklace setup. Delicate spring ring clasps (often found on chains under $100) lack the internal spring tension to support the lateral pull of multiple layers, leading to accidental unclasping.
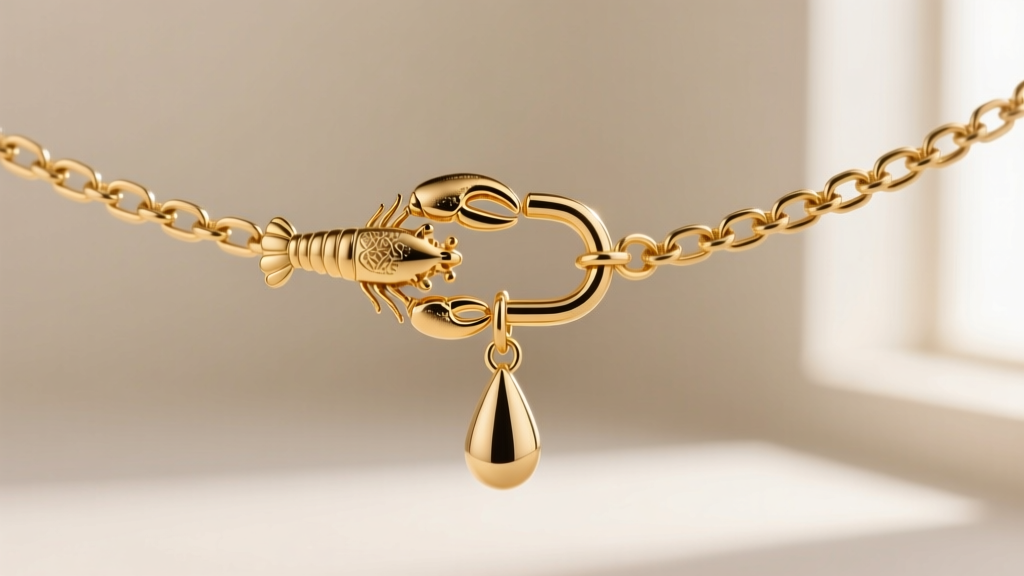
The Lobster Claw Standard
When shopping for individual layers, inspect the clasp size. A 5mm lobster claw is acceptable for the 1.0mm anchor chain. However, the bridge and statement chains should feature 9mm to 12mm lobster clasps. These provide a secure mechanical lock and are easier to manipulate when you are dealing with multiple chains at the nape of your neck.
Anti-Tangle Slider Clasps
In 2026, the most significant innovation in layering is the mainstream adoption of the multi-strand slider clasp. This is a single, unified clasp mechanism that attaches to the ends of two or three separate chains at the back of the neck. By locking the chains together at the nape, it prevents them from migrating to the front of the neck and twisting around one another. If you are buying a high-end stack, look for brands that offer modular slider clasp conversions.
Metal Grades and Wear Resistance
Layering accelerates metal wear. Because stacked chains constantly rub against each other, the abrasion will quickly strip away thin plating, exposing the base metal beneath and resulting in the dreaded 'green neck' effect. When investing in a daily-wear stack, understanding metal grades is non-negotiable.
- Gold Vermeil: The Federal Trade Commission (FTC) strictly regulates vermeil. It must be a sterling silver base coated with a minimum of 2.5 microns of gold. While beautiful, the friction of a stacked necklace will eventually wear through 2.5 microns on high-contact areas like the clasp and center drop.
- Gold-Filled (1/20 14k): This is a mechanical bonding process where a thick layer of gold (at least 5% of the total weight) is heat-bonded to a brass core. Gold-filled chains are vastly superior to vermeil for stacked necklaces because the gold layer is up to 100 times thicker, easily withstanding years of inter-chain friction.
- Solid 14k Gold: For a permanent, heirloom-quality stack that you never take off (including in the shower or pool), solid 14k gold is the only viable option. According to the Gemological Institute of America (GIA), 14k gold (58.5% pure gold) offers the ideal balance of rich color and structural hardness required to resist the micro-scratches caused by daily layering.
Troubleshooting Common Stacked Necklace Failures
Even with the perfect chains, gravity and movement can disrupt your stack. Here are expert fixes for the most common layering issues:
The Sliding Pendant Problem
The Issue: The pendant on your anchor chain constantly slides to the side of your neck, hiding behind your collarbone.
The Fix: This happens when the chain's center of gravity is unbalanced. Purchase a tiny silicone earring back or a specialized rubber 'pendant stopper.' Thread the chain through it and slide it directly behind the pendant bail to lock it in the exact center of the chain.
The Back-of-Neck Tangle
The Issue: The chains are perfectly layered in the front, but the loose ends at the back of your neck twist into a tight knot.
The Fix: Ensure all your chains have extender chains (the 2-inch tail dangling from the clasp). If the extenders are different lengths, they will knot together. Use flush cutters to trim all extender chains to the exact same length (e.g., 1 inch), and add a small, smooth metal end-charm to each to prevent them from slipping through the links of adjacent chains.
Curating the perfect stacked necklace is an exercise in precision. By prioritizing contrasting chain textures, enforcing strict length graduations, and investing in heavy-duty clasps and abrasion-resistant metals, you can build a layered look that remains as flawless at the end of the day as it was the moment you put it on.


