Stella Dot Cross Necklace Troubleshooting: Tarnish & Repairs
Learn how to troubleshoot, clean, and repair your Stella Dot cross necklace. Expert fixes for tarnish, broken clasps, and tangled chains.


The stella dot cross necklace has remained a staple in versatile, everyday jewelry collections for years. Known for its elegant silhouettes, layered chain options, and subtle pavé or enamel accents, it is a go-to piece for both casual and formal necklines. However, like most high-quality fashion jewelry, it is subject to the realities of daily wear. Plating can wear thin, delicate chains can kink, and small mechanical components like lobster clasps can fail.
Rather than retiring a beloved piece to the back of your jewelry box, understanding the metallurgy and mechanics of your necklace allows you to troubleshoot and restore it. This comprehensive guide dives deep into the specific failure modes of plated brass and bronze jewelry, offering actionable, bench-jeweler-approved solutions to bring your cross pendant back to life.
The Anatomy and Metallurgy of Your Necklace
To effectively troubleshoot, you must first understand what your jewelry is made of. Most Stella & Dot pieces, including their popular cross pendants, are crafted from a base metal—typically brass or bronze—and finished with a layer of gold or silver plating. Some premium lines utilize sterling silver bases with rhodium plating or thick gold vermeil.
The primary vulnerability of a brass-based necklace is oxidation. When the microscopic pores in the plating allow moisture and skin acids to reach the brass core, the copper within the alloy oxidizes. This results in the dreaded 'green skin' effect and dark, patchy tarnish on the pendant itself. Furthermore, the mechanical weak points are almost always the findings: the 4mm or 5mm jump rings, the internal spring of the lobster clasp, and the soldered bail that connects the cross to the chain.
Troubleshooting Matrix: Quick Diagnostics
Use the table below to quickly diagnose the issue with your necklace and determine whether it requires a simple at-home fix or a professional bench jeweler's intervention.
| Issue | Root Cause | DIY Solution | Professional Fix | Est. Cost |
|---|---|---|---|---|
| Green Skin / Dark Tarnish | Brass oxidation through worn plating | Gentle soap wash; clear nail polish barrier | Ultrasonic cleaning & re-plating | $15 - $45 |
| Stuck or Broken Clasp | Internal spring failure or debris buildup | Replace with 5mm gold-filled lobster clasp | Solder new sterling/gold clasp | $10 - $30 |
| Kinked Box Chain | Pressure bending the interlocking links | Needle and mineral oil manipulation | Link replacement via laser welding | $25 - $60 |
| Cloudy Pavé Stones | Lotion and soap trapped under prongs | Soft baby toothbrush with dish soap | Professional ultrasonic & steam clean | $10 - $20 |
Problem 1: Reversing Tarnish and Plating Wear
When the gold or silver finish on your cross pendant begins to look dull, patchy, or brassy, your instinct might be to reach for a commercial silver dip or a harsh polishing cloth. Do not do this. Commercial dips contain thiourea and strong acids that will instantly strip flash plating and damage any protective e-coating the manufacturer applied.
Safe Cleaning vs. Destructive Dips
For routine cleaning and mild tarnish, create a solution of warm water and a few drops of degreasing dish soap (like Dawn). Use a baby toothbrush with ultra-soft bristles to gently agitate the dirt trapped around the cubic zirconia or enamel inlays. Rinse thoroughly and pat dry with a microfiber cloth.
If the plating has completely worn through to the brass base, no amount of cleaning will restore the gold color. At this stage, you have two options:
- The Barrier Method (DIY): Apply a microscopically thin layer of clear, jewelry-safe polyurethane or clear nail polish to the back of the pendant where it touches your skin. This prevents the copper from reacting with your skin's pH, stopping the green discoloration.
- Electroplating (Professional): As of 2026, many local bench jewelers offer affordable re-plating services. They will polish the brass base and electroplate it with a fresh layer of 14k or 18k gold, or rhodium for silver pieces. According to the Federal Trade Commission's Jewelry Guides, ensure your jeweler applies at least a 'heavy gold electroplate' (minimum 2.5 microns) for lasting durability.
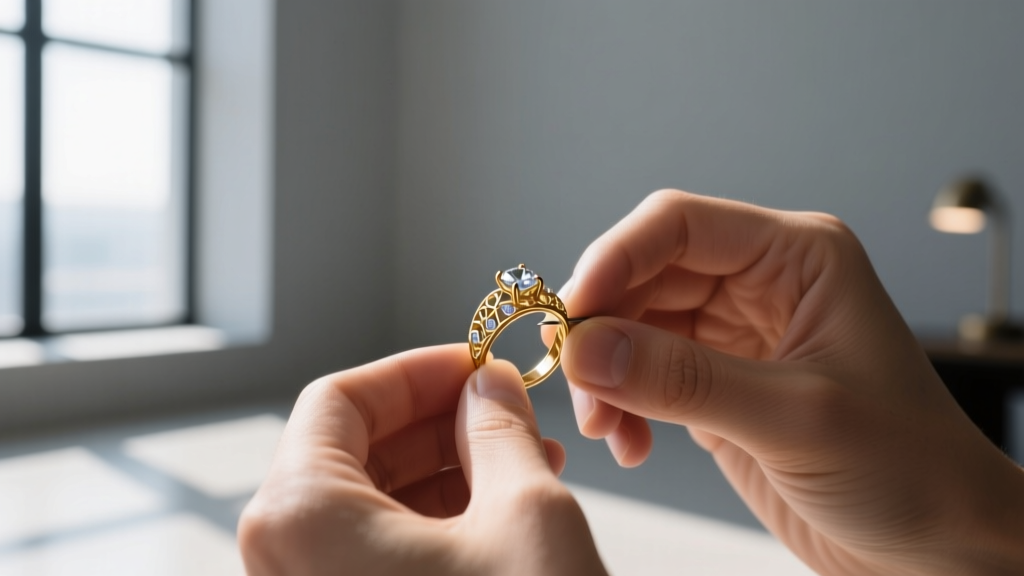
Problem 2: Fixing Stubborn Lobster Clasps and Jump Rings
The lobster clasp on a delicate necklace is a high-friction component. Over time, the microscopic internal spring can snap, or the lever can become stiff due to trapped lotion and dead skin cells. If your clasp is stuck, try soaking it in a small cap of warm soapy water for ten minutes, then working the lever back and forth with a toothpick. If the spring is broken, the clasp must be replaced.
Step-by-Step Jump Ring Repair
Replacing a clasp requires opening the jump ring that connects it to the chain. The most common mistake jewelry owners make is pulling the jump ring apart laterally (like an 'O' becoming a 'C'). This weakens the metal and prevents it from closing flush.
- Secure the Tools: You need two pairs of chain-nose or flat-nose pliers. Avoid serrated-jaw pliers, which will mar the metal.
- The Twist Motion: Grip the jump ring on either side of the split. Push one hand away from you while pulling the other toward you, creating a spiral twist.
- Swap the Clasp: Slide off the broken lobster clasp and slide on a replacement. For most delicate Stella Dot chains, a 5mm x 3mm gold-filled or sterling silver lobster clasp is the exact OEM size.
- Close Flush: Twist the ends back together until you feel a slight 'click' or friction bump, indicating the ends are perfectly flush. For a permanent fix, a jeweler will solder the jump ring shut.
For detailed tutorials on finding manipulation and tool selection, Rio Grande offers extensive bench-jeweler guides on proper jump ring mechanics.
Problem 3: Untangling and Repairing Kinked Chains
Whether your cross necklace features a delicate cable chain or a structured box chain, tangling and kinking are inevitable. Box chains are particularly notorious for kinking because their square, interlocking links can fold in on themselves, creating a stiff, bent section that catches on clothing.
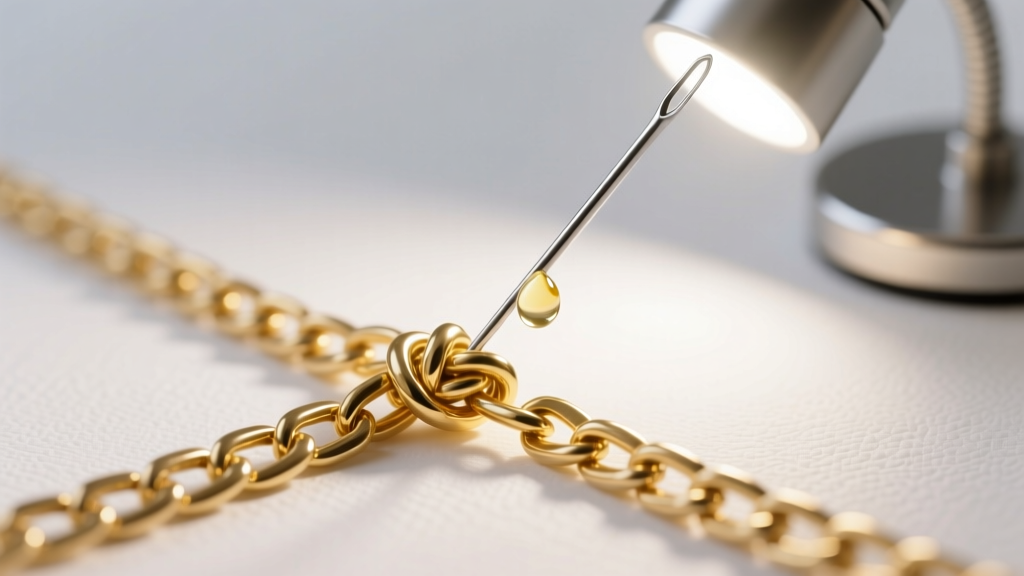
The Pin and Oil Technique
Never pull on a tangled chain; this will tighten the knot and potentially snap the soldered links. Instead, lay the necklace flat on a hard, well-lit surface. Apply a single drop of mineral oil or baby oil directly to the center of the knot. Take a fine sewing needle or a straight pin and gently tap the center of the knot to loosen the links. Work from the outside of the tangle inward, using the needle to pry the links apart. Once untangled, wash the chain with dish soap to remove the oil.
If a box chain is severely kinked and the metal is creased, DIY repair is risky. A professional jeweler can use a laser welder to snip out the damaged links and weld in a new section of chain without damaging the surrounding plating. You can locate a certified repair specialist through the Jewelers of America directory.
When to Seek a Professional Bench Jeweler
While clasp replacements and deep cleaning are easily managed at home, structural failures require professional equipment. If the bail (the loop holding the cross pendant) has worn thin from friction against the chain, it will eventually snap, risking the loss of the pendant. A jeweler can easily solder a new sterling silver or gold-filled bail onto the piece. Similarly, if the chain itself has snapped at a link, laser welding is the only safe repair method, as traditional torch soldering will melt the delicate flash plating and surrounding enamel or pavé settings. By understanding the limits of DIY repair and the specific material makeup of your jewelry, you can ensure your favorite cross necklace remains a lasting staple in your collection.


