Master Necklace Drawing: A Step-by-Step Jewelry Sketching Guide
Learn professional necklace drawing techniques. This step-by-step guide covers proportions, chain rendering, and pendant sketching for custom jewelry.

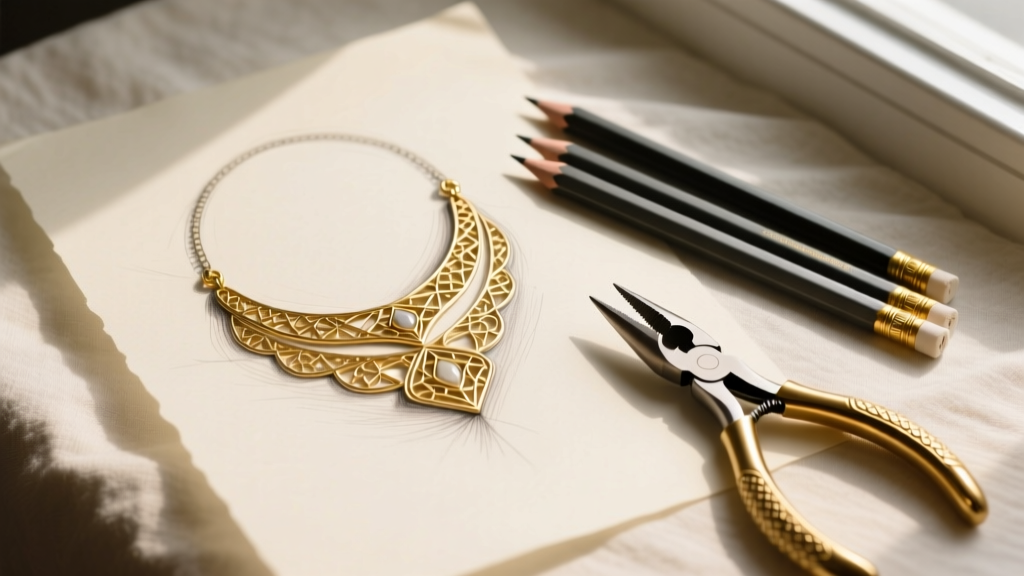
Why Master Necklace Drawing for Custom Jewelry?
In an era dominated by MatrixGold and Rhino CAD software, the art of necklace drawing remains the indispensable genesis of bespoke jewelry design. Whether you are an aspiring jewelry designer, a fashion illustrator, or a client preparing to commission a custom piece from a bench jeweler, translating a three-dimensional concept onto a two-dimensional plane requires technical precision. A well-executed sketch communicates drape, scale, and structural integrity long before a single gram of gold is cast.
Unlike ring design, which focuses on rigid geometry and finger sizing, necklace drawing demands an understanding of human anatomy, gravity, and kinetic movement. The chain must follow the clavicle's curve, and the pendant must sit flush against the sternum without flipping. This comprehensive guide will walk you through the professional workflow of sketching necklaces, from establishing anatomical proportions to rendering complex chain weaves and gemstone settings.
Essential Tools for Jewelry Sketching
Professional jewelry rendering relies on specific materials that allow for precise drafting and metallic simulation. Skip standard printer paper; it lacks the translucency needed for iterative tracing.
- Drafting Surface: Use vellum or heavy-weight tracing paper (16 lb to 20 lb). Vellum allows you to layer sketches, refining the pendant silhouette without redrawing the neck croquis.
- Graphite Pencils: Start with a Staedtler Mars Lumograph 2H pencil for light, erasable construction lines. Switch to an HB or 2B for final contour lines and deep shadow rendering.
- Metallic Markers: Alcohol-based markers are industry standard. Use Copic Sketch Y28 or Y38 for yellow gold, and C5 or C7 (Cool Gray) for platinum and white gold. The alcohol ink blends seamlessly to simulate polished metal reflections.
- Templates: A jewelry croquis (a stylized fashion figure template) scaled to a 9-head proportion is vital for mapping standard necklace drop lengths.
Step 1: Establishing Neck Proportions and Drop Lengths
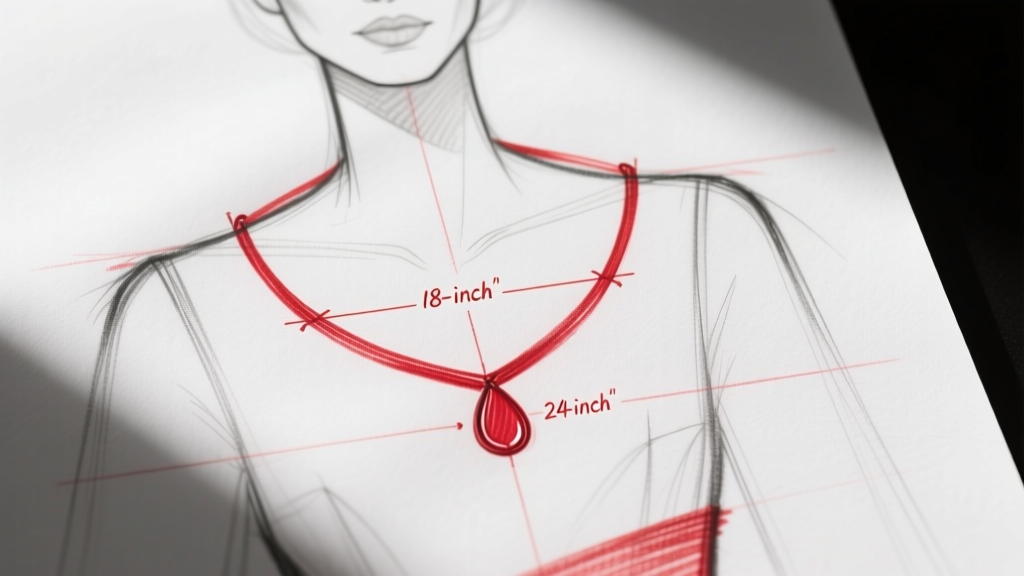
The most common failure in amateur necklace drawing is ignoring the topography of the human neck and chest. A necklace does not hang in a perfect semi-circle; it drapes over the collarbones and rests on the slope of the bust.
Mapping Standard Lengths on the Croquis
When drawing your croquis, mark the following anatomical landmarks to correspond to standard jewelry lengths:
- 14-16 Inches (Choker/Collar): Sits snugly at the base of the neck, just above the clavicle. The curve is tight and highly rounded.
- 18 Inches (Princess): The industry standard. It rests exactly on the collarbone. The drawing must show the chain dipping slightly below the clavicle notch.
- 20-24 Inches (Matinee): Falls to the upper sternum. The drape becomes more parabolic, and the pendant will rest in the upper cleavage area.
- 28-36 Inches (Opera/Rope): Drops below the bust line. These require drawing a deep, sweeping U-shape that interacts with the torso's vertical lines.
Pro Tip: Always draw the chain with a slight "slack" curve at the nape of the neck. A chain drawn as a taut, straight line will look like a garrote rather than a piece of fine jewelry.
Step 2: Drafting Chain Styles with Precision
Rendering chain mail and links requires understanding their underlying geometry. According to manufacturing standards outlined by Hoover & Strong, different chain weaves behave uniquely under gravity. Your drawing must reflect this weight and flexibility.
| Chain Style | Visual Geometry | Drawing Technique & Proportions |
|---|---|---|
| Cable | Uniform interlocking ovals | Draw overlapping ellipses at a 45-degree angle. Maintain a strict 2:1 length-to-width ratio for each link. |
| Cuban Link | Flattened, interlocking figure-eights | Sketch a continuous sine wave, then outline the flattened edges. The width-to-height ratio is typically 3:1, giving it a heavy, masculine drape. |
| Wheat (Spiga) | Woven, directional teardrops | Use alternating V-shapes pointing down the chain's axis. This chain is semi-rigid; draw it with smoother, less articulated bends. |
| Figaro | Patterned long and short links | Follow a 3:1 ratio (three short circular links, one elongated oval). Ensure the long link is exactly 2.5x the length of the short links. |
| Box | Square, geometric links | Draw a series of interconnected cubes using two-point perspective. This chain is highly rigid and should not be drawn bending sharply. |
When shading chains, remember that light hits the highest points of the links. Leave a stark white highlight on the top edge of every link, and use your 2B pencil to cast deep, sharp shadows in the interlocking crevices to create the illusion of depth.
Step 3: Rendering Pendants, Gemstones, and Prongs
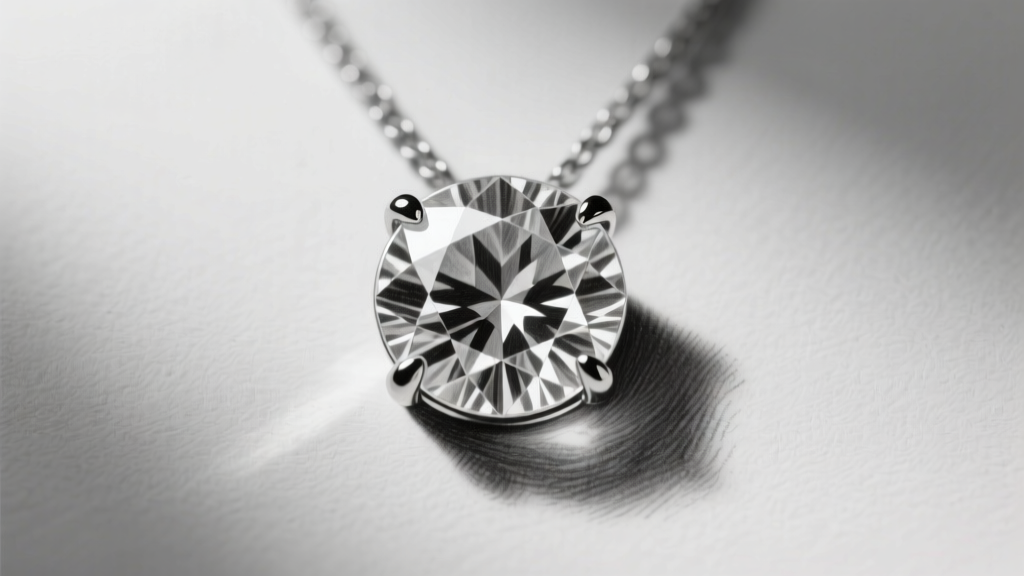
The pendant is the focal point of the necklace. Drawing a gemstone requires more than just sketching a shape; it requires illustrating how light travels through the material based on its refractive index. The Gemological Institute of America (GIA) emphasizes the importance of understanding diamond anatomy—specifically the table, crown, girdle, and pavilion—when rendering stones.
Sketching the Gemstone
- The Outline: For a standard 1-carat round brilliant (approx. 6.5mm in diameter), draw a perfect circle using a compass or digital circle tool.
- The Table and Crown: Draw an inner octagon to represent the table facet. Connect the corners of the octagon to the outer edge of the circle to map the star and bezel facets.
- Facet Reflections: Do not shade every facet individually. Instead, block in large, contrasting areas of light and dark. A well-drawn diamond features sharp, high-contrast "scintillation" patterns. Leave the table facet mostly clear with a single, sharp diagonal reflection line.
Drafting the Setting and Prongs
Amateurs often draw prongs as mere lines. In reality, a prong is a three-dimensional column of metal. When drawing a four-prong setting, sketch the bearing (the notch cut into the prong where the gemstone's girdle sits). The prong should taper slightly at the top and wrap over the crown of the stone. For a 6.5mm stone, draw the prongs approximately 0.8mm to 1.0mm thick to communicate structural durability to the bench jeweler.
Step 4: The Art of Layering on Paper
Layered necklaces are a dominant trend, but drawing them requires strict adherence to spatial rules to prevent a cluttered composition. Use the Two-Inch Rule: when sketching a layered stack, ensure there is a minimum visual gap of two inches between the drop lengths of each chain.
For example, if your first choker is drawn at 16 inches, the next pendant should be drafted at 18 inches, and the third at 20 inches. Vary the chain textures (e.g., a delicate 1mm cable chain layered with a 3mm rope chain) and scale the pendants inversely—the shortest necklace should feature the smallest charm or a simple solitaire diamond, while the longest chain anchors the stack with a larger, heavier pendant.
"A CAD model is only as good as the initial sketch. Hand-drawing forces you to confront gravity, drape, and scale before you commit to expensive precious metals. If it looks heavy and unbalanced on vellum, it will feel like a burden on the neck." — Master Bench Jeweler
Annotating Your Drawing for the Bench Jeweler
A beautiful drawing is useless to a manufacturer if it lacks technical specifications. Once your necklace drawing is complete, use a red fine-liner pen to add callouts and annotations in the margins.
Essential Callouts to Include:
- Exact Millimeter Dimensions: Note the width and length of the pendant bail (the loop that connects the pendant to the chain). A standard bail interior should be at least 2.0mm x 3.0mm to accommodate a 2.5mm chain.
- Metal Weight Estimates: If designing a heavy Cuban link, note the target gram weight (e.g., "Target: 45g in 14k Yellow Gold").
- Stone Specifications: List the exact carat weight, cut, and millimeter size of all gemstones. Note if the stones require a bezel setting or a shared-prong gallery.
- Clasp Placement: Indicate the type of clasp (e.g., lobster claw, spring ring, or custom box clasp with a figure-eight safety) and note if you want a 2-inch extender chain added to the terminal link.
Common Mistakes to Avoid in Necklace Sketches
As you refine your necklace drawing skills, watch out for these frequent pitfalls that can derail the manufacturing process:
- Ignoring the Bail: Many designers draw the pendant floating magically on the chain. Always draw the bail, ensuring it is proportionate to both the chain's thickness and the pendant's weight.
- Unrealistic Stone Sizes: Drawing a 10mm center stone on a delicate 0.8mm chain creates a structural imbalance. The chain must be visually and physically capable of supporting the pendant's mass.
- Flat Shading: Metal is highly reflective. Using flat, uniform gray shading makes gold and silver look like plastic. Always incorporate stark white highlights and deep, contrasting core shadows to simulate a polished metallic surface.
Mastering necklace drawing bridges the gap between abstract imagination and tangible luxury. By respecting anatomical proportions, understanding chain geometry, and annotating with technical precision, your sketches will serve as flawless blueprints for extraordinary custom jewelry.


