Sterling Silver Necklace Cross: Alloys, Gauges & Casting Guide
Explore the metallurgy, chain gauges, and casting techniques behind a quality silver necklace cross. Expert tips on alloys, tarnish, and durability.


The Metallurgy of the Silver Necklace Cross
When evaluating a silver necklace cross, the untrained eye looks only at the design, while the jeweler looks at the alloy. Pure silver (999 fine) is entirely unsuitable for daily-wear pendants due to its low yield strength and high malleability; a pure silver cross would bend and scratch within weeks. Instead, the industry relies on specific alloying metals to introduce structural integrity. According to the Gemological Institute of America (GIA), the legal standard for sterling silver requires a minimum of 92.5% pure silver and 7.5% alloying metals, traditionally copper.
Standard Sterling (925) vs. Advanced Alloys
The 7.5% copper content in traditional 925 sterling silver provides excellent tensile strength but introduces a significant vulnerability: galvanic tarnish. Copper reacts readily with atmospheric hydrogen sulfide and moisture, creating the familiar black copper sulfide layer on your cross pendant. Furthermore, during the casting process, copper oxidizes to form 'firescale'—a stubborn purple-grey subsurface stain that requires aggressive polishing to remove.
To combat this, modern metallurgy has introduced advanced alloys like Argentium Silver (935 or 960). By replacing a portion of the copper with germanium, Argentium forms a transparent, self-healing germanium dioxide layer on the surface. This makes an Argentium silver necklace cross highly resistant to tarnish and entirely eliminates firescale during manufacturing. For buyers seeking a low-maintenance, high-durability religious or fashion pendant, verifying the presence of the Argentium hallmark (a stylized winged unicorn) is a mark of superior material engineering.
Chain Gauge & Bail Mechanics: Preventing Failure
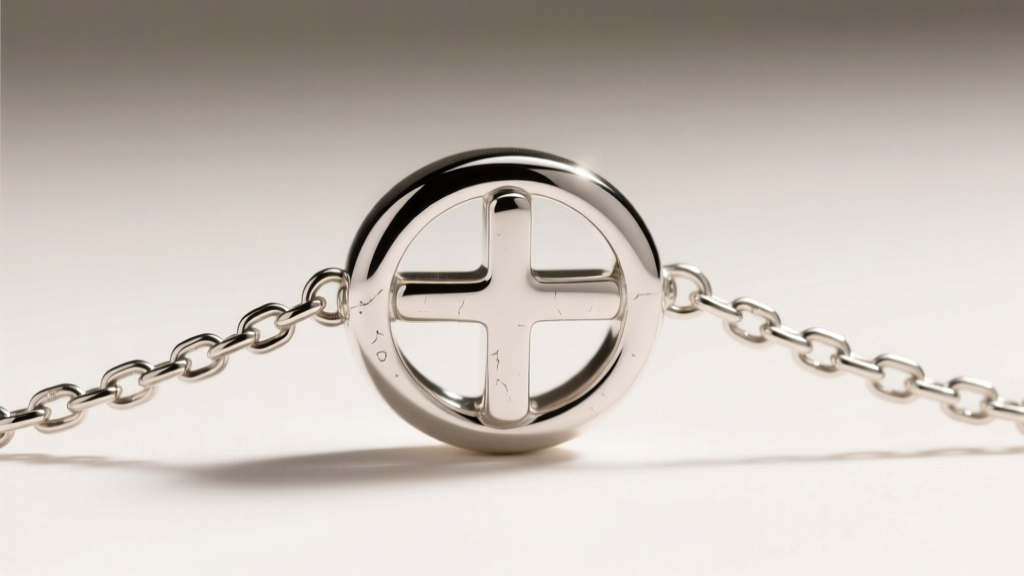
A cross pendant acts as a pendulum. With every movement, lateral kinetic energy transfers from the pendant's bail to the chain links. Selecting the correct chain gauge is not merely an aesthetic choice; it is a structural necessity. A chain that is too thin will suffer from accelerated link fatigue at the clasp and bail connection points, eventually snapping. Conversely, a chain that is too thick will fail to pass through the bail's interior diameter, forcing the wearer to use an adapter ring that ruins the pendant's drape.
Matching Chain Styles to Pendant Weight
Based on tensile testing and bench jewelry experience, here is the definitive framework for pairing chains with silver cross pendants:
| Chain Style | Recommended Gauge | Tensile Profile | Ideal Cross Weight |
|---|---|---|---|
| Cable Chain | 1.0mm - 1.2mm | Moderate | Lightweight (Under 8g) |
| Box Chain | 1.2mm - 1.5mm | High | Medium (8g - 15g) |
| Rope Chain | 1.5mm - 2.2mm | Very High | Heavy/Statement (15g+) |
| Figaro Chain | 1.5mm - 2.0mm | High | Medium to Heavy (10g - 20g) |
The Bail Tolerance Rule: Always measure the inner diameter (ID) of the cross's bail before purchasing a chain. A standard 1.2mm box chain requires a bail ID of at least 2.5mm to allow for fluid movement and to prevent the sharp inner edges of the box links from acting like a file against the silver bail.
Casting vs. Stamping: How Your Cross is Made
The manufacturing method of a silver necklace cross dictates its surface finish, structural density, and long-term wear characteristics. There are two primary methods used in modern jewelry production: lost-wax investment casting and die stamping.
Lost-Wax Investment Casting
The vast majority of intricate, three-dimensional silver crosses are produced via lost-wax casting. A wax model is encased in a plaster-like investment material, burned out in a kiln, and replaced with molten sterling silver. While this allows for complex filigree and deep relief designs, it is prone to gas porosity. If the molten silver cools too quickly or traps gases, microscopic voids form inside the metal. Over years of wear, these porous areas can trap skin oils and polishing compounds, leading to stubborn, localized black spots that cannot be cleaned. When inspecting a cast cross, look closely at the thickest sections (usually the center intersection); a mirror finish here indicates a high-quality, well-vented cast.
Die Striking and Stamping
Die-struck crosses are punched from flat sheets of sterling silver using immense hydraulic pressure. This process compresses the metal's grain structure, resulting in a denser, harder, and more reflective piece of jewelry. While limited to flatter, two-dimensional designs, a stamped silver cross is virtually immune to the porosity issues found in cast pieces. As noted in the Rio Grande Metals Guide, work-hardened stamped metals exhibit superior resistance to scratching and deformation compared to their cast counterparts.
Tarnish Mitigation & Rhodium Plating Realities
Many commercial silver crosses are plated with rhodium—a precious metal in the platinum family—to provide a bright, white-gold-like finish and a barrier against tarnish. However, not all rhodium plating is created equal, and understanding the micron thickness is crucial for evaluating longevity.
'Flash plating' (0.01 to 0.05 microns) is common in mass-market, low-cost silver jewelry. It provides an initial brilliant shine but will wear through to the underlying copper-alloyed silver within months of daily friction, leading to rapid, patchy tarnishing. For a lifelong piece, seek a heavy rhodium plate of at least 0.5 to 1.0 microns.
The Dangers of Over-Polishing
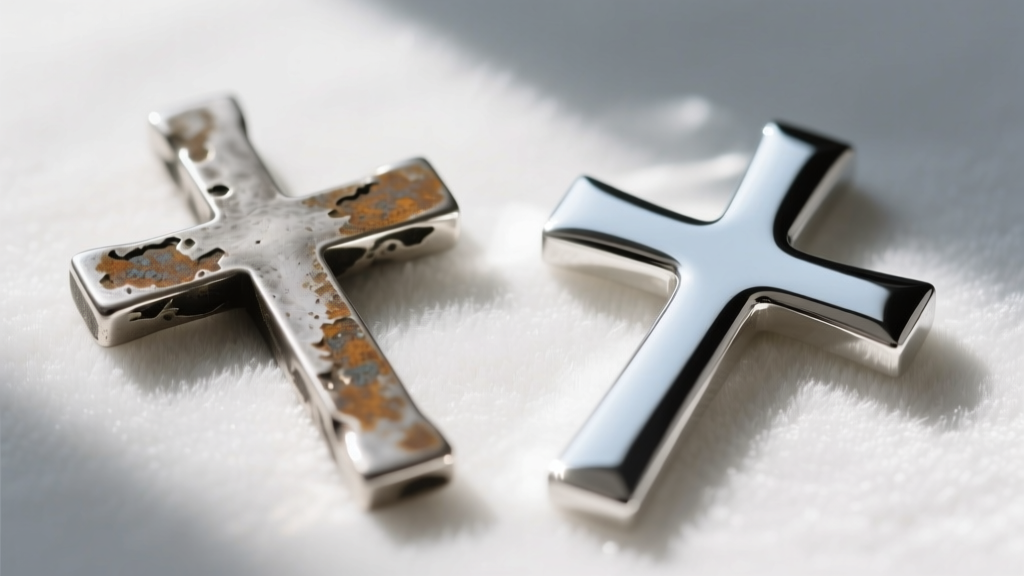
If you own a raw, unplated sterling silver cross, you must be cautious with abrasive polishing cloths. Silver sulfide tarnish is a surface-level chemical reaction, but aggressive rubbing with harsh compounds removes microscopic layers of the silver itself. Over decades, this can soften the sharp edges of a machined or cast cross, blurring intricate details. Instead, utilize a chemical reduction method: a warm bath of water, aluminum foil, and baking soda creates an electrolytic reaction that converts the silver sulfide back into pure silver without removing any base metal.
Buyer's Inspection Checklist for Silver Crosses
Whether purchasing a vintage heirloom or a modern artisan piece, use this technical checklist to verify the quality of your silver necklace cross:
- Hallmark Verification: Look for '925', 'Sterling', or the Argentium winged unicorn stamp, usually located on the back of the bail or the bottom edge of the cross.
- Solder Joint Inspection: Examine where the bail connects to the cross body. The solder line should be seamless and flush. Excess solder pooling indicates sloppy bench work and creates a weak point.
- Weight Distribution: Hold the cross by the top of the bail. If it tilts severely forward or backward, the bail was not calibrated to the pendant's center of gravity, meaning it will not lay flat against the sternum when worn.
- Edge Finishing: Run a cotton swab along the outer edges of the cross. If the cotton snags, the piece has not been properly tumbled or polished, leaving microscopic burrs that will catch on clothing.
By understanding the precise metallurgy, structural mechanics, and manufacturing nuances of a silver necklace cross, you transition from a passive consumer to an informed collector, ensuring your chosen piece withstands both the test of time and the rigors of daily wear.


