Reading the Story the Diamond Necklace Holds: Heirloom Repair
Discover how to authenticate, date, and repair inherited jewelry. Learn to read the story the diamond necklace holds through expert troubleshooting.

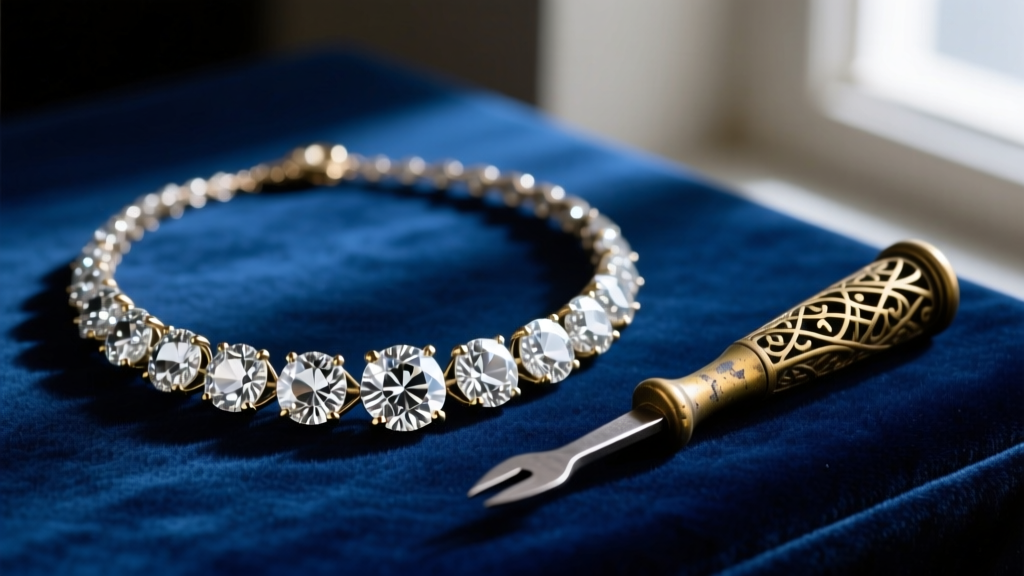
The Challenge of Inherited Jewelry
Inheriting a piece of fine jewelry is a profoundly emotional experience, but it often arrives with a host of practical mysteries. Is the centerpiece truly a diamond? What era does the setting belong to? Is the chain structurally sound enough for daily wear? When you inherit a vintage or antique piece, you are not just receiving a beautiful accessory; you are receiving a historical artifact. To properly care for it, you must first learn to read the story the diamond necklace holds. This requires a methodical, gemological approach to troubleshooting authenticity, dating the hardware, and addressing decades of microscopic structural wear.
Unlike purchasing a new piece from a modern jeweler, heirloom necklaces lack warranties, grading reports, and clear metallurgical histories. In this comprehensive troubleshooting guide, we will break down the exact steps a master jeweler takes to authenticate, date, and restore inherited diamond necklaces, ensuring they can be worn safely for the next generation.
Authenticating the Stones: Separating Fact from Fiction
The most critical first step in heirloom troubleshooting is verifying the center stone and the surrounding melee diamonds. Family lore often exaggerates the origins and materials of inherited jewelry. A necklace believed to be a flawless diamond from the 1920s might actually feature synthetic spinel, early glass simulants, or, if the piece was modified in the late 1970s, cubic zirconia (CZ).
Troubleshooting Simulants and Synthetics
Visual inspection with a 10x triplet loupe is your first line of defense. Natural diamonds often contain microscopic inclusions such as pinpoint feathers, crystals, or clouds. If the stones are completely flawless under 10x magnification, you should be highly suspicious. Early glass simulants will often show rounded facet edges and internal gas bubbles, while synthetic spinel may exhibit a 'crosshatch' pattern under polarized light.
For definitive troubleshooting, jewelers rely on dual-testing meters. A standard thermal conductivity tester will easily identify glass and CZ. However, synthetic moissanite (introduced to the jewelry market in the late 1990s) shares thermal properties with diamond and will pass a basic thermal test. To accurately troubleshoot moissanite, you must use a tester that also measures electrical conductivity. Diamonds are generally electrical insulators (with the rare exception of Type IIb blue diamonds), while moissanite is a semiconductor. According to the Gemological Institute of America (GIA), relying on dual-testing technology is the only reliable way to separate modern moissanite from natural diamonds without advanced spectroscopic equipment.
Decoding the Hardware: Dating Your Heirloom
Diamonds may be forever, but the hardware used to secure them is deeply tied to specific historical eras. When you examine the clasps, jump rings, and hallmarks, you begin to read the story the diamond necklace tells about its manufacturing date. Troubleshooting the age of a piece helps determine if the setting is original or if the necklace has been heavily altered over the decades.
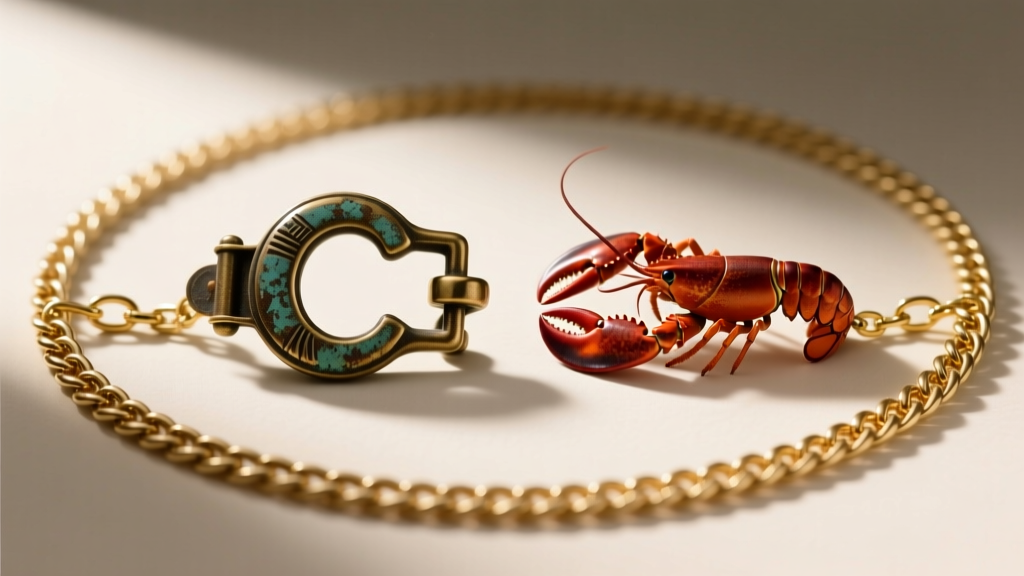
The Clasp Chronology Chart
The clasp is the fingerprint of the era. If a family member claims a necklace belonged to their great-grandmother in 1890, but it features a modern lobster clasp, the piece has either been modified or the family lore is inaccurate. Use this troubleshooting table to date your hardware:
| Clasp Type | Approximate Era | Troubleshooting Red Flags |
|---|---|---|
| C-Clasp (No safety) | Pre-1900 | High risk of unhooking; pin stem often extends past the 'C' catch. |
| Barrel / Screw Clasp | 1900 - 1940 | Threads often strip over time; check for cross-threading or glue residue. |
| Spring Ring | 1940 - 1980 | Internal springs fail and lose tension; solder joints at the jump ring often crack. |
| Lobster Clasp | 1980 - Present | Modern addition; if found on an antique chain, the original clasp was likely cut off. |
Additionally, examine the solder joints where the clasp meets the chain. Antique pieces were soldered with lead or low-karat gold solders that tarnish differently than the base metal. Modern laser soldering leaves almost no visible seam. For deeper historical context on antique findings, resources like the Lang Antiques Antique Jewelry University provide invaluable visual databases of historical clasps and hallmarks.
Metallurgical Troubleshooting: Prongs, Settings, and Chains
Once authenticity and age are established, the physical integrity of the metal must be assessed. Decades of wear cause microscopic degradation that can lead to catastrophic stone loss if not addressed.
Prong Wear and Stone Security
Antique diamond necklaces frequently feature Old Mine or Old European cut diamonds. These historical cuts have high crowns, small tables, and large, open culets. They require specific, robust prong structures—often V-prongs for corners or heavy U-prongs for rounds. Over 50 to 100 years, friction from clothing slowly sands away the platinum or gold prongs.
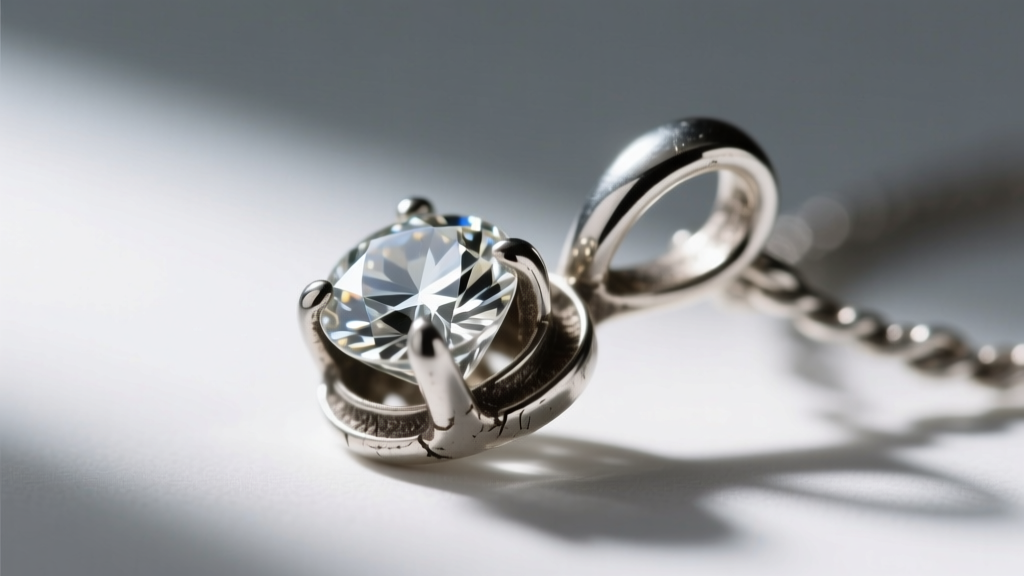
The Troubleshooting Fix: Do not simply 'push' worn prongs back over the stone. This work-hardens the metal and causes it to snap. If the prong has lost more than 30% of its original mass, it requires re-tipping. If the necklace is crafted from Platinum 950, a jeweler must use laser welding rather than traditional torch soldering. Platinum has an extremely high melting point (3,215°F). Using a torch to solder platinum prongs risks melting the surrounding metal or causing thermal shock to adjacent melee diamonds. Laser welding introduces new platinum wire to the worn prong without transferring heat to the rest of the setting.
Chain Stretch and Link Failure
Vintage chains, particularly rope chains and wheat chains popular in the 1970s and 1980s, are highly susceptible to stretching. When a chain stretches, the individual links elongate, thinning the metal and weakening the structural integrity. If you notice a section of your inherited necklace looks visibly longer or 'looser' than the rest, do not pull on it. The troubleshooting protocol for stretched chains involves carefully snipping the stretched section out and laser-soldering the chain back together, or restringing the pendant onto a newly manufactured chain that matches the original link profile.
Safe Cleaning Protocols for Antique Diamonds
A common mistake heirs make is taking a newly inherited, grimy diamond necklace to a mall jeweler for a quick ultrasonic cleaning. This can be a fatal error for antique jewelry. Ultrasonic cleaners use high-frequency sound waves to create microscopic cavitation bubbles that blast away dirt. However, if an older diamond has a surface-reaching feather (a microscopic crack), the ultrasonic vibrations can cause the diamond to fracture completely in half.
Furthermore, if the necklace features any accent stones like emeralds, opals, or pearls, the ultrasonic waves and harsh chemical baths will destroy their internal structure or strip their natural oils.
The Master Jeweler's 'Boil-Out' Method
To safely troubleshoot heavy grime buildup on an all-diamond, platinum, or gold necklace, professionals use a traditional boil-out method. The necklace is placed in a glass beaker with a solution of distilled water, a few drops of mild ammonia, and a drop of dish soap. It is brought to a gentle simmer on a hot plate for 15 to 20 minutes. The heat softens decades of hardened lotions, oils, and cosmetics without the violent vibrations of an ultrasonic machine. Afterward, a soft baby-hair brush is used to gently sweep the girdles of the diamonds, followed by a warm distilled water rinse and a blow-dry with compressed air.
Conclusion: Preserving the Legacy
Troubleshooting an inherited piece of jewelry is about more than just fixing broken metal; it is an act of preservation. By rigorously testing the stones, decoding the historical hardware, and employing specialized, low-heat repair techniques, you ensure that the physical artifact survives. When you take the time to properly read and respect the story the diamond necklace holds, you transform a fragile relic of the past into a secure, wearable treasure for the future.


