How to String and Style an Authentic Pucca Shell Necklace
Learn how to authenticate, string, and layer a genuine pucca shell necklace with our step-by-step guide, featuring expert tips on materials and styling.

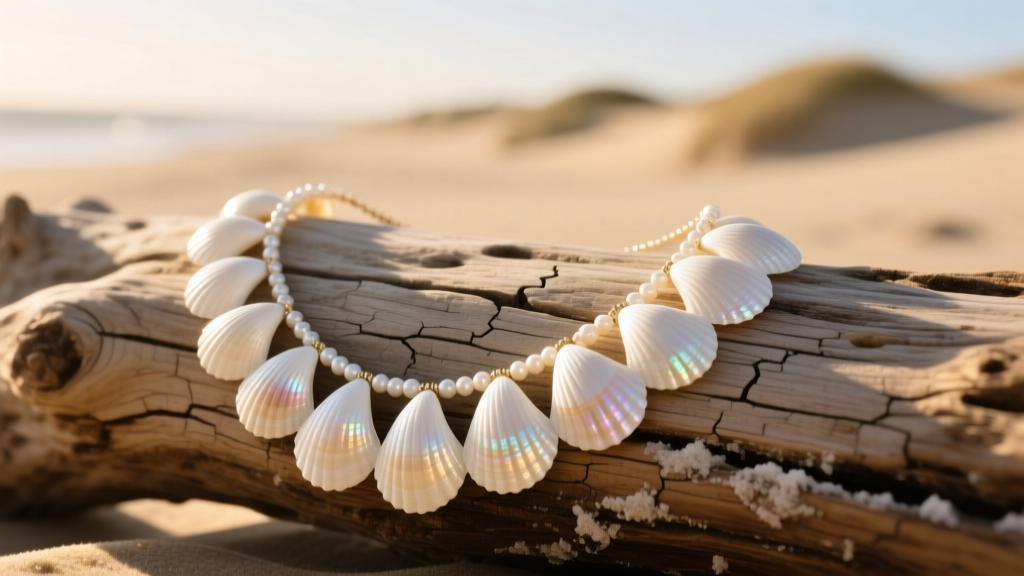
The resurgence of organic, coastal-inspired jewelry has firmly cemented the pucca shell necklace as a wardrobe staple for 2026 and beyond. While often spelled 'pucca' in mainstream fashion markets, the correct Hawaiian term is 'puka,' which translates directly to 'hole.' True puka shells are not manufactured; they are the naturally occurring, ocean-tumbled apexes of cone snails, prized for their organic, asymmetrical holes and smooth, frosted finishes. Whether you are looking to craft your own custom piece from loose shells or simply want to understand the anatomy of a high-quality strand, mastering the art of stringing and styling this iconic necklace requires specific techniques and materials.
In this comprehensive guide, we will walk you through the authentication process, the exact stringing materials needed for durability, and step-by-step instructions for creating a professionally finished, graduated pucca shell necklace.
The 'Pucca' vs. Puka Distinction: Authenticating Your Shells
Before you begin stringing, you must verify the authenticity of your materials. The market is flooded with imitation shells made from plastic, resin, or thinner, non-conical shells that have been machine-punched and tumbled. According to the Bailey-Matthews National Shell Museum, genuine puka shells come exclusively from the Conus (cone snail) family.
To authenticate your shells, look for these three structural markers:
- Convex/Concave Profile: A genuine shell will have a slightly rounded (convex) top and a distinctly indented (concave) bottom. Imitations are usually flat on both sides.
- The Natural Hole: The 'puka' is formed by the ocean wearing away the fragile tip of the shell. The hole should be slightly off-center, irregular in shape, and wider on the concave side. Machine-drilled holes are perfectly centered and uniform.
- Weight and Temperature: Real calcium carbonate shells feel cool to the touch and have a satisfying, dense weight. Plastic or resin fakes will feel lightweight and quickly warm to body temperature.
Materials Checklist: What You Need for Stringing
A common mistake in DIY jewelry making is using inappropriate stringing materials for organic gems. Shells have sharp, abrasive inner edges around the natural hole that will quickly fray and snap standard cotton threads or cheap elastic. For a durable pucca shell necklace, you need specialized beading wire.
Here is your essential toolkit:
- Stringing Wire: 49-strand stainless steel beading wire coated in nylon, specifically in a 0.019-inch (0.48mm) diameter. Brands like SoftFlex or Beadalon offer the perfect balance of drape and tensile strength. Avoid 0.014-inch wire, which is too thin and will kink under the weight of the shells.
- Crimp Beads: 2mm sterling silver or 14k gold-filled seamless crimp tubes. Avoid crimp beads with a seam, as they can weaken the wire.
- Wire Guardians (French Wire): These tiny horseshoe-shaped metal findings protect the wire from bending sharply against the clasp, preventing metal fatigue.
- Clasp: A sturdy lobster claw or a magnetic barrel clasp (ideal for thicker shell chokers that are hard to fasten behind the neck).
- Tools: Flush cutters and specialized crimping pliers (which fold and round the crimp tube for a professional finish).
Step-by-Step Guide: Stringing a Graduated Pucca Shell Necklace
A graduated necklace features the largest shells at the center (the focal point) and progressively smaller shells tapering toward the clasp. This technique requires patience but yields a dramatically superior aesthetic compared to uniform strands.
Step 1: Sorting and Layout
Empty your shell strand onto a felt-lined bead board. Sort the shells by diameter and thickness. Identify your 5 to 7 largest, most symmetrical shells for the center focal point. Gradually sort the remaining shells into decreasing size piles on your left and right. This visual mapping prevents the frustrating process of restringing later.
Step 2: Measuring and Cutting the Wire
Decide on your finished length. A classic pucca shell choker sits at 16 inches, while a standard princess length is 18 inches. Cut your 0.019-inch beading wire exactly 4 inches longer than your desired finished length to allow ample room for crimping and attaching the clasp.
Step 3: Stringing the Focal Point
Begin by stringing your largest center shell. To keep it perfectly centered, you can place a tiny 2mm spacer bead or a micro-knot on either side. Continue adding your sorted shells, working outward from the center to the edges, alternating the orientation of the shells (convex side up) for a uniform look. Periodically drape the necklace around a bust or your own neck to check the gradient flow.
Step 4: Securing the Clasp
Once your desired length is achieved, string a crimp tube, followed by a wire guardian, and finally the loop of your clasp. Thread the wire tail back through the wire guardian, the crimp tube, and the first three shells of the necklace. Pull the wire taut—leaving zero slack, but not so tight that the necklace becomes stiff. Use your crimping pliers to fold and round the crimp tube, then trim the excess tail wire flush against the shell using your cutters. Repeat on the opposite side with the jump ring or other half of the clasp.
Shell Grading and Market Pricing
Understanding shell grading is crucial when sourcing materials. The price of a pucca shell necklace varies wildly based on the rarity of the natural formation and the thickness of the calcium carbonate. Below is a breakdown of what to expect in the current market.
| Grade | Description & Characteristics | Avg. Price (16-inch Strand) |
|---|---|---|
| Grade A (Natural) | Thick, highly convex, naturally formed holes, unbleached ivory tone. Rare and highly sought after by fine jewelers. | $85 - $150+ |
| Grade B (Tumbled) | Genuine cone shells but thinner, with slightly irregular shapes. Often lightly tumbled to smooth rough edges. | $35 - $60 |
| Heishi (Cut) | Flat, uniform discs cut from larger shells or other materials. Not true 'puka' but often sold under the same name. | $10 - $25 |
How to Layer Your Pucca Shell Necklace
The modern approach to the pucca shell necklace moves far past the 1970s surf stereotypes. In contemporary styling, organic shells are treated as neutral textural elements that pair beautifully with fine metals and freshwater pearls. The key to a successful layered stack is varying the lengths by exactly 2 inches to prevent tangling and ensure each piece is visible.

The Ultimate Coastal Stack Formula:
- Base Layer (16 inches): Your graduated pucca shell choker. The organic, matte texture sits closest to the collarbone, framing the face.
- Mid Layer (18 inches): A 14k gold or vermeil Figaro chain (approx. 3mm width). The metallic sheen of the gold contrasts sharply with the frosted white shells, adding a touch of luxury.
- Outer Layer (20 inches): A strand of baroque freshwater pearls or a delicate diamond solitaire pendant on a fine cable chain. This draws the eye downward, elongating the neck and balancing the visual weight of the chunkier shell choker.
Care and Maintenance for Organic Shells
Because pucca shells are composed of calcium carbonate, they are highly susceptible to acidic degradation. Proper care is non-negotiable if you want to preserve the structural integrity and luster of your necklace.
Expert Tip: Never wear your pucca shell necklace in chlorinated pools or hot tubs. Chlorine reacts with calcium carbonate, causing the shells to pit, chalk, and eventually become brittle. Always apply sunscreen, perfumes, and hairsprays before putting on your jewelry, and wipe the shells down with a soft, damp microfiber cloth after a day at the beach to remove salt and body oils.
When storing your necklace, keep it flat in a soft pouch. Hanging heavy shell necklaces for long periods can cause the nylon coating on the beading wire to stretch or develop permanent memory kinks. By following these stringing and care protocols, your pucca shell necklace will remain a durable, timeless anchor in your jewelry collection for years to come. For more specialized stringing supplies and wire specifications, artisans frequently consult resources like Fire Mountain Gems to ensure they are using professional-grade components.


