How to String a Gradient Seed Beads Necklace: Step-by-Step Guide
Learn how to design and string a multi-strand ombré seed beads necklace. Expert tips on Miyuki sizes, Fireline thread, and multi-strand clasps.

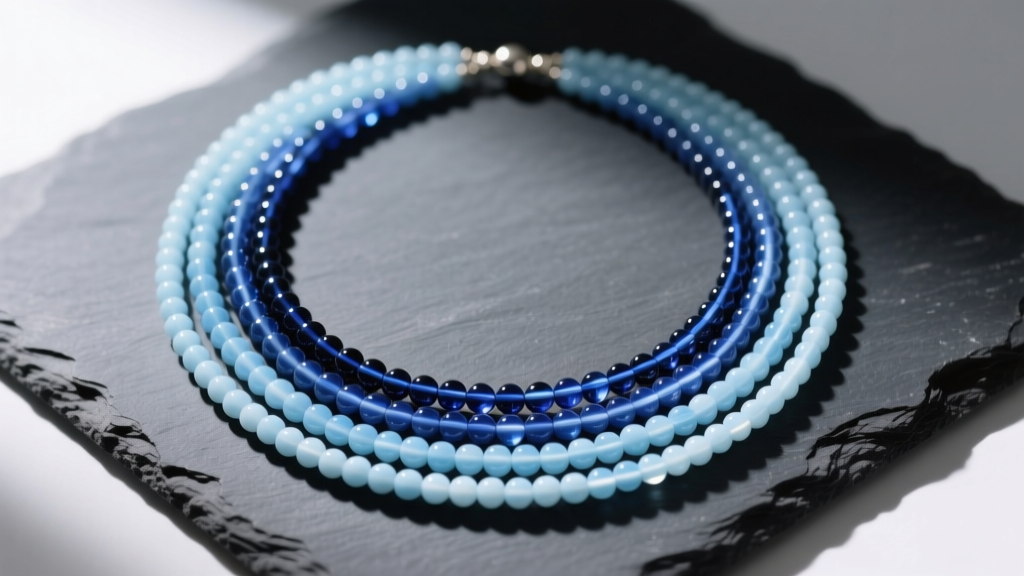
The Anatomy of a Professional Seed Beads Necklace
Creating a multi-strand seed beads necklace with a seamless ombré gradient requires more than just threading beads onto a string. It demands an understanding of material physics, precise mathematical grading, and professional finishing techniques. Whether you are designing a delicate collar or a dramatic bib necklace, the structural integrity of your piece relies on selecting the correct bead geometry and tensile thread. In this guide, we will walk through the exact specifications needed to craft a five-strand gradient seed beads necklace that drapes flawlessly and withstands daily wear.
Miyuki Delica vs. Miyuki Round: Sizing and Uniformity
The foundation of any high-end seed beads necklace is bead uniformity. While traditional Czech seed beads offer a charming, organic variance, Japanese Miyuki beads provide the mathematical precision required for complex gradients. Specifically, Miyuki Delicas are cylindrical with a massive 1.3mm hole relative to their 1.6mm diameter, allowing for multiple thread passes and a stiff, fabric-like drape. Conversely, Miyuki Rounds are donut-shaped with a smaller 0.8mm hole, offering a softer, more fluid movement. For a structured ombré collar, Delicas are superior; for a fluid, cascading bib, Rounds are ideal.
| Bead Type | Size | Hole Diameter | Avg. Price (7g Tube) | Best Application |
|---|---|---|---|---|
| Miyuki Delica | 11/0 | 1.3mm | $5.00 - $8.50 | Structured collars, loom work |
| Miyuki Round | 11/0 | 0.8mm | $3.50 - $5.00 | Fluid draping, fringe, multi-strand |
| Czech Charlotte | 11/0 | 0.7mm | $4.00 - $6.00 | Single-cut sparkle accents |
| Toho Treasure | 11/0 | 1.3mm | $4.50 - $7.00 | Geometric patterns, tubular peyote |
For further technical specifications on bead sizing and hole diameters, consult the Fire Mountain Gems Bead Size Chart, which remains the industry standard for jewelry makers.
Step 1: Selecting the Right Thread and Tension
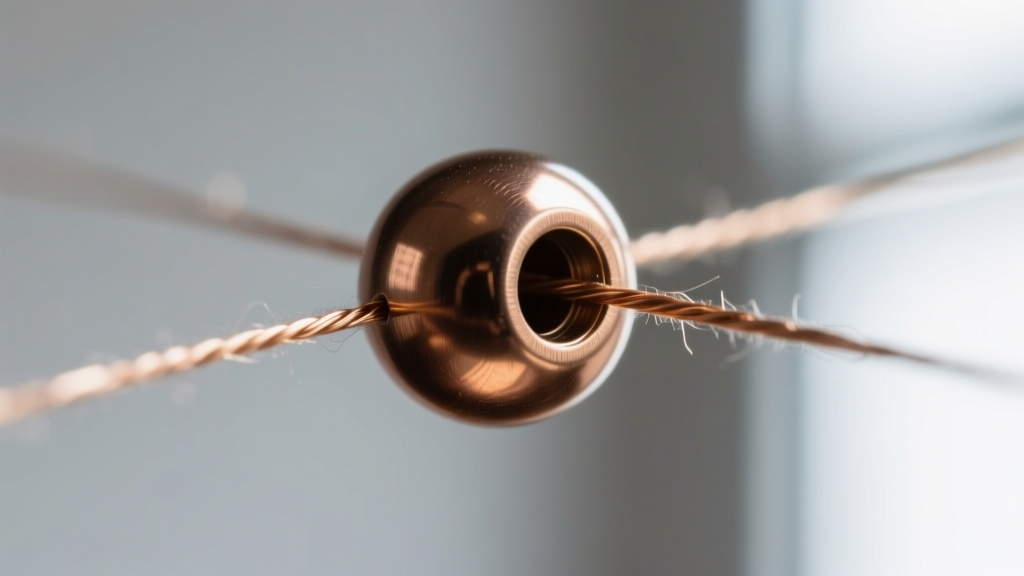
The most common point of failure in a seed beads necklace is thread degradation. Glass seed beads have microscopically sharp edges inside their holes that will slice through natural fibers like silk or cotton over time. To prevent catastrophic snapping, you must use a fused gel-spun polyethylene thread or a bonded nylon.
Thread Comparison for Multi-Strand Designs
- Berkley Fireline (6lb Test / 0.006"): The gold standard for seed bead stringing. It is virtually stretch-proof, meaning your necklace will not sag over time. However, it lacks flexibility, making it less ideal for highly fluid drapes.
- Miyuki Nymo (Size D): A lightly waxed nylon thread that offers a beautiful, heavy drape. It requires pre-stretching before use to prevent future sagging and must be conditioned with microcrystalline wax to resist fraying.
- WildFire (0.006"): A thermally bonded polyethylene with a smooth, non-fraying exterior. It is stiffer than Fireline and excels in pieces requiring high structural rigidity.
Expert Insight: Always perform the "drape test" before stringing your final piece. Thread a 12-inch sample of your chosen beads and hold it in a U-shape. If the thread kinks or forces the beads into a rigid polygon, switch to a softer thread like Nymo or use a smaller bead size to increase the articulation points.
Step 2: Planning the Ombré Color Gradient
A true ombré seed beads necklace relies on a carefully calculated color progression and strand length graduation. If all five strands are cut to the exact same length, the inner strands will buckle and choke the wearer, while the outer strands will pull taut and gap.
The 5-Strand Graduation Formula
To achieve a flawless cascade, you must increase the length of each subsequent outer strand by a specific increment. For a standard 16-inch base collar, use the following mathematical progression:
- Strand 1 (Innermost): 16.0 inches (approx. 40.6 cm)
- Strand 2: 16.6 inches (approx. 42.1 cm)
- Strand 3 (Center): 17.2 inches (approx. 43.6 cm)
- Strand 4: 17.8 inches (approx. 45.2 cm)
- Strand 5 (Outermost): 18.5 inches (approx. 46.9 cm)
Map your color gradient on a velvet-lined bead board. For a sapphire-to-ice-blue transition, start with opaque dark navy on Strand 1, move to cobalt and metallic blue for Strands 2 and 3, and finish with translucent silver-lined crystal and matte pale blue for Strands 4 and 5. This ensures the darkest, visually heaviest colors sit closest to the neckline, anchoring the design.
Step 3: Stringing and Securing the Strands
With your materials selected and gradient mapped, you can begin the physical assembly. Working with multiple strands requires meticulous organization to prevent tangling and tension loss.
- Apply a Stop Bead: Thread a contrasting 8/0 seed bead onto your Fireline, leaving a 6-inch tail. Pass the thread back through the stop bead twice to lock it. This prevents your meticulously planned gradient from sliding off the end.
- String the Gradient: Pick up your beads according to your bead board layout. Every 12 inches, gently flex the strand to ensure the thread tension remains relaxed. If the thread is too tight, the necklace will pucker; if too loose, the thread will show between the beads.
- Secure the Opposite End: Once the target length is reached, add another stop bead. Repeat this process for all five strands, keeping them separated on your workspace.
Step 4: Finishing with a Multi-Strand Clasp
The clasp is the highest stress point on any seed beads necklace. Tying knots directly to a clasp ring will eventually lead to fraying and failure. Instead, use sterling silver wire guardians (also known as French wire or bullion) and 2x2mm crimp tubes to create a professional, durable loop.
The Professional Crimping Technique
According to the Beadaholique Technique Tutorials, proper crimping is a two-stage process that requires specialized crimping pliers:
- Thread the end of your Fireline through a 2x2mm sterling silver crimp tube, then through the loop of your multi-strand slide clasp.
- Pass the thread back through the crimp tube and the first two seed beads of your strand, pulling it taut but leaving enough slack for the beads to move freely.
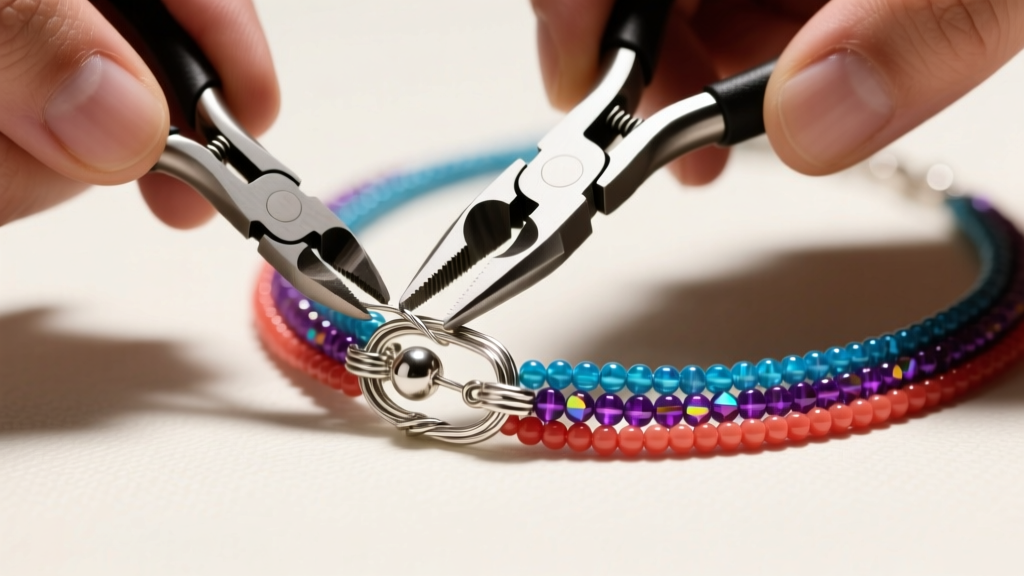
- Place the crimp tube in the outer U-shaped notch of your crimping pliers and squeeze firmly. This separates the two threads inside the tube.
- Move the tube to the inner oval notch, rotate it 90 degrees, and squeeze again to fold the U into a tight, rounded bead.
- Repeat this process for all five strands, attaching them sequentially to a 5-loop slide clasp or a multi-strand tube clasp.
Troubleshooting Common Stringing Failures
Even experienced jewelers encounter issues when crafting complex multi-strand pieces. Here is how to diagnose and fix the most common problems:
- Inner Strand Buckling: If your innermost strand twists and rides up over the outer strands, your length graduation is insufficient. Remove the clasp, add 1/4 inch of beads to the inner strand, and re-crimp.
- Thread Showing Between Beads: This occurs when the thread tension is too loose, or the bead hole is too large for the thread. Switch from 6lb Fireline to 8lb Fireline, or add microscopic 15/0 seed bead spacers to fill the gap.
- Clasp Loop Deformation: If the wire on your clasp loop is pulling open, you are using a base metal or low-karat gold-filled finding. Upgrade to solid sterling silver or 14k gold-filled clasps, which have higher tensile strength and resist pulling apart under the weight of glass beads.
By adhering to these precise material specifications and structural formulas, your finished seed beads necklace will not only showcase a breathtaking color gradient but will also possess the heirloom durability required for lifelong wear.


