How to Style and Adjust a Sliding Diamond Necklace
Learn how to properly adjust, style, and maintain your sliding diamond necklace with our expert guide on chain gauges, layering, and silicone care.

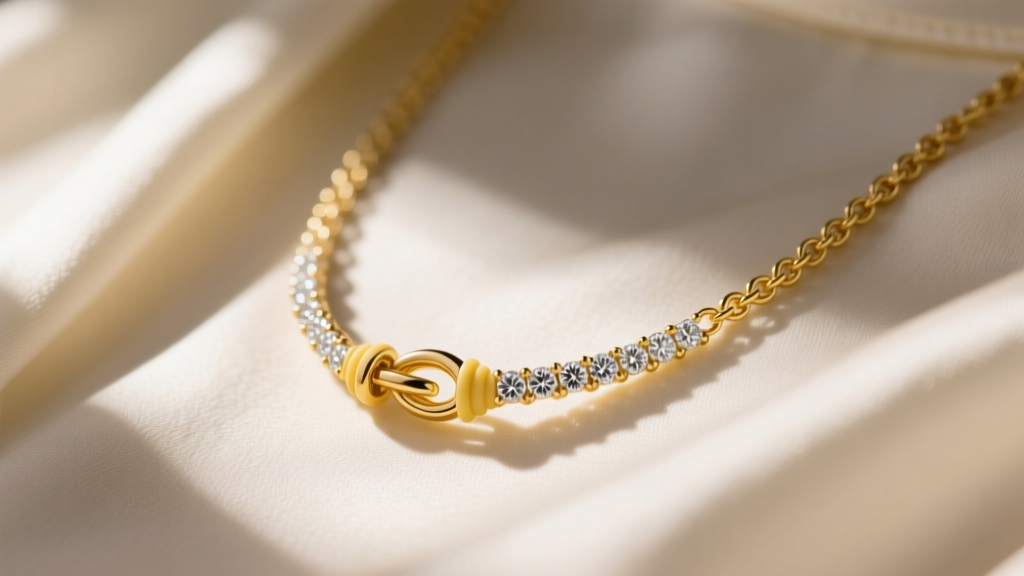
The sliding diamond necklace has become a cornerstone of modern fine jewelry, offering unparalleled versatility for everyday wear and formal styling alike. Unlike fixed pendants, a slide necklace allows you to customize the drop length instantly, adapting to plunging necklines, high collars, or intricate layering stacks. However, the unique tension-based mechanics of the sliding bail require specific handling to prevent chain damage and ensure the diamond stays exactly where you want it.
In this comprehensive guide, we break down the exact mechanics of slide pendants, provide a step-by-step adjustment protocol, and share expert maintenance routines to keep the tension grip secure for years to come.
Understanding the Mechanics of a Slide Pendant
To properly care for a sliding diamond necklace, you must first understand how the bail—the loop that connects the diamond setting to the chain—actually functions. Modern slide pendants rely on one of two internal mechanisms:
- Silicone O-Ring Grips (Modern Standard): Most contemporary fine jewelers use a hidden, medical-grade silicone insert inside the metal bail. As the chain passes through, the silicone creates friction against the metal links. This works best on smooth chains between 0.6mm and 1.0mm in thickness, such as box or cable chains.
- Metal Tension Springs (Vintage/Legacy): Older designs feature a tiny internal metal spring that clamps down on the chain when released. While secure, these are prone to snapping and can cause micro-abrasions on softer metals like 18k or 22k gold over time.
According to the Gemological Institute of America (GIA), understanding your jewelry's mechanical stress points is critical for long-term preservation. The silicone grip is vastly superior for daily wear, but it requires specific chain gauges to function correctly. If your chain is thinner than 0.5mm, the diamond will continuously slip to your sternum; if it is thicker than 1.2mm, forcing it through will tear the internal silicone.
Step-by-Step: How to Adjust the Slide Safely
The most common mistake wearers make is grabbing the chain and pulling it through the stationary diamond bail. This creates severe friction, eventually stretching the links or snapping the chain entirely. Follow this four-step protocol to adjust your necklace safely:
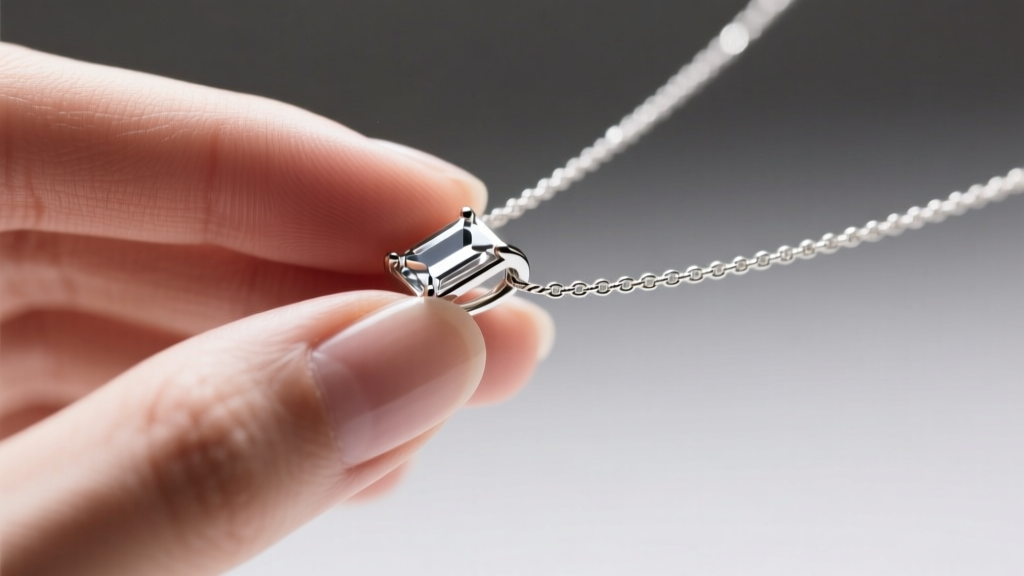
- Isolate the Bail: Hold the metal casing of the diamond pendant securely between your thumb and index finger of your non-dominant hand.
- Pinch the Entry Point: With your dominant hand, pinch the chain exactly one inch away from where it enters the bail. Do not pull from the middle of the chain.
- Apply Micro-Tension: Gently squeeze the bail. If it is a silicone grip, you will feel a slight release of tension. If it is a spring mechanism, you may need to press a microscopic release button on the side of the bail (common in specific luxury designs).
- Glide and Release: Slowly feed the chain through the bail while maintaining your pinch. Release the bail once the diamond is at your desired drop length, allowing the silicone to re-grip the links.
Neckline Pairing Matrix: Where to Position the Diamond
The primary advantage of a sliding diamond necklace is its adaptability. A 0.50-carat or 1.00-carat solitaire slide can completely change its visual impact based on where it rests on your chest. Use the matrix below to determine the optimal slide position for common necklines.
| Neckline Type | Ideal Chain Length | Optimal Slide Position | Visual Effect |
|---|---|---|---|
| Deep V-Neck | 20 - 24 inches | Low plunge (sternum level) | Elongates the torso; draws the eye downward for a dramatic, sensual look. |
| Crew Neck / T-Shirt | 16 - 18 inches | Collarbone hollow (suprasternal notch) | Classic, everyday elegance; frames the face perfectly. |
| Boatneck / Bateau | 14 - 16 inches | High collarbone (choker-adjacent) | Provides a contrasting vertical line against the horizontal shoulder seam. |
| Button-Down Shirt | 18 - 20 inches | Mid-chest (between 2nd and 3rd button) | Professional and polished; adds a focal point to structured tailoring. |
Layering Techniques for Sliding Pendants
Because the slide pendant can move, it poses a unique challenge when layered with fixed-length chains. The golden rule of necklace stacking is maintaining a minimum two-inch gap between the bottom of one pendant and the top of the next chain's clasp or focal point.

The Anchor and Slide Method
When building a stack, start with your sliding diamond necklace as the longest layer (e.g., set to 18 inches). Next, add a fixed 14-inch or 15-inch choker, such as a gold paperclip or herringbone chain. Finally, add a 16-inch fixed pendant (like a small pearl or bezel-set gemstone). By locking the sliding diamond into the lowest position, you eliminate the risk of the chains tangling at the nape of your neck—a common issue when multiple pendants compete for the same drop length.
For added security during active days, use a silicone necklace spacer clasp at the back of your neck. This keeps the chains separated and prevents the sliding bail from creeping upward due to body movement.
Maintenance: Cleaning the Tension Mechanism
If your sliding diamond necklace suddenly will not stay in place and keeps sliding down to the bottom of the chain, the internal mechanism is likely compromised. For silicone-grip pendants, the culprit is almost always a buildup of body oils, lotions, and dead skin cells inside the bail, which lubricates the silicone and destroys its friction.
Expert Troubleshooting: Never use ultrasonic cleaners on a sliding pendant. The high-frequency vibrations can dislodge the internal silicone O-ring or damage the microscopic tension springs. Always clean slide mechanisms by hand.
To restore the grip, follow these steps:
- Remove the necklace and lay it flat on a microfiber cloth.
- Dip a pointed cotton swab in 90% or higher isopropyl alcohol (rubbing alcohol).
- Gently swab the interior holes of the bail where the chain enters and exits. The alcohol will dissolve the lipid buildup without degrading the medical-grade silicone.
- Allow the bail to air dry for 60 seconds before threading the chain back through.
The Jewelers of America recommends avoiding direct contact between aerosol perfumes and jewelry mechanisms, as the alcohol and propellants can dry out silicone components over time, causing them to crack and lose their grip entirely.
Buying Guide: Specs to Demand
If you are in the market for a new sliding diamond necklace, do not settle for vague product descriptions. Demand specific material and mechanical grades to ensure longevity.
- Chain Gauge: Insist on a chain thickness between 0.7mm and 0.9mm. A 0.8mm box chain is the industry gold standard for slide pendants, offering enough surface area for the silicone to grip without being overly bulky.
- Diamond Quality: Because slide pendants lay flat against the skin and lack the elevated prong exposure of a ring, they do not catch light as aggressively. Prioritize Cut and Carat weight over Color and Clarity. An I-J color with SI1 clarity will look identical to a D-VVS1 stone in a slide setting, saving you up to 40% on the purchase price.
- Clasp Hardware: Ensure the chain features a lobster clasp with an integrated jump ring that is soldered shut. The constant pulling and adjusting of a slide necklace puts extra torque on the back clasp; an unsoldered jump ring will eventually pull apart.
By understanding the precise mechanics and maintenance requirements of your jewelry, you transform a simple accessory into a reliable, lifelong staple of your wardrobe.


