How to Style and Care for Your I Am Loved Necklace
Learn how to style, layer, and clean your I Am Loved necklace. Expert tips on chain lengths, metal care, and meaningful layering techniques.

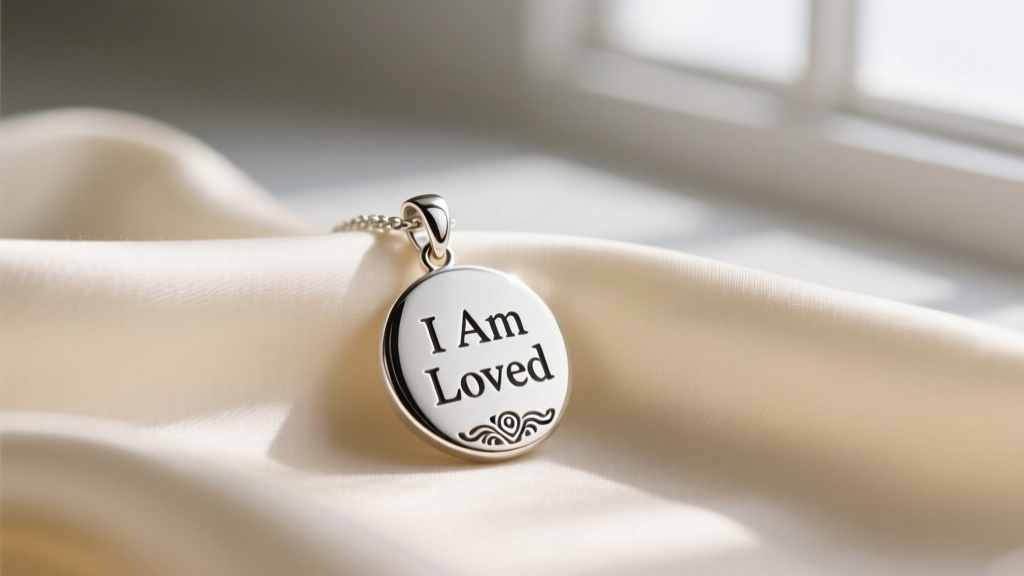
The Anatomy of an "I Am Loved" Pendant
The "I Am Loved" necklace is more than just an accessory; it is a profound sentimental anchor. Whether gifted to mark a milestone, celebrate motherhood, or serve as a daily reminder of self-worth, this piece carries immense emotional weight. Because of its significance, it is typically worn close to the heart, making proper care and styling essential to preserve its physical and symbolic beauty. In 2026, jewelry designers are elevating these sentimental pieces with superior metallurgy and thoughtful engineering, but understanding the foundational anatomy of your necklace remains the first step in its longevity.
Most premium "I Am Loved" pendants are crafted from either 925 sterling silver or gold vermeil. Sterling silver contains 92.5% pure silver and 7.5% copper. While the copper adds necessary tensile strength, it is also the culprit behind oxidation and tarnish when exposed to humidity and skin acids. Gold vermeil, on the other hand, is a step above standard gold plating. According to the Gemological Institute of America (GIA), true gold vermeil must feature a base of sterling silver coated with a minimum of 2.5 microns of 10k, 14k, or 18k gold. This thickness ensures the pendant can withstand daily friction without quickly wearing down to the silver base.
Many modern iterations also incorporate cold enamel or guilloché detailing to make the engraved lettering pop. Enamel is essentially fused glass powder, meaning it is highly resistant to color fading but incredibly vulnerable to blunt impacts and sudden temperature changes. Understanding these material properties dictates how you wear, layer, and clean your piece.
Step-by-Step Guide to Layering Sentimental Necklaces
Layering an "I Am Loved" necklace requires a strategic approach to ensure the sentimental pendant remains the focal point without getting lost in a tangled web of chains. The goal is to create a cascading effect that draws the eye downward while maintaining a balanced visual weight.
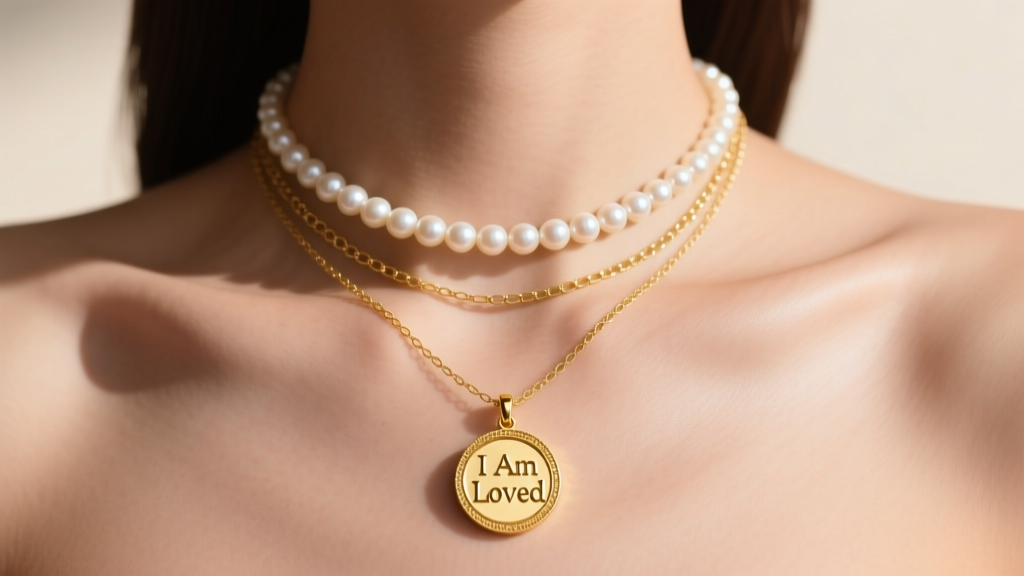
Step 1: Establish the Anchor Length
Your "I Am Loved" pendant should serve as the anchor of your stack. For most pendants measuring between 15mm and 20mm in diameter, an 18-inch chain is the universal sweet spot. This length allows the pendant to rest perfectly on the sternum, just below the collarbone, ensuring it is visible above most standard crewneck and scoop-neck tops.
Step 2: Apply the Two-Inch Drop Rule
To prevent the chains from twisting around one another and obscuring the pendant, every subsequent layer must be at least two inches longer than the previous one. If your anchor is 18 inches, your second chain should be 20 inches, and your third should be 22 inches. This spacing provides enough physical clearance for the pendants to swing independently.
Step 3: Balance the Visual Weight
Because the "I Am Loved" disc or heart pendant carries significant visual and emotional weight, the surrounding layers should be texturally interesting but visually lighter. Consider pairing your anchor piece with:
- Layer 1 (16"): A delicate 3mm freshwater pearl choker or a minimalist titanium herringbone chain.
- Layer 2 (18"): Your "I Am Loved" pendant on a 1.5mm cable or rolo chain.
- Layer 3 (20"): A lightweight satellite chain featuring tiny bezel-set gemstones (like moonstone or lab-grown diamonds) spaced every two inches.
Pro-Tip: If you struggle with chains tangling throughout the day, invest in a multi-strand detangler clasp. These findings allow you to attach up to three chains to a single, secure lobster clasp at the nape of your neck, keeping your spacing perfectly locked in.
Matching Chain Lengths to Necklines
The versatility of an "I Am Loved" necklace shines when you adjust the chain length to complement your wardrobe. The wrong chain length can cause the pendant to hide beneath fabric or clash awkwardly with a hemline. Use the framework below to match your chain to your outfit.
| Chain Length | Ideal Neckline | Pendant Placement | Styling Note |
|---|---|---|---|
| 16 Inches (Choker) | Off-the-shoulder, Boatneck | Base of the throat | Best for smaller, lightweight pendants. Creates a modern, edgy look. |
| 18 Inches (Princess) | Scoop neck, Crew neck | Collarbone / Upper chest | The most versatile length. Keeps the sentimental message close to the heart. |
| 20 Inches (Matinee) | V-neck, Sweetheart | Mid-chest | Perfect for business casual. The pendant rests neatly inside the V-neck void. |
| 24 Inches (Opera) | Turtleneck, High-neck | Sternum / Upper abdomen | Worn over thick winter knits. Ensure the pendant is heavy enough to lay flat. |
How to Clean and Maintain Enamel and Vermeil Pieces
Sentimental jewelry is often worn 24/7, meaning it is constantly exposed to sebum, lotions, and environmental pollutants. However, aggressive cleaning methods can destroy delicate finishes. The Jewelers of America strongly advises against using ultrasonic cleaners or harsh chemical dips on plated or enameled jewelry, as the high-frequency cavitation can shatter enamel and strip gold vermeil down to the silver core.
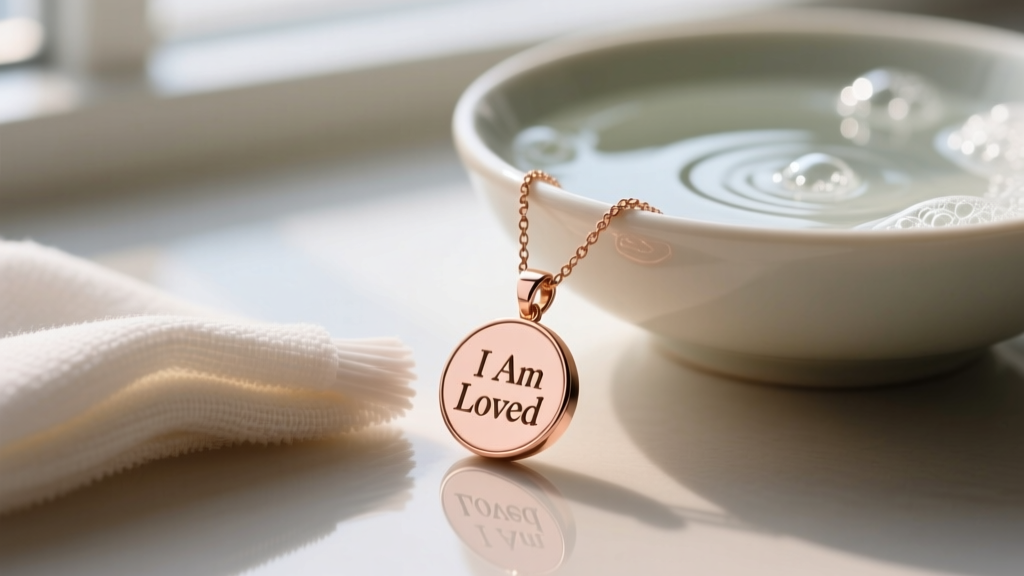
The Safe Cleaning Protocol
Follow this step-by-step routine every four to six weeks to restore your necklace's original luster without compromising its structural integrity.
- Prepare a Mild Solution: Fill a small ceramic bowl with lukewarm (never hot) water and add three drops of phosphate-free, mild dish soap. Avoid soaps with heavy moisturizers or citrus extracts, which can leave a filmy residue or react with copper alloys.
- Targeted Agitation: Submerge the chain and pendant for no more than three minutes. Using a brand-new, ultra-soft baby toothbrush, gently brush the back of the pendant and the crevices of the chain links where dead skin cells accumulate. Do not scrub the enamel face aggressively.
- The Rinse: Rinse the necklace under a gentle stream of lukewarm water. Ensure the drain is securely plugged to prevent catastrophic loss.
- Moisture Removal: Pat the piece dry with a lint-free microfiber cloth. Use a hairdryer on the "cool" setting to blow out any trapped water from inside the jump rings and the clasp mechanism. Trapped moisture in the clasp is the leading cause of premature spring failure.
Troubleshooting Common Clasp and Chain Issues
Even the most well-crafted "I Am Loved" necklaces are susceptible to mechanical wear and tear. Understanding how to troubleshoot minor hardware issues will save you unnecessary trips to the jeweler.
Spring Ring vs. Lobster Clasp Failures
Many delicate necklaces come equipped with spring ring clasps. Over time, the microscopic internal spring loses its tension, causing the clasp to slide open unexpectedly. If your necklace frequently unclasps, do not attempt to bend the metal back into shape; you will likely snap the outer casing. Instead, take the piece to a local bench jeweler and ask them to swap the spring ring for a 5mm or 7mm lobster clasp. Lobster clasps feature a more robust internal spring and a wider lever, offering vastly superior security for sentimental pieces you cannot afford to lose.
Untangling Kinked Box Chains
Box chains are incredibly popular for pendant necklaces due to their geometric light reflection, but they are notorious for developing tight kinks if stored improperly. Never pull a kinked box chain from both ends—this will permanently warp the square links. Instead, lay the necklace completely flat on a smooth glass surface. Apply a single drop of mineral oil or baby oil directly to the kink. Using two fine sewing needles, gently work the links apart from the center outward. Once the kink is released, wipe the chain down with your microfiber cloth to remove the oil.
By treating your "I Am Loved" necklace with technical precision and mindful styling, you ensure that its powerful message remains visible, vibrant, and secure for decades to come.


