How to Style a Clash Necklace: The Ultimate Step-by-Step Guide
Master the mixed-metal trend with our step-by-step guide to styling a clash necklace. Learn chain lengths, metal grades, and layering techniques.

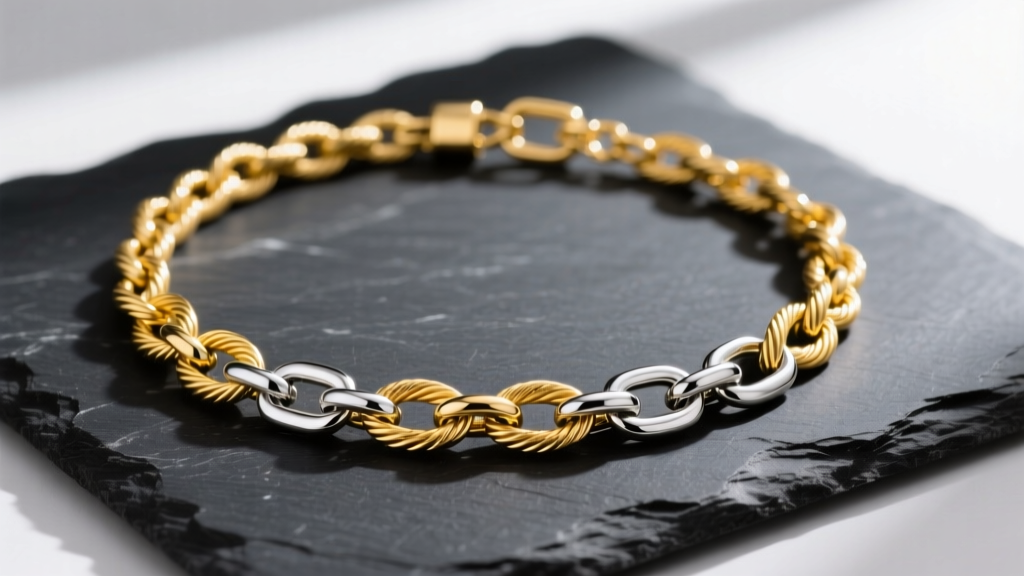
The Anatomy of a True Clash Necklace
The term 'clash necklace' originated from high-end jewelry houses like Cartier, whose Clash de Cartier collection popularized the intentional juxtaposition of contrasting textures, metals, and hardware. However, in modern styling, a clash necklace refers to a deliberate layering technique where opposing elements—such as yellow gold and white metals, matte finishes and high-polish surfaces, or delicate weaves and chunky links—are combined to create visual tension. According to trend analysts at JCK Magazine, the mixed-metal clash trend has evolved from a runway statement into a staple of everyday fine jewelry layering.
Creating a successful clash necklace setup is not as simple as throwing two random chains together. It requires an understanding of metallurgy, chain geometry, and spatial distribution to prevent the two most common pitfalls: severe tangling and galvanic corrosion. This step-by-step guide will walk you through engineering the perfect clash necklace, from selecting your anchor chain to choosing the right hardware.
Step 1: Selecting Your Anchor Chain (The Warm Base)
Every clash necklace needs a foundational layer to ground the look. Yellow or rose gold serves as the ideal warm anchor. For a daily-wear anchor chain, we strongly recommend 14k gold (58.5% pure gold) over 18k gold. The higher alloy content in 14k gold (typically mixed with copper, silver, and zinc) increases its Vickers Hardness (HV), making it highly resistant to the micro-scratches caused by friction from the secondary contrasting chain.
Optimal Anchor Specifications:
- Metal: 14k Yellow Gold
- Weave: Standard Cable or Rolo (tight, uniform links reduce snagging)
- Length: 16 inches (choker/collarbone placement)
- Width: 1.5mm to 2.0mm (provides presence without overwhelming the contrast layer)
The tight geometry of a cable chain ensures that when the secondary chain moves against it, the friction is distributed evenly across the smooth, rounded links rather than catching on sharp edges.
Step 2: Introducing the Contrast (The Cool Foil)
The 'clash' effect relies heavily on temperature contrast. If your anchor is warm yellow gold, your secondary chain must be a cool white metal. Here, you have two primary options: Platinum 950 or Rhodium-plated Sterling Silver. While sterling silver is budget-friendly, it poses a significant metallurgical risk when layered with gold.
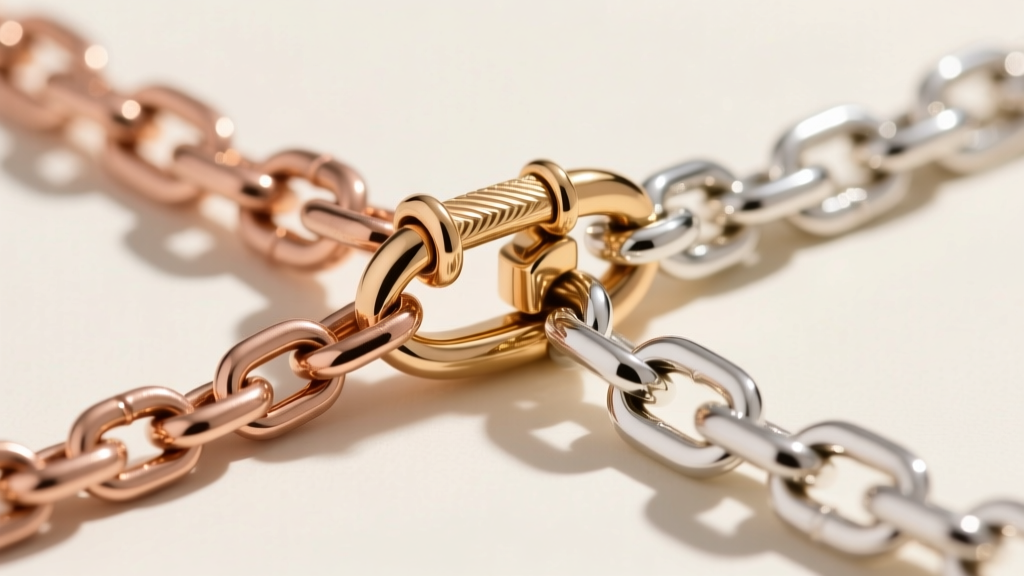
The Danger of Galvanic Corrosion
When two dissimilar metals (like sterling silver and 14k gold) are in constant physical contact in the presence of an electrolyte (such as human sweat or humidity), a galvanic cell is formed. The less noble metal—in this case, the silver—acts as the anode and will corrode, tarnish, and degrade at an accelerated rate. To avoid this, the Gemological Institute of America (GIA) notes that utilizing metals closer on the galvanic series, or ensuring the jewelry is removed before sweating, is crucial.
Expert Recommendation: For a permanent, daily-wear clash necklace, invest in a Platinum 950 or 14k/18k White Gold secondary chain. Platinum is highly durable, hypoallergenic, and will not suffer from galvanic degradation when rubbing against yellow gold.
Optimal Contrast Specifications:
- Metal: Platinum 950 or 14k White Gold
- Weave: Paperclip or Curb (elongated or flat links provide geometric contrast to the round cable anchor)
- Length: 18 or 20 inches (minimum 2-inch drop from the anchor to prevent the 'pendulum tangling' effect)
- Width: 2.5mm to 4.0mm (chunkier than the anchor to emphasize the clash)
Step 3: Metal Hardness & Wearability Matrix
When building a clash necklace, understanding how different metals interact under friction is vital. If a harder chain constantly rubs against a softer one, the softer metal will act like a file, slowly wearing away the clasp joints and links. Review this matrix before finalizing your metal pairings:
| Metal Alloy | Vickers Hardness (HV) | Friction Wear Risk | Best Role in Clash Setup |
|---|---|---|---|
| 14k Yellow Gold | 135 - 160 HV | Low | Anchor Chain |
| 18k Yellow Gold | 115 - 125 HV | Medium | Focal Pendant / Bridge |
| Platinum 950 | 110 - 130 HV | Low (Displaces rather than sheds) | Contrast Chain |
| Sterling Silver (Rhodium) | 60 - 75 HV | High (Prone to rapid wear) | Occasional Wear Layer Only |
Notice that while Platinum 950 has a similar HV rating to 14k gold, its density and malleability mean it displaces upon impact rather than shedding microscopic particles, making it an exceptionally safe pairing for long-term layering.
Step 4: The Bridge Pendant (Mixing Textures)
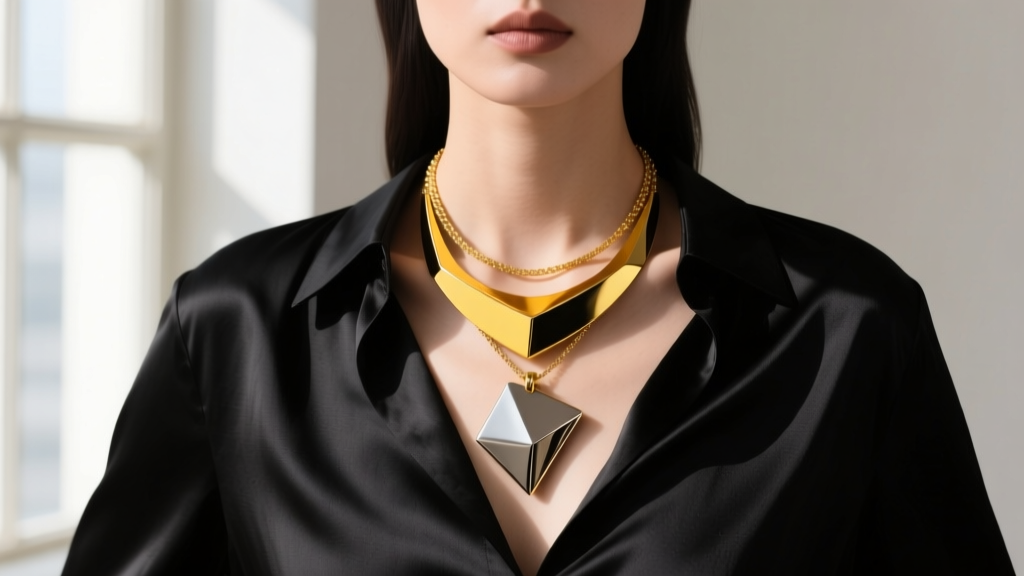
To tie a yellow gold anchor and a white gold contrast chain together, you need a 'bridge' pendant on the longer chain that incorporates both metals or introduces a jarring textural contrast. The current styling consensus favors asymmetrical, mixed-material pendants.
Consider a pendant that features a matte-brushed 18k yellow gold center encased in a high-polish white gold bezel. The matte finish absorbs light, while the high-polish bezel reflects it, creating a micro-clash within the pendant itself. Alternatively, introducing a non-metal material like black onyx, dark oxidized titanium, or raw uncut diamonds can amplify the rebellious, deconstructed ethos of the clash necklace trend.
Step 5: Mastering the Hardware and Clasps
The hardware is where most layered necklaces fail. When mixing a delicate 1.5mm cable chain with a heavy 4.0mm paperclip chain, the tension on the clasps is vastly different.
'Never use a standard 4mm spring ring clasp on a heavy contrast chain. The internal steel spring will eventually fail under the kinetic weight of a chunky link chain, leading to a lost piece. Always upgrade to a solid cast lobster clasp or a magnetic toggle for heavy mixed-metal setups.' — Master Bench Jeweler
Furthermore, ensure that the jump rings connecting your clasps to the chains are soldered closed or made of heavy-gauge wire (minimum 18-gauge). Open jump rings will easily pull apart when two chains of different weights catch on one another during movement.
Step 6: Troubleshooting and Maintenance
Even with perfect length spacing, clash necklaces require specific maintenance routines to preserve their contrasting finishes.
Preventing the 'Pendulum Tangle'
If your 16-inch and 18-inch chains are constantly knotting at the nape of your neck, you are experiencing the pendulum effect. To solve this without buying new chains, invest in a double-strand necklace spacer clasp. This is a single, wide barrel or slide clasp that secures both chains at the back of the neck, maintaining the exact 2-inch drop at the front while completely eliminating back-of-neck tangling.
Polishing and Texture Preservation
If your clash necklace relies on a matte or brushed finish for contrast, never use a standard jewelry polishing cloth on those specific areas. Polishing cloths are embedded with mild abrasives (like jeweler's rouge) that will buff out the matte texture, turning it high-polish and ruining the 'clash' aesthetic. Instead, use a soft-bristled baby toothbrush with warm water and a drop of mild dish soap to clean matte and brushed surfaces.
Final Styling Notes for Necklines
The clash necklace is inherently loud and commands attention. It pairs best with minimalist, structured necklines that provide a blank canvas. A crisp white crew-neck t-shirt, a black silk blouse with a deep V-neck, or an off-the-shoulder cashmere sweater allows the mixed metals to pop. Avoid wearing clash necklaces with busy patterns, ruffled collars, or garments with heavy metallic threading, as the visual noise will completely drown out the intentional tension of your jewelry.


