Style a Dollar Tree Necklace: Beginner Hacks & Tips
Learn how to style, seal, and upgrade a dollar tree necklace. Discover beginner hacks to prevent tarnish and elevate budget jewelry.

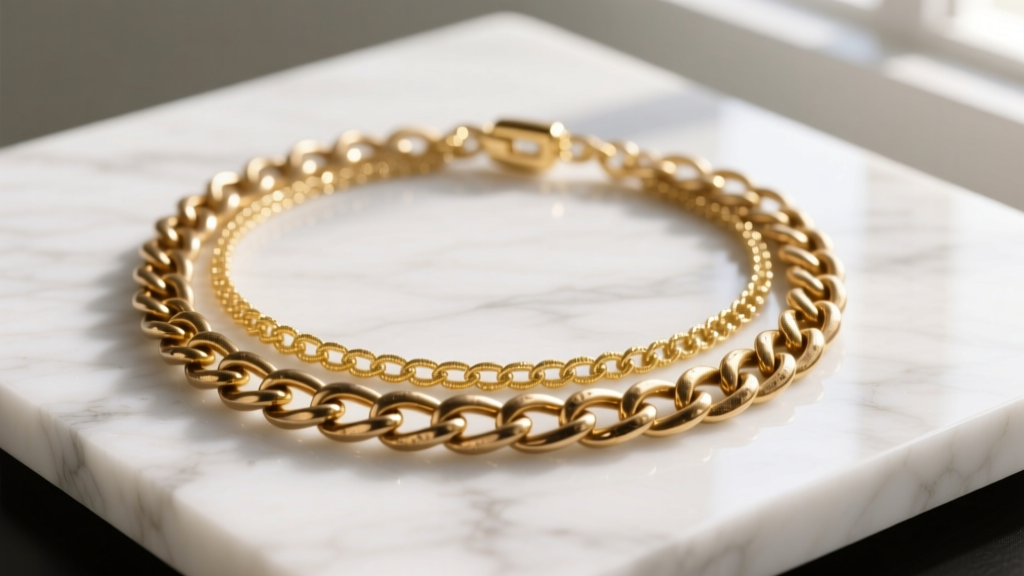
The thrill of finding a stunning piece of jewelry for just $1.25 is a universal experience for bargain hunters and DIY fashion enthusiasts. However, wearing a dollar tree necklace straight from the packaging often leads to disappointment: tarnished chains, broken clasps, and the dreaded green skin effect. But what if you could take that ultra-budget accessory and elevate it to look like a high-end boutique piece? As a beginner-friendly explainer, this guide dives deep into the metallurgy, maintenance, and styling hacks required to transform cheap jewelry into a durable, stylish staple.
The Metallurgy of Budget Jewelry: What You Are Actually Wearing
Before you can properly style or maintain your budget finds, you need to understand their chemical composition. Most ultra-cheap necklaces are not made of solid brass or sterling silver. Instead, they are typically cast from Zamak, a zinc alloy containing aluminum, magnesium, and copper. This base metal is inexpensive and easy to mold into intricate pendant shapes, but it is highly reactive to moisture and oxygen.
To give the necklace a gold or silver appearance, manufacturers use a process called flash plating. Unlike vermeil (which legally requires a minimum of 2.5 microns of gold over sterling silver) or heavy electroplating, flash plating is a microscopic layer of metal—often less than 0.1 to 0.25 microns thick. This ultra-thin veneer means the base metal is never far from the surface. According to the Federal Trade Commission's Jewelry Guides, manufacturers must accurately represent metal content, but ultra-budget items often skirt the line of generic "gold-tone" or "silver-tone" labeling, leaving the consumer in the dark about the reactive alloys sitting beneath the surface.
The Clear Coat Hack: Preventing the "Green Skin" Reaction
The infamous green or black residue left on your skin is not a sign of toxicity; it is a simple chemical reaction. When the copper or zinc in the Zamak alloy base reacts with the chlorides, lactic acid, and sebum in your sweat, it creates copper chloride or zinc salts. These salts are dark green or black and easily rub off onto your collarbone.
To stop this reaction, you must create a physical barrier between the metal and your skin. Here is the most effective, beginner-friendly sealing method:
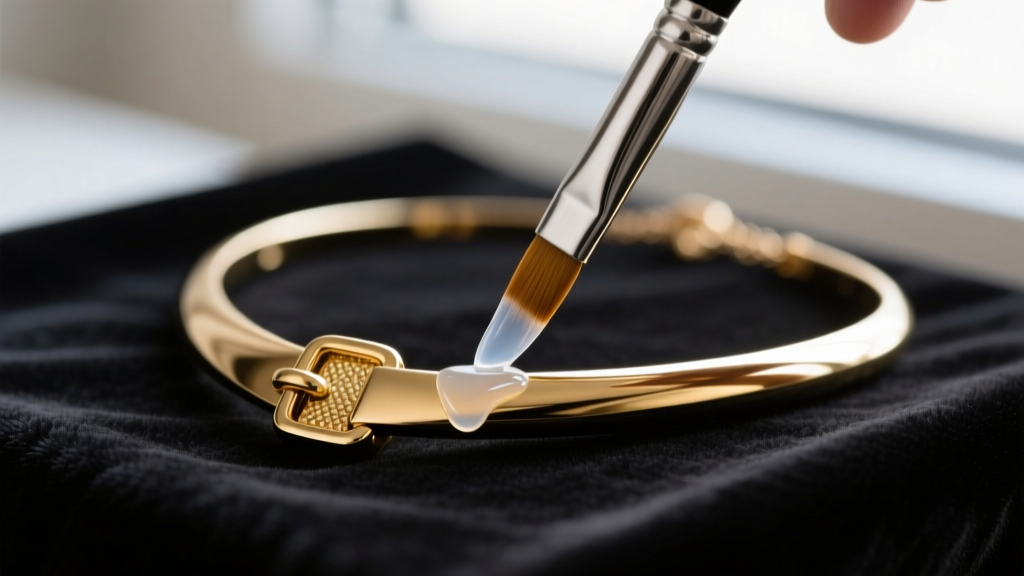
- The Sealant: Skip standard clear nail polish, which yellows and chips quickly. Instead, invest in a specialized jewelry sealant like Everbrite ProtectaClear or Penguin Jewelry Shield. These are designed to flex with the metal and resist skin acids.
- Preparation: Wipe the back of the pendant and the inner curve of the chain with a microfiber cloth and a dab of rubbing alcohol to remove factory oils.
- Application: Use a small, clean makeup brush to apply a thin, even coat of the sealant to the areas that will touch your skin. Let it cure for 24 hours before wearing.
Note: If you have a known nickel allergy, sealing the jewelry is not a foolproof safety measure. The American Academy of Dermatology strongly advises avoiding nickel-containing base metals entirely, as microscopic pores in the plating can still allow nickel ions to leach through and trigger contact dermatitis.
Hardware Upgrades: Swapping Clasps and Chains
The weakest point of any dollar tree necklace is the hardware. The chains are often thin, prone to kinking, and finished with weak spring-ring clasps that snap under minimal tension. The fastest way to elevate your budget pendant is to discard the original chain and mount it on a higher-quality base.
Tools You Will Need
- Flat-nose jewelry pliers (avoid serrated teeth, which scratch soft plating)
- Flush cutters
- 20-gauge or 22-gauge stainless steel jump rings (5mm or 6mm)
- A replacement chain (stainless steel or gold-filled box chain)
The Swap Technique
Locate the jump ring connecting the pendant to the original chain. Using your flat-nose pliers, grip the jump ring on either side of the split. Never pull the ring apart outward; this distorts the circle and weakens the metal. Instead, twist one hand toward you and the other away from you to open the ring laterally. Slide off the cheap chain, slide on your premium stainless steel or gold-filled chain, and twist the jump ring closed until you hear a subtle "click" indicating the ends are perfectly flush.
Layering Framework for Ultra-Budget Pieces
A single, thin budget necklace can look flimsy on its own. However, when integrated into a curated layering stack, it becomes a textural accent piece. The key to professional-looking layering is varying the visual weight and maintaining at least a two-inch gap between chains to prevent tangling.
| Chain Length | Chain Style | Budget Piece Role | Visual Weight |
|---|---|---|---|
| 14 - 15 Inches | Delicate Cable or Herringbone | Choker Base / Collarbone Accent | Light |
| 16 - 18 Inches | Box, Curb, or Paperclip | Main Pendant Focus (Dollar Tree Piece) | Medium |
| 20 - 24 Inches | Rope or Thick Cuban Link | Sweeping Layer / Grounding Element | Heavy |
By placing your dollar tree necklace in the middle tier (16-18 inches) and flanking it with higher-quality, un-pendant-ed chains, you draw the eye to the intricate design of the budget pendant while the surrounding metals provide a premium structural frame.

Cleaning Rules: What to Avoid at All Costs
Because flash plating is astonishingly thin, traditional jewelry cleaning methods will destroy your budget pieces in seconds. Understanding the Gemological Institute of America's (GIA) jewelry care guidelines is crucial here, as they emphasize matching the cleaning method to the metal's durability.
The "Never Do This" List
- No Ultrasonic Cleaners: The high-frequency vibrations will shake the microscopic plating right off the Zamak base.
- No Baking Soda or Toothpaste: These are abrasive compounds. On the Mohs hardness scale, they are hard enough to scratch and strip flash plating, leaving you with a dull, gray, oxidized patch.
- No Silver Polishing Cloths: These cloths are embedded with micro-abrasives and chemical tarnish removers designed for solid sterling silver. They will wipe away gold-tone flash plating instantly.
The Safe Cleaning Method
When your necklace accumulates skin oils and lotion residue, mix a few drops of mild, phosphate-free dish soap (like Dawn) into a bowl of lukewarm water. Submerge the necklace for exactly two to three minutes. Gently agitate the water with your fingers. Rinse thoroughly under a gentle stream of distilled water (tap water minerals can leave water spots), and immediately pat dry with a lint-free microfiber cloth. Never let budget jewelry air dry, as trapped moisture in the chain links will accelerate base-metal oxidation.
Final Thoughts on Budget Styling
A dollar tree necklace does not have to look like a disposable accessory. By understanding the reactive nature of zinc alloys, sealing the metal against skin acids, upgrading the hardware with stainless steel jump rings, and strategically layering the piece, you can extend the lifespan and aesthetic value of your bargain finds. Approach budget jewelry not as a finished product, but as a raw material waiting for a beginner's creative touch.


