How to Wear a Horizontal Cross Necklace Sterling Silver Chain
Learn how to style, layer, and clean a horizontal cross necklace sterling silver chain with our step-by-step guide for modern jewelry lovers.

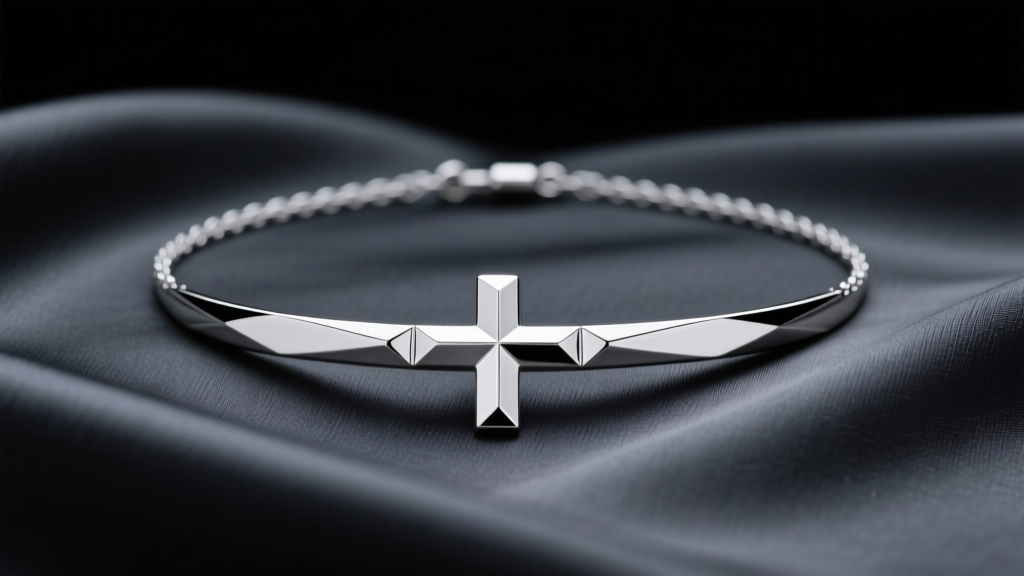
The evolution of faith-inspired and geometric jewelry has firmly established the sideways cross as a staple of modern minimalism. Unlike traditional vertical pendants that demand a specific religious context, a horizontal orientation transforms the silhouette into a sleek, architectural motif. However, mastering the integration of a horizontal cross necklace sterling silver piece into your daily rotation requires more than just slipping it over your head. It demands an understanding of metallurgical care, precise layering mathematics, and neckline geometry.
In this comprehensive guide, we break down the exact steps to style, maintain, and troubleshoot your 925 silver horizontal cross pendant, ensuring it remains a versatile anchor in your jewelry wardrobe for years to come.
Anatomy of a Horizontal Cross Pendant: What to Look For
Before styling, you must verify the structural integrity and material grade of your piece. The term 'sterling silver' is heavily regulated, but not all manufacturing is created equal.
The 925 Standard and Alloy Composition
Pure silver (99.9%) is too malleable for daily-wear chains and pendants; it will warp under minimal tension. Genuine sterling silver is an alloy comprising exactly 92.5% pure silver and 7.5% secondary metals, usually copper. This copper addition provides the necessary tensile strength for a 1.2mm cable chain to support a pendant without stretching. When shopping, always look for the 925 or STER hallmark stamped on the back of the crossbar or the lobster clasp. According to the Gemological Institute of America (GIA), the absence of this stamp often indicates silver-plated brass, which will eventually wear through to reveal a brassy, green-tinged core.
Dimensional Proportions
The visual weight of a horizontal cross relies entirely on its width-to-thickness ratio. For an everyday, layering-friendly piece, target these specifications:
- Width: 15mm to 22mm (Anything wider becomes a statement piece that resists layering).
- Thickness (Gauge): 1.5mm to 2.5mm (Provides a satisfying weight of 2.5 to 4 grams without pulling on the chain).
- Bail Type: A hidden slide bail or a seamless soldered loop maintains the uninterrupted horizontal line, whereas a standard top-loop bail can cause the cross to tilt.
Step-by-Step Guide to Layering Your Necklace
Layering is where the horizontal cross truly shines. Its linear geometry cuts through the visual noise of circular coins and organic pearls. To avoid a tangled, cluttered look, apply the 'Two-Inch Drop Rule'.
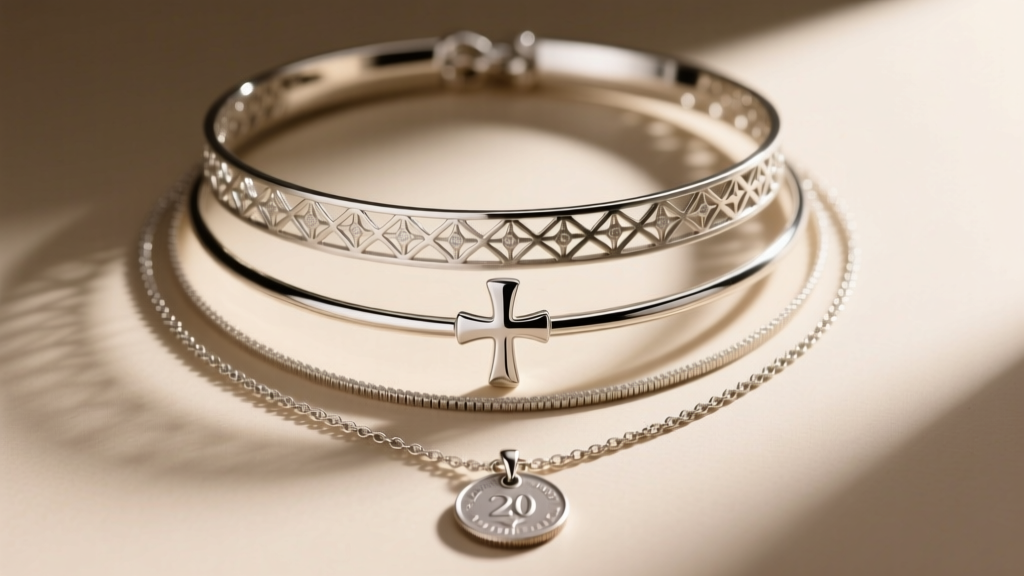
Step 1: Establish the Base (14 to 16 Inches)
Start with a lightweight, 1.0mm box chain or a delicate satellite choker sitting at 15 inches. This piece should feature no pendant or a microscopic bezel-set diamond (1mm). Its sole purpose is to frame the collarbone and provide a visual ceiling for the cross.
Step 2: Position the Horizontal Cross (18 Inches)
Your horizontal cross necklace should sit exactly at the 18-inch mark, resting just above the sternum. At this length, the horizontal lines of the cross visually widen the upper chest, creating a balanced proportion. Opt for a 1.2mm rolo chain for the cross; the rounded links of a rolo chain catch the light differently than the base chain, adding textural depth to the stack.
Step 3: Anchor the Stack (20 to 22 Inches)
Finish with a heavier, 20-inch chain featuring a vertical element—such as a solitaire teardrop pendant, a bar necklace, or a lariat. This vertical drop intersects the horizontal cross, creating a subtle, asymmetrical 'T' shape that draws the eye downward and elongates the neck.
Neckline and Length Pairing Matrix
A horizontal cross necklace interacts differently with various garment necklines. Use this matrix to adjust your chain length and layering strategy based on your outfit.
| Neckline Type | Recommended Chain Length | Styling Strategy & Visual Effect |
|---|---|---|
| Crew Neck | 16 - 18 Inches | Wear as a standalone piece resting just below the fabric collar. The horizontal line breaks up the solid block of the t-shirt. |
| V-Neck | 18 - 20 Inches | Layer with a longer pendant. The horizontal cross bridges the gap of the V-neck, preventing the neckline from looking overly deep or stark. |
| Button-Down Shirt | 15 - 16 Inches | Wear tightly as a choker inside the unbuttoned collar. The cross mimics the geometric lines of the shirt collar for a sharp, tailored look. |
| Square Neck | 17 - 18 Inches | Let the cross sit exactly in the center of the exposed square. The parallel lines of the cross and the square neckline create modern symmetry. |
Step-by-Step Guide to Cleaning and Tarnish Prevention
The 7.5% copper in sterling silver reacts with hydrogen sulfide and moisture in the air to form silver sulfide—the black tarnish that dulls your jewelry. Proper maintenance requires a specific protocol. As noted by Blue Nile's silver care guidelines, abrasive home remedies can permanently ruin the finish.

Step 1: The Wash (Removing Oils)
Before polishing, wash the necklace in warm water with a single drop of phosphate-free dish soap (like Dawn). Use a baby-hair brush to gently sweep the crevices where the crossbar meets the bail. Rinse with distilled water to avoid mineral deposits from tap water.
Step 2: The Polish (Removing Sulfides)
Never use toothpaste or baking soda. These contain silica and calcium carbonate, which are harder than silver and will introduce micro-scratches, giving the metal a permanently cloudy appearance. Instead, use a specialized impregnated silver polishing cloth (such as a Sunshine Cloth). Buff the horizontal cross in a single direction, rather than in circles, to maintain a uniform grain finish.
Step 3: The Storage (Halting Oxidation)
Store the necklace in an airtight polyethylene ziplock bag. Include a 3M anti-tarnish strip and a small silica gel desiccant packet. The strip absorbs ambient sulfur gases, while the silica gel eliminates the moisture required for the copper to oxidize.
Troubleshooting Common Sterling Silver Issues
Even high-quality 925 silver pieces encounter mechanical and chemical issues over time. Here is how to troubleshoot the most common failures.
The Rhodium Plating Dilemma
Many modern horizontal cross necklaces are flash-plated with rhodium (a platinum group metal) to prevent tarnish and provide a bright, white-gold appearance. Over 12 to 18 months of daily wear, this plating will wear thin on the high-friction edges of the crossbar. When you see a slightly yellowish or dull grey undertone bleeding through, do not use a silver polishing cloth—the abrasives will strip the remaining rhodium. Take it to a local jeweler for a $30-$50 rhodium re-dip, or embrace the natural, slightly warmer patina of bare 925 silver.
Lobster Clasp Spring Fatigue
If your clasp feels sluggish or fails to snap shut completely, the internal steel spring has likely accumulated skin oils and debris, or the silver lever is bent. Do not pull the lever with your fingernail, which bends the metal. Instead, use a wooden toothpick to depress the lever fully and flush the mechanism with a drop of 99% isopropyl alcohol. If the spring is broken, a jeweler can solder on a replacement 5mm or 7mm lobster clasp in minutes.
Chain Kinking and Tangles
Box chains and snake chains are notorious for kinking if slept in. If your chain develops a hard crease, lay it flat on a glass surface. Using the smooth, rounded back of a metal spoon, gently press and roll over the kinked area to realign the links without snapping them. Never pull a tangled snake chain; the interlocking plates will lock permanently, requiring a professional laser welder to fix.
Expert Insight: 'The beauty of a horizontal cross necklace in sterling silver lies in its architectural restraint. By treating it as a structural element of your outfit rather than just an accessory, and by respecting the metallurgical realities of 925 silver, you elevate a simple pendant into a lifelong signature piece.'


