How to Style and Layer a 3 Cross Necklace Perfectly
Master the art of wearing a 3 cross necklace. Our step-by-step guide covers chain gauges, pendant spacing, layering techniques, and neckline pairing.


The 3 cross necklace is a profound and versatile piece of jewelry that bridges the gap between deep personal symbolism and high-fashion layering. Whether representing the Holy Trinity, the crucifixion at Calvary, or simply serving as a striking geometric motif, styling this specific pendant configuration requires an understanding of proportion, chain mechanics, and neckline geometry. Unlike a single solitaire pendant, a three-cross layout introduces horizontal weight distribution and visual density that can easily overwhelm an outfit if not balanced correctly.
In this comprehensive step-by-step guide, we will break down the exact metallurgy, gauge sizing, and layering frameworks you need to wear and customize a 3 cross necklace with absolute precision.
Step 1: Selecting the Base Chain Gauge and Material
The foundation of any multi-pendant necklace is its tensile strength and drape. Because a 3 cross necklace inherently carries more weight than a standard single-pendant chain, selecting the correct wire gauge is critical to prevent stretching or snapping.
- 18-Gauge (1.0mm): Best for lightweight, hollow-core crosses or micro-pave diamond accents. This gauge offers a delicate drape but should be restricted to pendants weighing under 4 grams total.
- 14-Gauge (1.6mm): The industry standard for everyday wear. A 1.6mm box or rolo chain provides exceptional structural integrity, easily supporting solid 925 sterling silver or 14k gold crosses weighing between 5 and 12 grams.
- 12-Gauge (2.0mm+): Reserved for heavy, oversized streetwear styles or solid 316L surgical steel pieces. This thickness requires a heavy-duty 7mm lobster clasp to maintain proportional aesthetics.
According to the Gemological Institute of America (GIA), when selecting precious metals for daily-wear pendants, 14k gold offers a superior hardness rating compared to 18k or 24k gold, making it highly resistant to the micro-abrasions that occur when three separate pendants swing and collide against one another.
Step 2: Configuring Pendant Spacing and Alignment
How the three crosses are mounted drastically changes the necklace's center of gravity and visual impact. There are two primary configurations you must choose from when building or buying your piece.
Fixed Bar vs. Free-Sliding Bails
A fixed bar configuration solders the three crosses onto a single horizontal metal plate or connects them via rigid jump rings. This creates a uniform, structured look that sits perfectly flat against the sternum. The standard width for a fixed 3 cross bar is between 1.5 inches (38mm) and 2.2 inches (55mm).
Conversely, a free-sliding bail configuration features three independent crosses hanging from a single oversized bail or closely spaced links on the chain. This allows for kinetic movement and a more organic, layered appearance. However, free-sliding bails require a chain with smooth, rounded links—such as a cable or wheat chain—to prevent the bails from catching and causing premature wear.
Chain Gauge to Pendant Weight Capacity Matrix
| Chain Gauge | Link Style | Max Pendant Weight | Recommended Clasp Type |
|---|---|---|---|
| 18G (1.0mm) | Cable / Bead | 4.5 grams | 4mm Spring Ring |
| 14G (1.6mm) | Box / Rolo | 12.0 grams | 5mm Lobster Claw |
| 12G (2.0mm) | Wheat / Cuban | 25.0+ grams | 7mm Heavy Lobster |
Step 3: Mastering the 3-Point Layering Technique
Because a 3 cross necklace already possesses horizontal complexity, layering it requires a strategic approach to avoid a cluttered neckline. We utilize the 3-Point Layering Rule, a concept frequently referenced by The Spruce Crafts for balancing multi-focal jewelry.

- Point 1 (The Anchor): Start with a 14-inch to 16-inch minimalist choker (like a 1.2mm herringbone chain) sitting flush against the collarbone. This frames the face without competing with the crosses.
- Point 2 (The Focal Piece): Your 3 cross necklace should sit at the 18-inch to 20-inch mark. This allows the horizontal span of the crosses to rest precisely on the upper chest, acting as the visual anchor of the outfit.
- Point 3 (The Elongator): Finish with a 24-inch to 28-inch lariat or simple pendant chain. This draws the eye downward, elongating the torso and balancing the visual weight of the three crosses.
Stylist Note: Never layer a 3 cross necklace with other horizontal pendants (like initial bars or nameplates). The competing horizontal lines will create visual dissonance. Stick to vertical drops or solitaire gems for the surrounding layers.
Step 4: Matching the Necklace to Specific Necklines
The horizontal spread of a 3 cross necklace demands specific fabric pairings to ensure the metal does not get lost in the folds of your clothing.
- Deep V-Necks & Scoop Necks: The ideal pairing. The V-shape naturally frames the horizontal line of the crosses, drawing attention directly to the center of the chest. Opt for an 18-inch chain length here.
- Crew Necks & T-Shirts: To prevent the crosses from tangling in the fabric ribbing, choose a longer 22-inch chain so the pendant rests below the collar line, or wear the necklace on the outside of a lightweight, tight-fitting cotton tee for a streetwear aesthetic.
- Collared Button-Downs: Wear the 3 cross necklace inside the collar, resting against the skin, with the top two buttons undone. A 14-gauge 14k gold chain provides a subtle, luxurious glint against crisp white or navy cotton.
Step 5: Maintenance, Cleaning, and Tarnish Prevention
Due to the intricate crevices where the crosses meet the bails or solder joints, a 3 cross necklace is highly susceptible to trapping sebum, lotions, and environmental dust. Proper maintenance is non-negotiable.
Ultrasonic vs. Chemical Cleaners
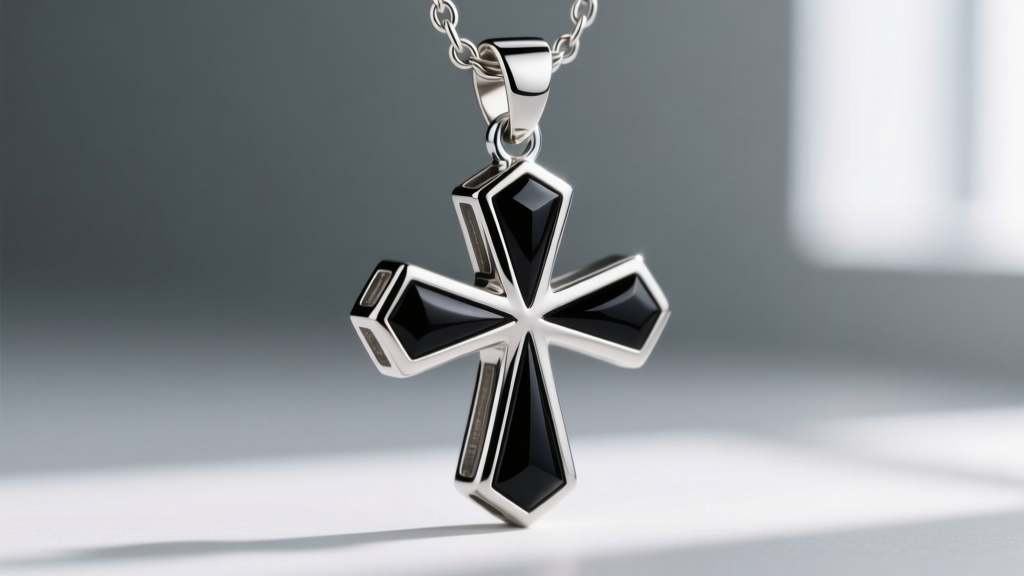
If your 3 cross necklace features solid metal with no gemstone inlays, an ultrasonic cleaner operating at 40 kHz for 3 minutes will effectively dislodge debris from the jump rings. However, if your crosses feature black onyx, mother-of-pearl, or micro-pave diamond accents, avoid ultrasonic cleaners entirely. The high-frequency vibrations can fracture porous stones or loosen the adhesive used in pave settings.
For gemstone-accented crosses, use a chemical approach: soak the piece in a solution of warm distilled water and two drops of mild, phosphate-free dish soap for 10 minutes. Gently agitate the chain with a soft-bristled baby toothbrush, paying special attention to the underside of the crosses where skin oils accumulate. Rinse with distilled water to prevent hard water spotting, and dry immediately with a microfiber polishing cloth.
Final Thoughts on Sourcing and Customization
When shopping for a 3 cross necklace, always inspect the soldering points where the bails meet the crosses. High-quality manufacturers will use laser welding for seamless, virtually invisible joints, whereas lower-tier mass-produced pieces may show excess solder pooling, which weakens the structural integrity over time. By paying close attention to gauge sizing, layering geometry, and routine maintenance, your 3 cross necklace will remain a flawless, meaningful staple in your jewelry rotation for decades to come.


