How to Choose and Layer a Pendant Necklace Star Flawlessly
Master celestial styling. Learn how to choose, size, and layer a pendant necklace star for any neckline with our expert step-by-step jewelry guide.


The celestial motif has remained a cornerstone of fine jewelry for centuries, but mastering the styling of a pendant necklace star requires more than just slipping it over your head. Stars possess unique geometric challenges—their sharp points, uneven weight distribution, and intricate inner angles demand specific chain pairings and layering techniques to sit perfectly against the skin. Whether you are working with a delicate 10mm 14k gold star or a bold 30mm oxidized silver compass rose, this step-by-step guide will teach you how to select, size, and layer your star pendant with professional precision.
The Anatomy of a Star Pendant: Solving the 'Flip' Problem
The most common failure mode when wearing a star pendant is the 'flip'—where the star rotates upside down or tilts awkwardly to the side. This happens because a standard five-point star is bottom-heavy; its center of gravity sits lower than its geometric center. If a jeweler simply solders a standard jump ring to the top point, the pendant will act like a pendulum.
Choosing the Right Bail
To ensure your star lays flat, inspect the bail (the loop that connects the pendant to the chain). Look for these specific structural designs:
- The Hidden Horizontal Bail: A tube or loop soldered horizontally across the upper back of the star. This distributes the weight evenly and prevents rotation.
- The Tapered V-Bail: A bail that cradles the top point and widens at the base, anchoring the star's top vertex securely against the chain.
- The Soldered Bar: Common in vintage pieces, a thin horizontal bar connects the top two points, stabilizing the entire silhouette.
According to the Jewelers of America, ensuring the bail is proportional to the chain gauge is also critical. A heavy star pendant (over 4 grams) requires a bail with an inner diameter of at least 4mm to accommodate thicker, supportive chains like a 1.5mm box chain.
Step-by-Step: Sizing Your Chain to the Star's Proportions
The visual impact of your star pendant is entirely dependent on the chain length and the millimeter (mm) size of the star. A mismatched ratio will either make the star look like a stray charm or overwhelm your collarbone. Follow this sizing framework to find the perfect drop:
1. The 16-Inch Collarbone Drop (Best for 8mm - 12mm Stars)
A 16-inch chain sits snugly at the base of the neck. At this length, you want a micro-star (under 12mm). This setup is ideal for minimalist, everyday wear and serves as the foundational layer in a stacked look. Pair it with a delicate 1.0mm cable chain to maintain a lightweight, ethereal feel.
2. The 18-Inch Sweet Spot (Best for 15mm - 22mm Stars)
Falling just below the collarbone, the 18-inch length is the most versatile. A medium-sized star (around 18mm) acts as a perfect focal point for crew necks and casual V-necks. Opt for a 1.2mm rolo chain here; the circular links complement the celestial theme without competing with the star's sharp geometry.
3. The 20-to-24-Inch Plunge (Best for 25mm+ Statement Stars)
For bold, nautical compass stars or heavily textured shooting star designs, drop the chain to 20 or 24 inches. This allows the heavy pendant to rest on the sternum, anchoring the piece. Use a sturdy 2.0mm box chain, which provides the tensile strength needed to support a heavier pendant without stretching over time.
How to Layer a Pendant Necklace Star (The 3-Piece Formula)

Layering a star pendant requires a strategic approach to prevent the sharp points from tangling with adjacent chains. The 'Rule of Thirds' ensures each piece has enough physical space to lay flat. Here is the exact step-by-step formula for a tangle-free celestial stack:
- Layer 1 (The Anchor - 14 to 15 inches): Start with a snug choker that lacks a pendant. A 2mm snake chain, a simple velvet ribbon, or a continuous pearl strand works best. This frames the face and provides a visual ceiling for your star.
- Layer 2 (The Star - 18 inches): This is where your pendant necklace star lives. Ensure the chain is at least 3 inches longer than Layer 1. If your star has sharp, elongated points, use a box chain—the smooth, square links slide past other chains easily, reducing friction and tangling.
- Layer 3 (The Elongator - 22 to 24 inches): Finish with a pendant-free chain that features a different texture, such as a figaro or paperclip chain. The contrasting texture draws the eye downward, elongating the neck and giving the star pendant a distinct, uncrowded zone in the middle.
Pro Tip: If you are mixing metals, keep the star pendant as the bridge. For example, use a two-tone (silver and gold) star pendant to seamlessly connect a yellow gold choker with a white gold elongating chain.
Matching Your Star Pendant to Necklines
The geometry of your clothing should dictate the size and chain length of your star. Use this quick-reference table to match your pendant to your wardrobe:
| Neckline Type | Ideal Chain Length | Recommended Star Size | Styling Note |
|---|---|---|---|
| Crew Neck | 18 - 20 inches | 15mm - 20mm | Let the star rest just below the fabric hem to break up the solid block of color. |
| Deep V-Neck | 20 - 24 inches | 20mm - 30mm | Mirror the V-shape. A heavier, elongated 'shooting star' pendant works beautifully here. |
| Scoop Neck | 16 - 18 inches | 10mm - 15mm | Keep it delicate. A micro-star sitting in the negative space of the scoop adds subtle sparkle. |
| Off-the-Shoulder | 14 inches (Choker) | 8mm - 12mm | With bare collarbones exposed, a tight choker with a tiny star draws attention to the neck. |
Material Selection: Protecting the Sharp Points
When investing in a star pendant, the metal alloy dictates how well the sharp points will hold up to daily wear. The Gemological Institute of America (GIA) notes that pure metals are often too soft for intricate, pointed jewelry designs.
- 14k Gold (58.5% Pure Gold): The absolute best choice for star pendants. The alloy metals (like copper and zinc) provide the rigidity needed to keep the star's points from bending or blunting if snagged on a sweater.
- Argentium Silver (935): Traditional 925 sterling silver tarnishes quickly, especially in the deep, hard-to-reach inner angles of a star. Argentium silver contains germanium, making it highly tarnish-resistant and keeping the star's crevices bright without constant polishing.
- Platinum: Ideal for diamond-encrusted star pendants. Its natural white luster doesn't require rhodium plating, and its density securely holds micro-pave diamonds at the very tips of the star points.
Deep-Crevice Maintenance and Tarnish Prevention

The sharp inner angles (the 'valleys' between the star points) are notorious traps for skin oils, lotions, and environmental dust. Over time, this buildup dulls the metal and can even degrade the finish. Follow this maintenance protocol to keep your star gleaming:
The Baby Toothbrush Technique
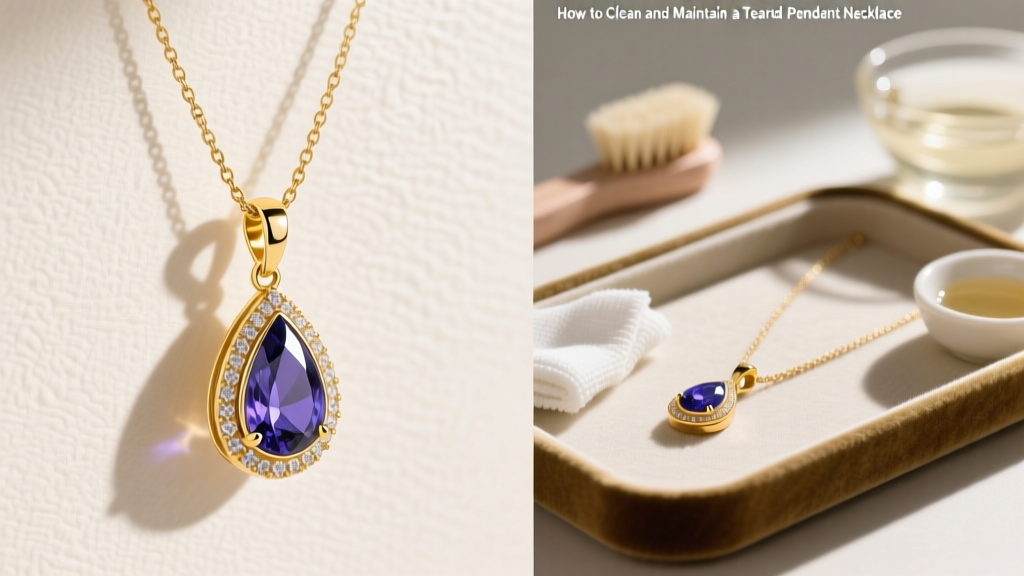
Standard jewelry polishing cloths cannot reach the deep inner angles of a star pendant. Instead, mix a few drops of mild, phosphate-free dish soap with warm water. Dip a soft-bristled baby toothbrush into the solution and gently brush the inner valleys of the star. Rinse with distilled water to prevent hard water spots and pat dry with a microfiber cloth.
A Warning on Ultrasonic Cleaners
If your star pendant features pave diamonds or gemstones set near the points, never use an ultrasonic cleaner. The high-frequency sound waves create microscopic vibrations that can easily shake the delicate micro-prongs loose, especially at the narrow, vulnerable tips of the star. Stick to manual, gentle cleaning for any gem-set celestial pieces.
By understanding the physics of the star shape, selecting the correct bail, and following a strategic layering formula, your pendant necklace star will transition from a simple accessory to a masterfully styled focal point that sits perfectly every time you wear it.