Step-by-Step How to Tie a Nail Cross Necklace: Expert Cord Guide
Master the step-by-step how to tie a nail cross necklace. Learn cord specs, knot tension, and adjustable macrame closures in this expert technical guide.

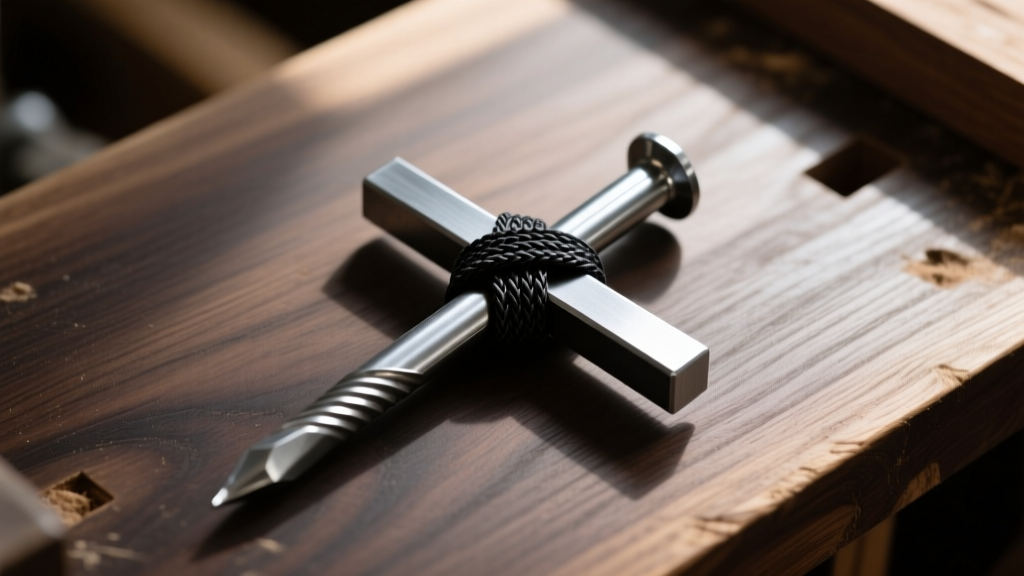
Nail cross necklaces occupy a unique space at the intersection of industrial hardware, spiritual symbolism, and streetwear aesthetics. However, constructing one that is durable, balanced, and safe for daily wear requires more than just wrapping string around hardware store nails. Smooth galvanized steel and heavy masonry nails present significant challenges regarding knot slippage, weight distribution, and cord abrasion. As a jewelry maker specializing in alternative and industrial pendants, I have tested dozens of binding methods to determine the most structurally sound approaches.
This expert deep dive will walk you through the precise material specifications, tension management techniques, and the exact step-by-step how to tie a nail cross necklace using the high-friction X-wrap binding method. Whether you are using authentic 3-inch cut masonry nails or 925 sterling silver nail castings, this guide provides the technical framework necessary for a professional-grade finish.
The Anatomy of a Nail Cross: Material Specifications
The most common point of failure in nail cross jewelry is material mismatch. A standard 3-inch (75mm) steel masonry nail weighs approximately 18 grams. When you combine two nails for the vertical and horizontal axes, the pendant weight exceeds 36 grams. This concentrated mass demands a cord with high tensile strength and minimal stretch. Standard cotton threads or thin hemp will rapidly degrade from the friction against the sharp edges of the nail shanks.
Cord Material Comparison Matrix
| Cord Material | Diameter | Tensile Strength | Stretch Factor | Expert Recommendation |
|---|---|---|---|---|
| Waxed Polyester (C-Lon) | 1.5mm | ~45 lbs | Very Low | Ideal. Best grip on smooth steel; resists fraying. |
| Braided Leather | 2.0mm | ~25 lbs | High | Conditional. Use only for lightweight silver castings. |
| Waxed Cotton | 0.8mm | ~15 lbs | Medium | Avoid. Too weak for heavy hardware; snaps under tension. |
| Paracord (Type III) | 4.0mm | ~550 lbs | Medium | Overkill. Too bulky for tight intersection wraps. |
For authentic steel hardware, 1.5mm waxed polyester Chinese knotting cord is the industry standard. The wax coating provides essential tackiness that prevents the initial wraps from loosening while you work, and the synthetic core ensures it will not rot from sweat or humidity. For authoritative data on cord tensile limits and jewelry applications, consult the material guides at Fire Mountain Gems.
Preparation and Tooling for Precision Assembly
Before attempting the binding process, you must prepare the hardware. Galvanized steel nails are manufactured for driving into concrete, not for jewelry. They often feature micro-burrs along the shank and sharp edges at the head and tip that will slice through polyester cord over time.
- Digital Calipers: To measure the exact shank diameter (typically 0.148 inches or 3.7mm for a 3-inch masonry nail) to calculate wrap tension.
- Dremel Rotary Tool (120-grit sanding drum): To lightly score the intersection point of the nails and dull any sharp factory edges.
- Hot Knife or Precision Lighter: For cleanly severing and melting the synthetic cord ends to prevent unraveling.
- Cyanoacrylate (CA) Adhesive: A micro-drop of thin CA glue (like Loctite 401) is used to lock the final knot beneath the wrap.
Step-by-Step How to Tie a Nail Cross Necklace: The X-Wrap Binding
While many beginners attempt to use a series of square knots (reef knots) to bind the intersection, square knots tend to slip on smooth, cylindrical metal surfaces. The most secure method is the continuous X-wrap binding, which creates a high-friction lattice that locks both nails in a perfect 90-degree alignment. For foundational knot theory and friction mechanics, reference the structural guides at NetKnots.
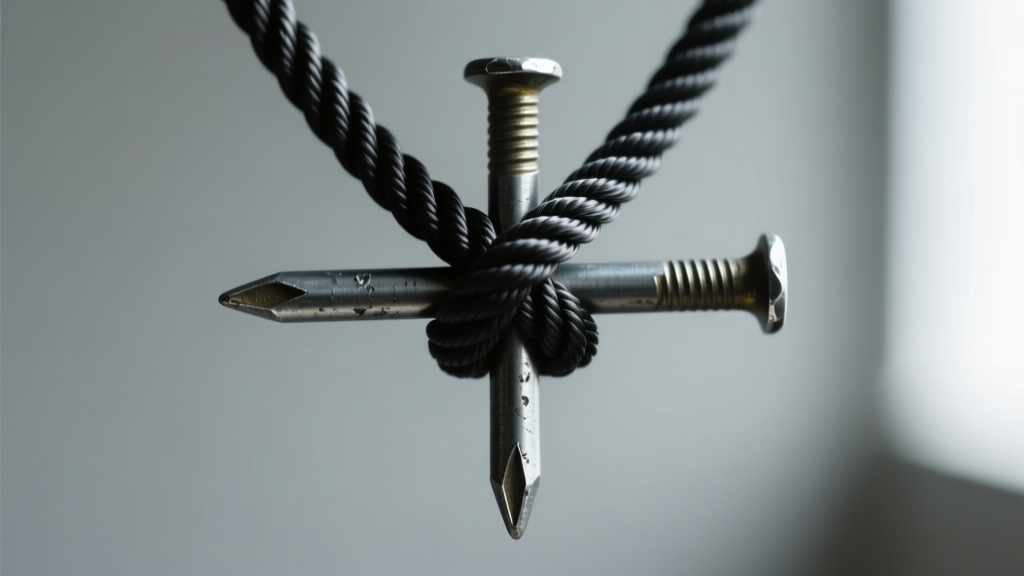
Phase 1: Anchoring the Vertical Axis
Cut a 60-inch length of 1.5mm waxed polyester cord. Find the exact center point and fold it in half to create a loop. Place your vertical nail (the longer axis) flat on your work surface. Lay the center loop of the cord over the top of the nail, approximately one-third of the way down from the nail head. Wrap the two working ends tightly around the back of the nail and pull them through the center loop (a lark's head or cow hitch variation). Pull aggressively to seat the cord into the scored groove you created with the Dremel.
Phase 2: Integrating the Horizontal Axis
Place the horizontal nail across the vertical nail to form the cross. The intersection should sit exactly over the anchor knot you just created. Take the left working cord and pull it diagonally over the top-right quadrant of the horizontal nail, then wrap it underneath the vertical nail. Repeat this with the right working cord, crossing it over the top-left quadrant and wrapping underneath. You are now creating an 'X' pattern directly over the intersection.
Phase 3: The Tension Lock and Finishing the Wrap
Continue the diagonal X-wrap pattern, alternating over and under the nail shanks. The wax on the polyester cord will cause the wraps to stick to one another. After 8 to 10 complete crosses, the intersection should be tightly encased in a diamond-patterned cord lattice. To finish, bring both working ends to the back of the cross. Tie a tight double overhand knot directly against the metal. Apply a micro-drop of thin CA glue to the knot, let it cure for 30 seconds, and trim the excess cord flush with a hot knife.
Finishing Techniques: The Adjustable Suspension Loop
A nail cross pendant is heavy. If suspended on a fixed-length cord, the sudden force of dropping the pendant (e.g., when taking it off over your head) can snap the neck cord. An adjustable sliding macrame closure distributes this kinetic energy and allows the wearer to adjust the drop length from the collarbone (16 inches) to the sternum (24 inches).
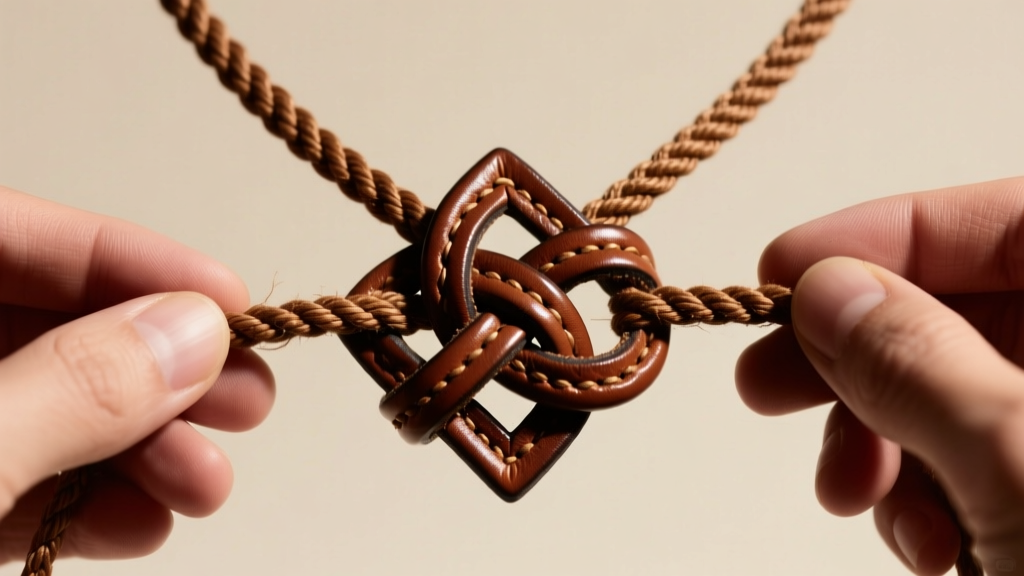
Constructing the Sliding Closure
Cut a separate 36-inch length of cord for the necklace strap. Thread the strap through the suspension loop at the top of your nail cross. Overlap the two ends of the necklace strap by about 4 inches. Using a separate 12-inch piece of cord, tie a series of 4 to 5 alternating half-hitches (a square knot sinnet) around the two overlapping strap ends. This creates the sliding mechanism. Melt the ends of the sliding knot cord to lock it in place. Finally, tie small stopper knots (like a figure-eight) at the extreme ends of the main necklace strap to prevent the sliding mechanism from slipping off entirely.
Troubleshooting Common Tension and Alignment Failures
'The enemy of industrial jewelry is micro-movement. If the horizontal nail can rotate even a single millimeter within the binding, the friction will eventually saw through the cord fibers from the inside out.' — Master Jeweler & Hardware Specialist
Failure Mode 1: The Horizontal Nail Spins
Cause: The X-wrap was not pulled with sufficient tension, or the nail shank is too smooth and heavily galvanized.
Solution: Remove the wrap. Use a metal file to aggressively score a deep crosshatch pattern into the metal at the exact intersection point. This provides a mechanical tooth for the waxed cord to bite into. Re-wrap using pliers to pull the cord taut.
Failure Mode 2: Cord Fraying at the Nail Tips
Cause: The factory-cut tip of a masonry nail acts like a chisel against the cord when the necklace swings.
Solution: Never leave a hardware nail tip sharp in jewelry making. Use a bench grinder or a Dremel with a diamond burr bit to round off the tip into a smooth, blunt dome. Polish the rounded tip with 400-grit sandpaper so it glides against the skin and cord without catching.
Failure Mode 3: Uneven Cross Proportions
Cause: Using two identical nails results in a 'plus' sign rather than a traditional Christian cross, which typically requires a longer descending vertical shaft.
Solution: Use a 3-inch nail for the vertical axis and a 2-inch nail for the horizontal axis. Position the horizontal nail exactly 1 inch below the head of the vertical nail to achieve the classic 1:2 upper-to-lower ratio.


