Tron Legacy Necklace 3D File: 2026 Printing & Style Guide
Master the Tron Legacy necklace 3D file with our 2026 guide. Explore resin printing settings, EL wire integration, and cyberpunk styling tips.

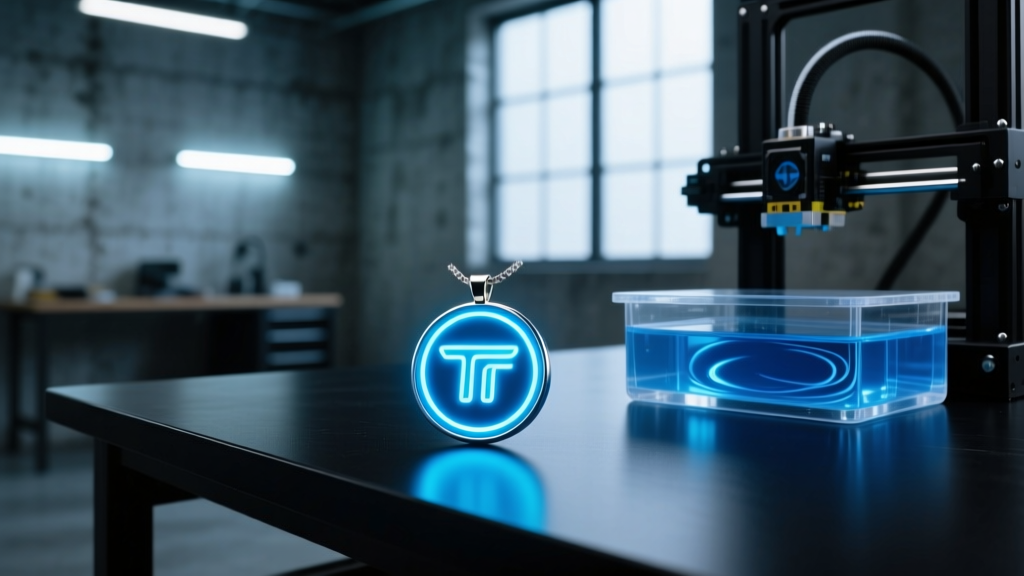
The Cyberpunk Renaissance: Why Tron Jewelry Endures in 2026
The intersection of cinematic nostalgia and modern maker culture has birthed a unique niche in wearable technology and sci-fi fashion. Over a decade after its theatrical release, the aesthetic of the Grid continues to influence streetwear, tech-wear, and cyberpunk apparel. At the center of this trend is the iconic identity disc pendant. For makers and jewelry enthusiasts, sourcing a high-quality tron legacy necklace 3d file is the first step toward creating a wearable piece of cinematic history. In 2026, advancements in desktop SLA (Stereolithography) printing and flexible EL (Electroluminescent) wire technology have made it possible to produce screen-accurate, illuminated pendants that rival professional prop replicas. This guide dives deep into the material science, printing parameters, and styling techniques required to elevate a digital 3D model into a premium, everyday wearable accessory.
Sourcing and Evaluating a Tron Legacy Necklace 3D File
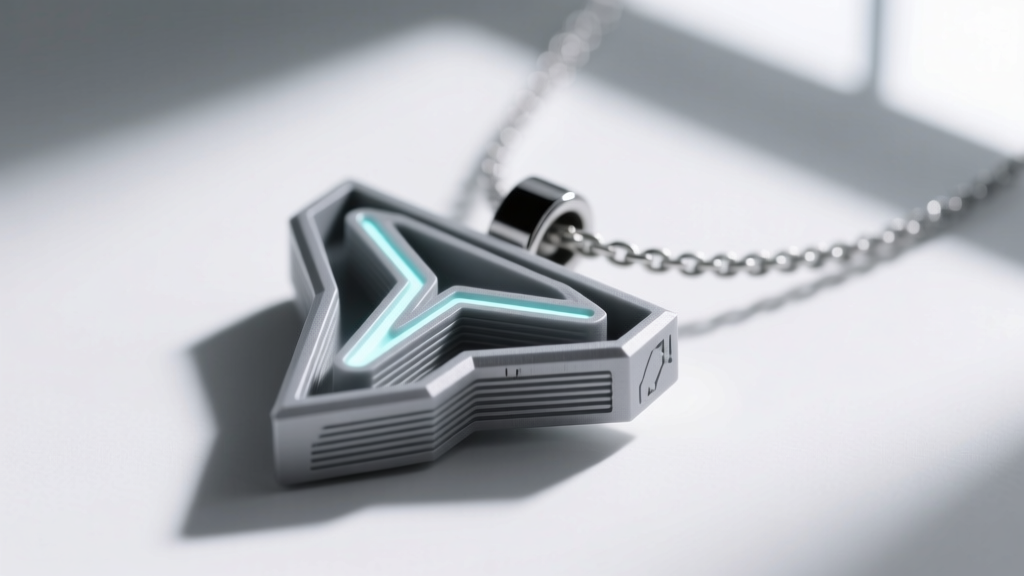
Not all 3D models are created equal, especially when the end goal is a wearable piece of jewelry. When browsing repositories like Printables or Thingiverse, you will encounter dozens of variations of the identity disc. However, a model designed for a static display shelf will fail as a necklace. You must evaluate the STL or OBJ file for specific jewelry-making tolerances.
Critical Design Features to Look For
- Bail Integration: The file must include a reinforced bail (the loop where the chain threads). A common failure mode in amateur 3D files is a bail that is too thin (under 2mm) or lacks a proper z-axis orientation, leading to shear stress and snapping when worn.
- Wire Channels: If you plan to illuminate the pendant, the 3D file must feature precisely routed channels. For standard 2.3mm EL wire, the channel should be modeled at 2.5mm to allow for tolerance variances and a friction fit without requiring excessive cyanoacrylate (CA) glue.
- Wall Thickness: The outer shell of the pendant should maintain a minimum wall thickness of 1.5mm to withstand the pressure of sanding and the minor impacts of daily wear.
Material Selection: Resin, PLA, or Nylon?
The choice of filament or resin dictates the final finish, durability, and weight of your necklace. While FDM (Fused Deposition Modeling) printers using PLA are accessible, SLA resin printing remains the gold standard for sci-fi jewelry in 2026 due to its ability to capture micro-bevels and crisp geometric lines.
| Material | Technology | Pros | Cons | Best Use Case |
|---|---|---|---|---|
| Standard Grey Resin | SLA / MSLA | Ultra-high detail, smooth finish, easy to sand | Brittle, can shatter if dropped on tile | Display pieces, light daily wear |
| Tough / ABS-Like Resin | SLA / MSLA | High impact resistance, durable, excellent detail | Requires longer wash/cure times, higher cost | Premium daily-wear jewelry |
| PLA / PLA+ | FDM | Cheap, biodegradable, no toxic fumes | Visible layer lines, poor heat resistance | Prototyping, bulky cosplay props |
| Nylon (PA12) | SLS / FDM | Extremely durable, flexible, lightweight | Difficult to achieve a glass-smooth finish | Flexible wearables, rugged tech-wear |
For a high-end Tron Legacy necklace, we strongly recommend an ABS-like or Tough resin. Brands such as Siraya Tech Fast or Elegoo ABS-Like provide the necessary impact resistance to survive being bumped against a desk or doorframe, a common hazard for chest-level pendants.
Printing Parameters and Post-Processing for Wearables
Achieving a flawless, injection-molded look requires strict adherence to slicing parameters and a disciplined post-processing workflow. According to Formlabs' post-processing guidelines, the curing stage is just as critical as the exposure stage for ensuring the resin reaches its maximum tensile strength.
Optimal SLA Slicer Settings
- Layer Height: 0.05mm (50 microns). This strikes the perfect balance between print time and surface smoothness, virtually eliminating visible Z-axis banding on the curved surfaces of the identity disc.
- Support Structures: Use light supports (0.3mm tip diameter) placed exclusively on the back face of the pendant and the interior of the bail. Never place supports on the front-facing geometric panels, as the resulting divots will require extensive filling and sanding.
- Orientation: Tilt the model at a 15-degree angle along the X-axis. This prevents suction cup effects during the peel cycle and reduces the likelihood of print failure on large, flat surface areas.
The Sanding and Priming Progression
Once washed in 99% Isopropyl Alcohol (IPA) and fully UV-cured, the pendant must be prepped for paint. Begin wet-sanding with 400-grit sandpaper to remove support nubs, then progress through 800, 1200, and finally 2000-grit. Follow this with two light coats of a high-fill automotive primer, such as Tamiya Surface Primer L, which fills micro-pores without obscuring the sharp, laser-cut aesthetic of the Grid lines.
Illumination: Integrating EL Wire and Micro-LEDs
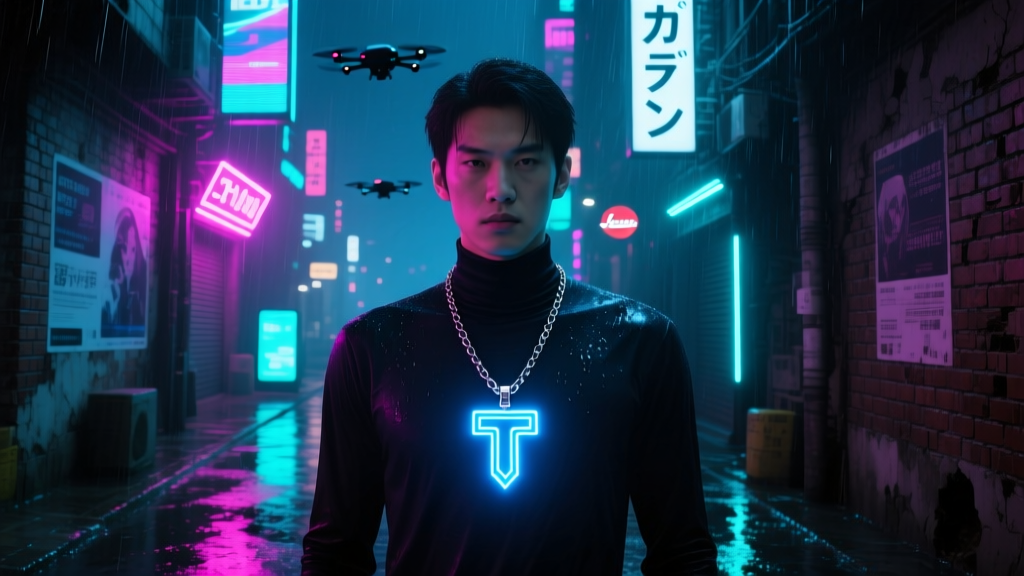
The soul of any Tron Legacy jewelry piece is its illumination. In 2026, makers have three primary options for lighting a 3D printed pendant, each with distinct power and aesthetic profiles.
- 2.3mm EL Wire: The most common and forgiving method. EL wire requires an inverter (usually a small 2xAAA battery pack) that can be hidden in a pocket or clipped to a belt. The wire is pressed into the printed channels and secured with a thin layer of clear epoxy.
- Fiber Optic Strands with Micro-LEDs: For a sharper, more intense light bleed, routing 1.5mm side-glow fiber optic cable connected to a 5V SMD LED provides a brilliant, localized glow. This requires a more complex 3D file with dedicated battery housings integrated into the bail.
- Translucent Resin Inlays: Advanced makers print the main body in opaque black resin, swap the file's light-panel meshes, and print those specific panels in a clear, UV-reactive resin. When paired with a hidden white micro-LED, the panels glow evenly without the hot-spotting typical of EL wire.
For detailed wiring tutorials and inverter schematics, All3DP's comprehensive guides on electronics integration offer excellent step-by-step soldering advice for beginners.
Styling the Grid: Chain Pairings and Necklines
A meticulously printed and wired Tron Legacy pendant can be easily undermined by pairing it with the wrong chain. The aesthetic demands industrial, utilitarian, and geometric hardware.
Chain Selection
Avoid delicate cable chains or ornate rope chains. Instead, opt for a 2.5mm to 3.5mm Stainless Steel Box Chain or a Black Rhodium-Plated Cuban Link. Box chains perfectly mirror the orthogonal, digital geometry of the Tron universe. Ensure the clasp is a heavy-duty lobster clasp rather than a spring ring, as the added weight of the battery pack and resin pendant requires a secure closure mechanism.
Length and Neckline Pairing
- 18-Inch Choker Length: Sits at the collarbone. Best paired with deep V-necks or open-collar tech-wear jackets. This length keeps the heavy pendant from swinging excessively during movement.
- 22-Inch Opera Length: Drops to the sternum. Ideal for wearing over dark, heavyweight garments like black turtlenecks, tactical vests, or structured wool overcoats. The lower drop allows the EL wire inverter to be routed discreetly down the inside of the shirt.
Final Thoughts on Digital Craftsmanship
Creating a Tron Legacy necklace from a 3D file is a masterclass in modern digital craftsmanship. It bridges the gap between software design, material engineering, and fashion styling. By selecting a robust ABS-like resin, adhering to strict 50-micron layer heights, and pairing the final illuminated piece with an industrial steel box chain, you transform a simple STL file into a striking, wearable artifact of sci-fi history. As 3D printing materials continue to evolve, the line between DIY maker projects and high-end boutique jewelry will only continue to blur, making 2026 an exciting time to bring the Grid to life.


