How to Repair and Care for a Braided Leather Necklace
Learn how to troubleshoot common braided leather necklace issues like stretching, fraying, and clasp failure with expert repair and care tips.

The Anatomy of a Braided Leather Necklace (and Where It Fails)
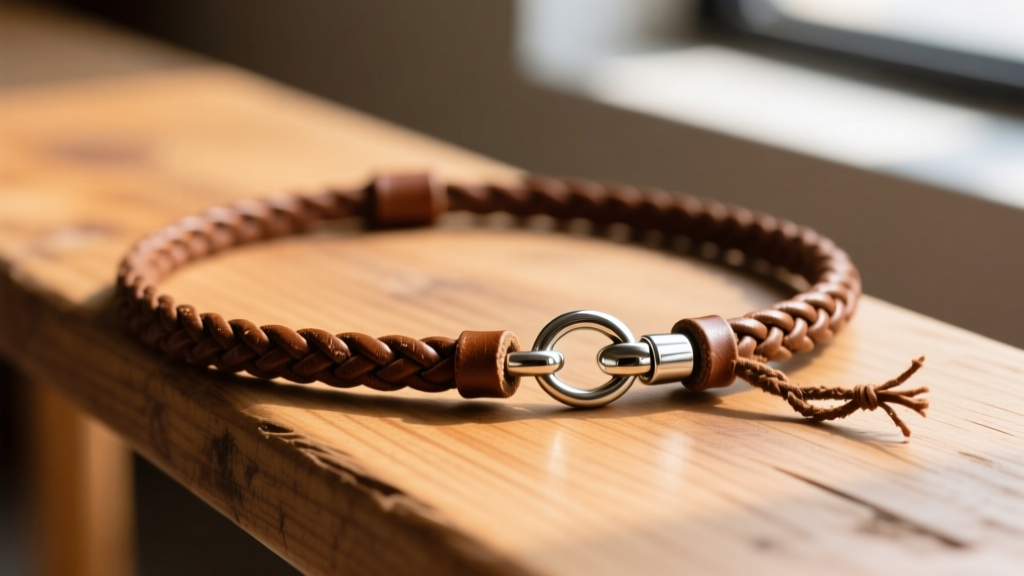
Braided leather necklaces offer a rugged, organic aesthetic that pairs beautifully with everything from silver pendants to raw gemstones. However, unlike metal chains, leather is a biological material. It reacts to humidity, absorbs sebum, and succumbs to mechanical stress. Before we dive into troubleshooting, it is vital to understand what you are working with. According to the Leather Working Group, the durability of any leather accessory is entirely dependent on the hide grade and the tanning process.
If your necklace is made of 'genuine leather' (a marketing term for low-grade split hides bonded with polyurethane), it will inevitably delaminate, peel, and snap. True longevity requires full-grain or high-quality top-grain leather. Full-grain retains the entire thickness of the hide's tough outer layer, offering maximum tensile strength. When troubleshooting a failing cord, always check the cross-section: if you see distinct fibrous layers separating from a smooth top coat, the leather is bonded and cannot be structurally repaired—it must be replaced.
Troubleshooting Common Leather Cord Issues
Problem 1: The Cord is Stretching or Warping
Leather is essentially skin; it possesses natural elasticity. A standard 4mm round braided leather cord can stretch by 5% to 8% over its first year of wear, especially if burdened with a heavy pendant (25 grams or more). This stretching causes the necklace to sit lower on the chest and weakens the braid's structural integrity.
The Fix: You cannot shrink stretched leather. If the cord has warped, you must remove the hardware and re-crimp it to the desired length. To prevent this in the future, upgrade to a nylon-core braided leather cord. These feature a high-tenacity nylon center wrapped in a leather sleeve, providing the organic look of leather with the zero-stretch tensile strength of synthetic paracord.
Problem 2: Fraying at the Clasp Crimps
The most common point of catastrophic failure is where the leather meets the metal clasp. Standard fold-over ribbon crimps have sharp inner teeth designed to bite into the hide. Over time, the friction of daily movement causes these teeth to saw through the leather fibers, resulting in a sudden snap.
The Fix: Abandon fold-over crimps entirely. Instead, use glue-in cord ends (often called tube crimps or glue-in bails). Apply a small amount of two-part jeweler's epoxy or a specialized adhesive like G-S Hypo Cement inside the metal tube, insert the leather, and let it cure for 24 hours. For extra security, apply a micro-drop of cyanoacrylate (super glue) to the very tip of the leather before insertion to harden the fibers and prevent them from splaying.
Problem 3: Stiffness, Dryness, and Cracking
Leather loses its natural lipids over time, accelerated by exposure to UV light, winter heating, and air conditioning. When a braided cord becomes stiff, the individual leather strips lose their flexibility, causing them to crack and snap under the tension of the braid.
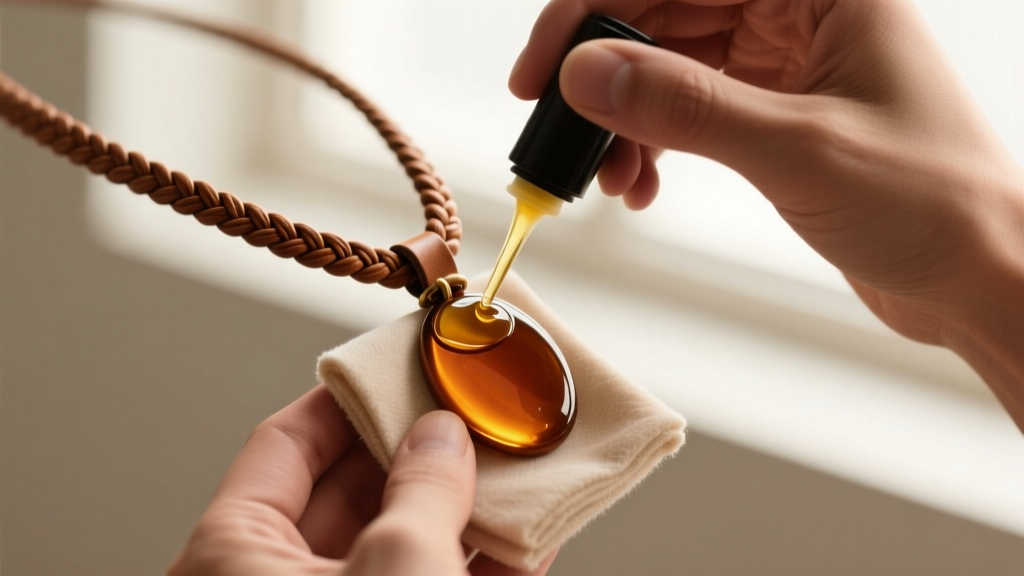
The Fix: Rehydrate the cord using pure neatsfoot oil or a high-quality leather conditioner recommended by experts at Fiebings. Avoid mink oil if you wish to preserve the original color, as mink oil tends to darken leather significantly. Apply a few drops to a microfiber cloth and massage it into the braid, flexing the cord as you work to push the oil deep into the core. Wipe away any excess immediately to prevent it from transferring to your clothing.
Clasp and Hardware Failures: Upgrading Your Findings
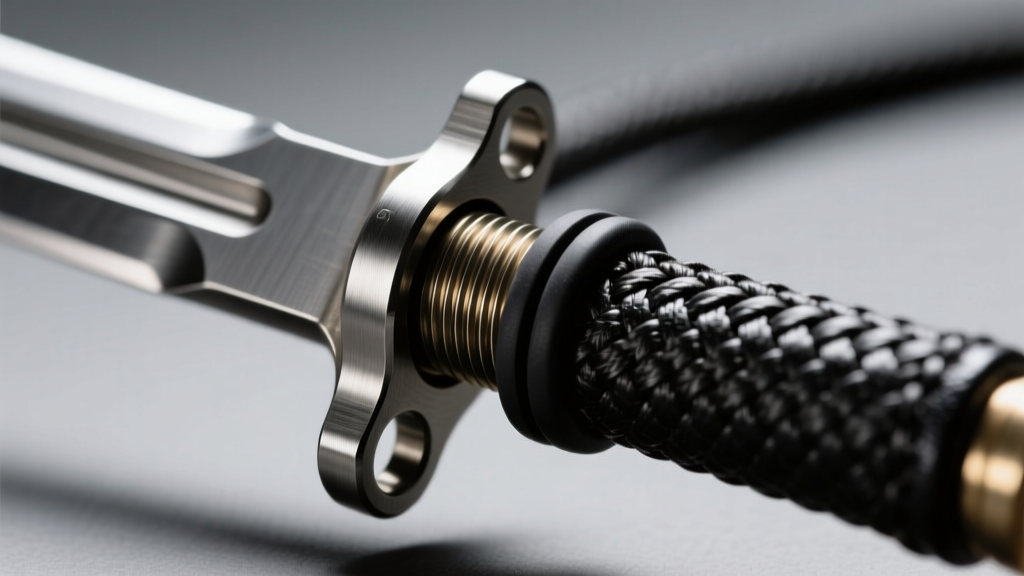
The hardware on a braided leather necklace must withstand not just static weight, but dynamic shear forces caused by the swinging of a pendant. Standard spring-ring clasps are entirely insufficient for cords thicker than 3mm. Below is a troubleshooting matrix to help you select the correct replacement hardware from suppliers like Rio Grande.
| Clasp Type | Tensile Strength | Best Use Case | Common Failure Point |
|---|---|---|---|
| Lobster Claw | 15-20 lbs | Light pendants (<10g), 2mm-3mm cords | Spring mechanism fatigue and catch-snagging |
| Magnetic Tube | 8-12 lbs | Minimalist styles, easy on/off access | Shear force separation when catching on clothing |
| Bayonet (Screw) | 40+ lbs | Heavy pendants (>30g), 4mm-6mm cords | Cross-threading or O-ring degradation |
| Toggle (T-Bar) | 25-30 lbs | Thick, stiff cords requiring wide loops | Bar slipping through the ring if cord is too rigid |
Expert Tip: If you opt for a bayonet clasp, ensure it features a replaceable rubber O-ring inside the threading. This O-ring provides the friction necessary to keep the clasp from unscrewing during wear. If your bayonet clasp keeps coming undone, replacing this $0.10 O-ring will solve the issue instantly.
Water Damage and Odor: The Deep Clean Protocol
Because leather is porous, it absorbs sweat, dead skin cells, and environmental odors. A braided leather necklace worn daily will eventually develop a sour, 'gym bag' odor. This is caused by bacteria metabolizing the sebum trapped deep within the braid's crevices.
Never machine wash or submerge your leather necklace in water. Water strips the hide of its remaining tanning oils, leading to severe warping and rock-hard stiffness upon drying.
The Deep Clean Protocol:
- Dry Brush: Use a clean, dry horsehair brush to vigorously scrub the crevices of the braid, dislodging dried sebum and skin cells.
- Witch Hazel Wipe: Dampen a cloth with a 50/50 mixture of distilled water and witch hazel (a mild, alcohol-free astringent). Wipe down the entire cord to kill surface bacteria.
- Charcoal Deodorizing: Place the necklace in a sealed Ziploc bag alongside a small breathable pouch of activated charcoal. Leave it sealed for 72 hours. The charcoal will absorb the volatile organic compounds causing the odor without adding artificial fragrances.
Pendant Compatibility: Solving Bail Friction
A frequent, yet rarely diagnosed, issue is the 'saw effect.' If you thread a 4mm braided leather cord through a metal pendant bail that has an inner diameter (ID) of exactly 4mm, you are creating a high-friction environment. Worse, many mass-produced metal bails have microscopic, sharp seams on their interior where the metal was cast or soldered.
As the necklace moves, the pendant slides back and forth. That sharp interior seam acts like a serrated knife, slowly slicing through the outer layer of the leather braid until the cord snaps, dropping your pendant.
The Fix: Always follow the 1.5mm Rule. The inner diameter of your pendant bail should be at least 1.5mm larger than the thickness of your leather cord. For a 4mm cord, you need a bail with a minimum 5.5mm ID. If you are stuck with a tight bail, use a piece of 800-grit wet/dry sandpaper rolled into a tight cylinder to gently sand and polish the interior of the metal bail until it is perfectly smooth. Alternatively, attach a small, glued-on leather protector loop to the pendant and thread the main cord through that.
Preventative Maintenance Schedule
To maximize the lifespan of your braided leather necklace, adopt this simple maintenance framework:
- Weekly: Wipe down the cord with a dry microfiber cloth after wearing it in hot or humid conditions to remove surface sweat.
- Bi-Annually: Apply a light coat of neatsfoot oil or a dedicated leather cream to replenish lipids and maintain the braid's flexibility.
- Annually: Inspect the glue-in crimps and clasp jump rings. Use two pairs of flat-nose pliers to ensure all jump rings are tightly closed and that the leather has not begun to pull away from the epoxy bond.
By understanding the material science of leather and the mechanical stresses placed on jewelry findings, you can transform a fragile accessory into a lifelong staple of your wardrobe.