Fixing Fit: A Troubleshooting Guide to Chain Sizes for Necklaces
Struggling with fit? Learn to troubleshoot chain sizes for necklaces, fix slipping pendants, and choose the exact width and length for any neckline.

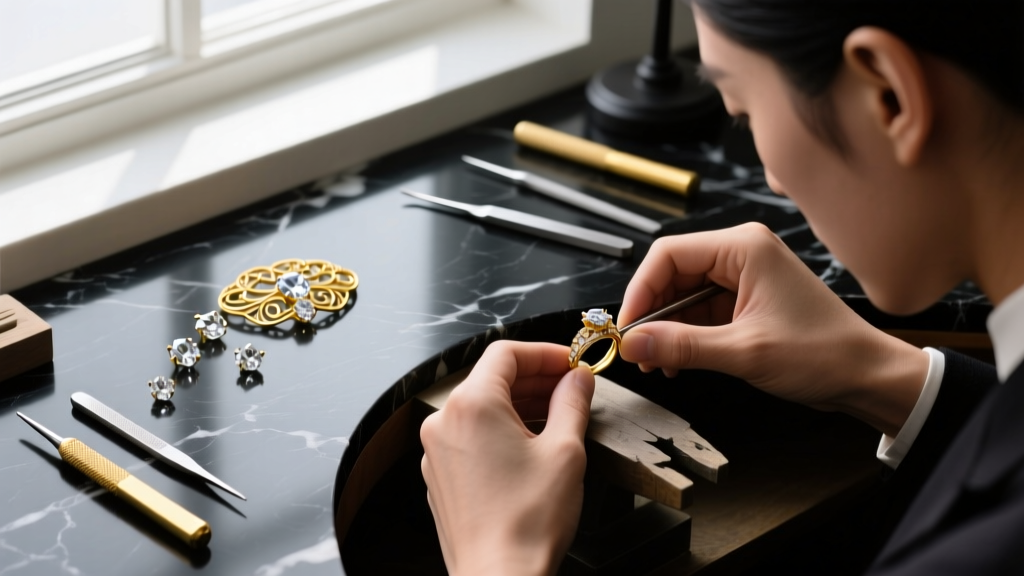
There are few things more frustrating in jewelry than a necklace that refuses to behave. The clasp continually slides to the front, the pendant sits awkwardly off-center, or worse, the chain snaps under the weight of your favorite charm. While most shoppers focus entirely on the aesthetic of a piece, the underlying mechanics of chain sizes for necklaces dictate how the jewelry actually performs on the body. In 2026, with the continued dominance of mixed-metal layering and oversized statement pendants, understanding the structural relationship between chain width, length, and pendant weight is no longer optional—it is essential for preserving your investments.
This troubleshooting guide bypasses generic styling advice and dives deep into the mechanical failures of necklaces. We will diagnose common fit issues, map exact millimeter widths to pendant weights, and provide actionable engineering fixes for your most problematic pieces.
The Core Variables: Width, Length, and Tensile Strength
When jewelers discuss chain sizes, they are referring to two distinct metrics: linear length (usually measured in inches) and cross-sectional width (measured in millimeters or gauge). While length determines where the necklace falls on your décolletage, width determines its tensile strength and flexibility. A common mistake is assuming a longer chain is inherently stronger; in reality, a 24-inch 0.8mm cable chain is just as fragile as a 16-inch 0.8mm cable chain.
According to the GIA Gem Encyclopedia, the structural integrity of a chain is heavily dependent on its alloy composition and link soldering. For example, a 1.2mm platinum chain will possess a vastly higher tensile yield strength than a 1.2mm 14k yellow gold chain due to platinum's density and work-hardening properties. However, gold remains the industry standard, making it crucial to match the exact millimeter width to the intended load.
The Weight-to-Width Matrix
Use this diagnostic table to troubleshoot whether your current chain size is mechanically rated for your pendant. If your pendant weight exceeds the recommended threshold, you are experiencing micro-fractures in the links that will eventually lead to catastrophic failure.
| Pendant Weight | Recommended Chain Width | Best Chain Styles | Minimum Bail Inner Diameter |
|---|---|---|---|
| Under 5g (Light) | 0.8mm - 1.2mm | Cable, Box, Snake | 2.0mm |
| 5g - 15g (Medium) | 1.5mm - 2.5mm | Rope, Curb, Figaro | 3.0mm |
| 15g - 30g (Heavy) | 3.0mm - 5.0mm | Miami Curb, Franco | 5.0mm |
| Over 30g (Statement) | 5.0mm - 8.0mm+ | Thick Curb, Wheat | Custom or >7.0mm |
Troubleshooting Common Fit & Function Failures
Problem 1: The Clasp Keeps Sliding to the Front
The Diagnosis: This is a center-of-gravity issue, not a length issue. It occurs when the clasp (and its accompanying jump rings) outweighs the chain links directly opposite it, or when the chain style is too rigid (like a herringbone or omega) to drape fluidly around the nape of the neck.
The Fix: You need to introduce a counterweight. A bench jeweler can solder a small, dense gold or platinum 'counter-bead' exactly opposite the clasp. Alternatively, if you are using a heavy lobster clasp on a delicate 1.0mm chain, downgrade to a lightweight spring-ring clasp, provided the overall pendant weight remains under 5 grams.
Problem 2: The Pendant Bail Bottleneck
The Diagnosis: You purchased a beautiful 3.5mm Cuban link chain, but your favorite diamond pendant won't slide onto it. This happens when the inner diameter of the pendant's bail is smaller than the chain's cross-sectional width.
The Fix: Do not force the chain through the bail, as this will crush the links and weaken the solder points. You have two options: have a jeweler replace the pendant's bail with a larger, heavy-duty European-style bail, or utilize a 'chain threader' tool to temporarily compress flexible chains (like rope or box) just enough to slip through. Never attempt this with rigid curb or figaro chains.
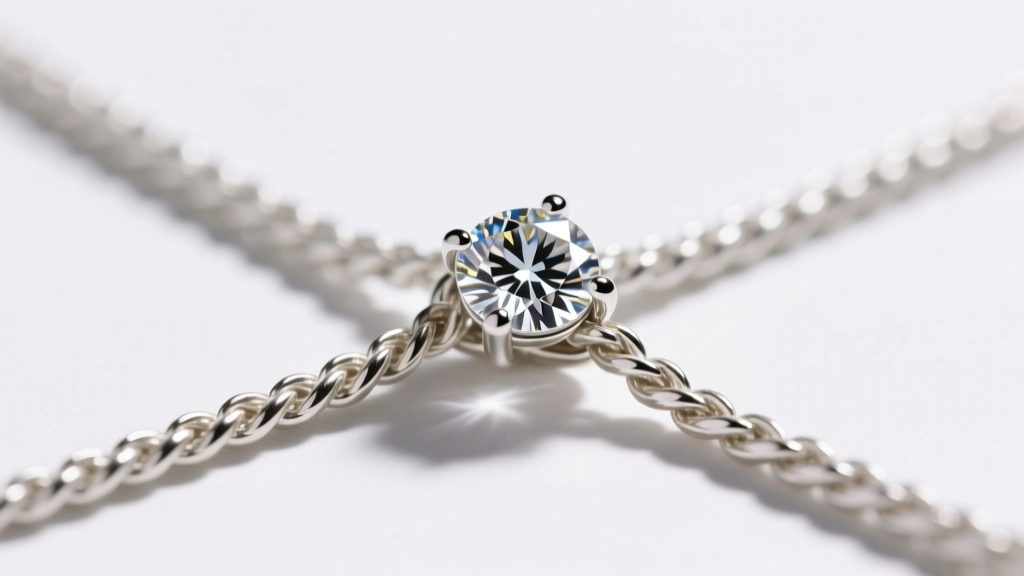
Problem 3: Persistent Tangling and Knotting
The Diagnosis: If your chain constantly knots at the clasp or tangles into microscopic bird's nests, the chain style is mismatched to your lifestyle or layering setup. Fine cable chains (under 1.0mm) and snake chains are notorious for catching on body hair and clothing fibers.
The Fix: For daily wear and active layering, transition to a Wheat (Spiga) or Rope chain. The complex, multi-directional links of a wheat chain prevent the links from folding back onto themselves, virtually eliminating tangles. If you must wear a delicate cable chain, ensure it is paired with a pendant that acts as an anchor, keeping the chain taut and preventing the links from bunching at the nape.
Addressing Structural Vulnerabilities: Clasps and Jump Rings
The Jewelers of America consistently notes that the majority of necklace repairs stem from clasp and jump ring failures, rather than the chain links themselves. When evaluating chain sizes for necklaces, the hardware at the ends is just as critical as the links in the middle.
- The Unsoldered Jump Ring Flaw: Mass-produced necklaces often feature unsoldered jump rings connecting the chain to the clasp. Under the dynamic tension of daily wear, these rings slowly pull apart, creating a V-shape gap that eventually drops the necklace. Solution: Have a jeweler laser-weld or torch-solder all jump rings shut immediately upon purchase.
- The Lobster Clasp Spring Failure: While lobster clasps are secure, the internal spring mechanism can wear out or become clogged with lotion and debris, causing the lever to stick open. Solution: Clean the clasp monthly with a soft toothbrush and isopropyl alcohol. For heavy pendants over 20g, upgrade to a locking box clasp with a figure-eight safety catch.
Expert Insight: When layering multiple chains in 2026, ensure there is at least a 2-inch differential in length and a 0.5mm differential in width between each chain. This prevents the chains from wrapping around one another and causing abrasive friction that will prematurely wear down the gold or platinum.
Quick-Fix Solutions for Existing Chains
If you already own a necklace with compromised chain sizes, you don't necessarily need to replace the entire piece. Here are three bench-level modifications that can salvage problematic jewelry:
- Adding Extender Chains: If a 16-inch choker feels too restrictive and causes the pendant to flip outward, a jeweler can add a 2-inch soldered cable extender. This shifts the resting point to the collarbone, altering the drape and stabilizing the pendant.
- Bail Conversions: If a pendant's bail is too large for a delicate chain, causing the pendant to slide too far down the V-neck, a jeweler can install a 'hidden bail' or a soldered jump-ring directly through the pendant's top drill hole, locking it in place on the chain.
- Re-tipping Links: If a specific section of a rope or curb chain has become stretched and misshapen due to catching on clothing, a jeweler can excise the damaged inch and seamlessly solder the chain back together, restoring its original tensile strength.

Final Thoughts on Chain Mechanics
Troubleshooting chain sizes for necklaces requires shifting your perspective from pure aesthetics to structural engineering. By respecting the weight-to-width ratios, ensuring proper bail clearances, and fortifying the terminal jump rings, you can transform a frustrating, poorly behaving necklace into a secure, comfortable, and lifelong staple. Always consult with a certified bench jeweler to assess the tensile limits of your specific metal alloys before attempting to pair heavy heirloom pendants with modern, ultra-fine chains.


