How to Turn a Necklace Into a Bracelet: 5 Easy Methods
Learn how to turn a necklace into a bracelet with our beginner-friendly guide. Discover no-damage wrapping and clasping hacks for any chain length.

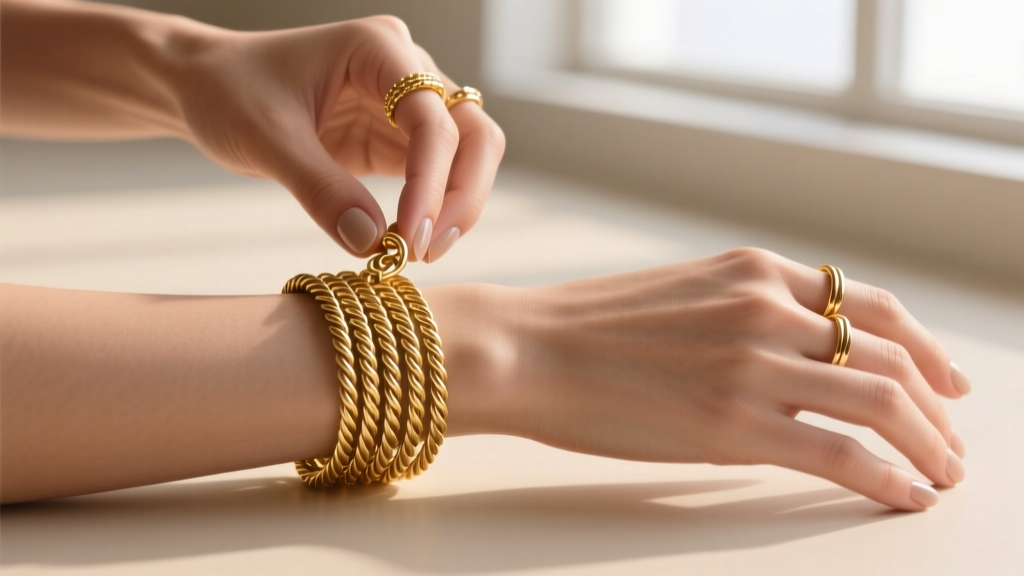
Learning how to turn a necklace into a bracelet is one of the most practical styling hacks in modern jewelry wear. Whether you have inherited a 24-inch opera-length chain that feels too dated for everyday necklines, or you simply want to maximize the versatility of your favorite 18-inch pendant necklace, converting your necklaces into wristwear opens up entirely new styling possibilities. However, simply wrapping a chain around your wrist and forcing the clasp shut can lead to metal fatigue, broken solder joints, and permanent damage to your jewelry.
In this beginner-friendly explainer, we will break down the exact mechanics of chain conversion. We will cover the mathematical limits of chain gauges, the specific clasp hardware required for multi-strand tension, and three distinct wrapping methods that preserve the structural integrity of your precious metals.
The Math and Mechanics of Chain Conversion
Before you start wrapping, you need to understand the baseline measurements. The average woman's wrist measures between 6.0 and 7.5 inches in circumference. A standard necklace ranges from 16 inches (choker/collarbone) to 24 inches (opera length). To create a comfortable bracelet, you must account for a 0.5-inch drape allowance, meaning a 6.5-inch wrist requires 7.0 inches of usable chain per loop.
- 16-inch necklace: Wraps exactly 2 times (yielding a snug 8-inch double loop, best for larger wrists or wearing higher up the forearm).
- 18-inch necklace: Wraps 2 times with a 2-inch tail (can be tucked or secured).
- 20 to 24-inch necklace: Wraps 3 times comfortably for an average 7-inch wrist.
The primary challenge is not the length, but the hardware. Most necklaces are fitted with a 5mm spring ring or a small 7mm lobster clasp. When you wrap a necklace three times, you are attempting to fit three strands of metal plus the jump rings into a single 5mm clasp cavity. It physically will not close, and forcing it will bend the clasp's internal tension spring.
Method 1: The Double-Loop Clasp Hack (For 16 to 18-Inch Chains)
This is the fastest method for shorter chains and requires zero additional tools. It works best with durable weaves like cable, curb, or Figaro chains. Avoid using this method on delicate box chains, as the sharp hinges can kink when folded perfectly in half.
- Hold the necklace by the clasp and the opposite jump ring.
- Fold the chain exactly in half so the two ends meet.
- Take the looped end (the fold) and pull it through the existing lobster clasp.
- Hook the clasp through the jump ring on the other side to secure it.
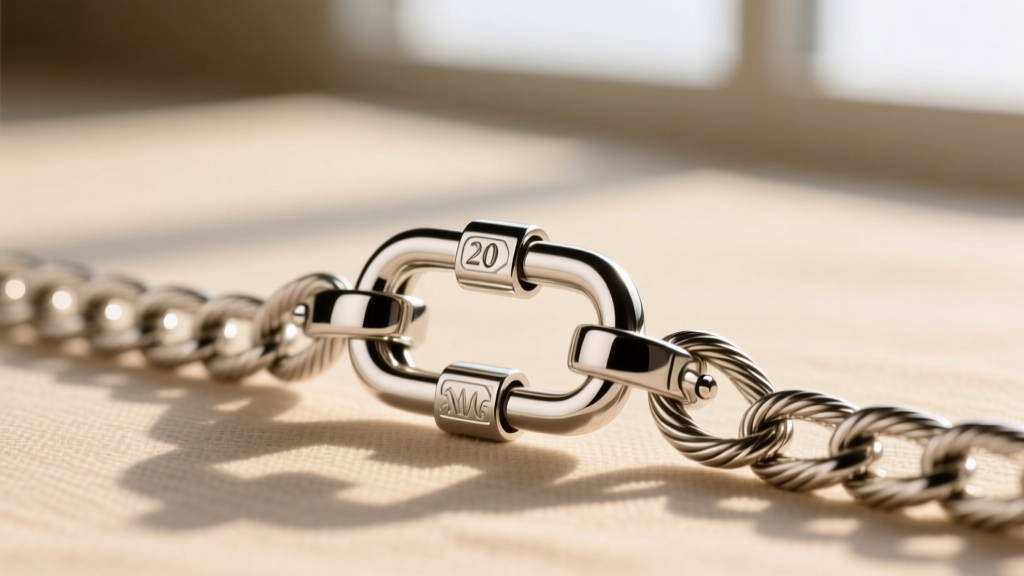
Pro-Tip: If your necklace has a sliding pendant, move the pendant to the exact center of the chain before folding. This ensures the pendant rests perfectly on top of your wrist rather than dangling awkwardly near the clasp.
Method 2: The Figure-Eight Wrap (For 20+ Inch Chains)
Longer necklaces require a figure-eight (or infinity) wrap to distribute the metal evenly and prevent the chain from twisting into a tangled knot. This method is highly recommended for rope chains and snake chains, which are prone to tangling if layered haphazardly.
- Drape the open necklace behind your wrist.
- Cross the two ends over each other in the front of your wrist, forming an 'X'.
- Wrap both ends around the back of your wrist a second time.
- Bring the ends back to the front and secure the clasp to the jump ring.
This technique creates a braided, textured look on the top of the wrist while keeping the chain flat against the skin underneath. It also naturally hides the clasp, as the crossing point of the 'X' can be manipulated to cover the hardware.
Method 3: Upgrading to a Multi-Strand Magnetic Clasp
If you plan to wear a specific necklace as a bracelet frequently, relying on the original 5mm spring ring will eventually cause wear and tear. The most professional solution is to invest in a multi-strand magnetic tube clasp or a 3-strand ring converter.
These specialized clasps feature a wider barrel or a large 15mm O-ring designed to accommodate multiple strands of chain simultaneously. According to jewelry fabrication guidelines from Rio Grande Jewelry Supply, using appropriately sized hardware for multi-strand tension prevents the deformation of individual jump rings, which is the leading cause of chain separation.
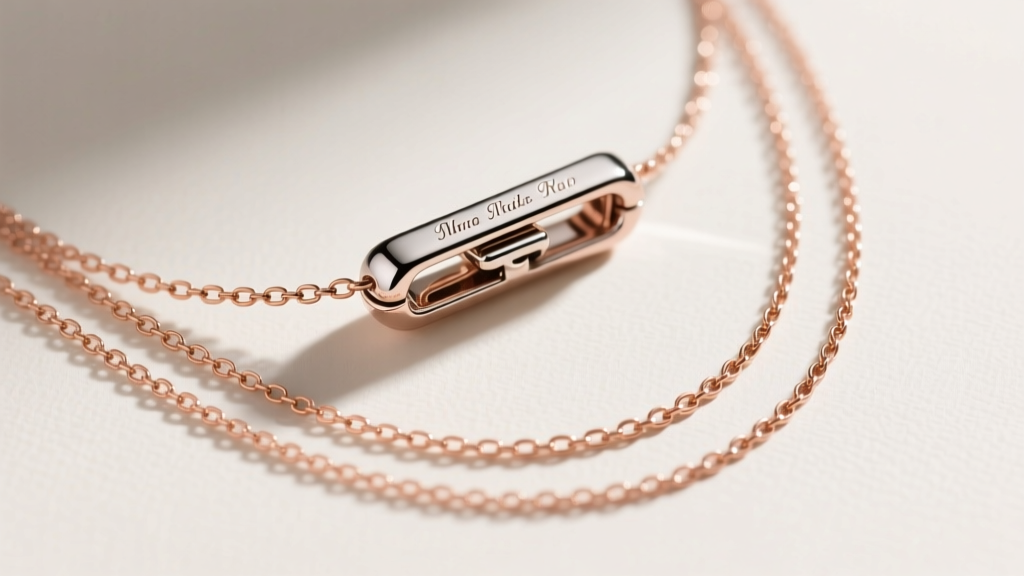
How to use a converter ring: Simply unhook your necklace's original clasp, loop the chain around your wrist three times, and hook both the original clasp and the opposite jump ring onto the large 15mm converter O-ring. The O-ring acts as a central hub, keeping the loops separated and preventing friction.
The Science of Metal Fatigue: What NOT to Do
When converting necklaces, the biggest mistake beginners make is twisting the chain to shorten it. Twisting a chain creates torsional stress on the soldered links. Over time, this leads to metal fatigue. The Gemological Institute of America (GIA) notes that repeated stress on precious metal alloys, particularly 14k and 18k gold, can cause microscopic fractures at the solder joints, eventually leading to a sudden snap.
To help you understand the limits of your jewelry, review the tension tolerances below before wrapping your chains:
| Chain Gauge / Thickness | Weave Type | Max Safe Wraps | Fatigue Risk Level |
|---|---|---|---|
| 0.5mm - 0.8mm (24-20g) | Box / Snake | 2 Wraps | High (Prone to kinking) |
| 1.0mm - 1.2mm (18-17g) | Cable / Curb | 3 Wraps | Moderate (Monitor jump rings) |
| 1.5mm - 2.0mm (14-12g) | Rope / Figaro | 4+ Wraps | Low (Highly durable) |
Crucial Mistakes to Avoid
- Never use rubber bands or hair ties to bundle the excess chain. The friction from rubber will polish away the rhodium plating on white gold and sterling silver, leaving dull, scratched patches.
- Do not wrap pearl or gemstone bead necklaces. The silk or nylon thread used to knot pearls degrades when bent at sharp angles. Only wrap continuous metal chains.
- Avoid wrapping chains with sharp-edged pendants. If a geometric or prong-set pendant rests against the inner loops of your wrist wrap, it will act like a saw against the adjacent metal links.
Essential Tools for Frequent Converters
If you love the versatility of swapping your necklaces into bracelets, keep a small jewelry hacking kit in your vanity. You only need three inexpensive items:
- 15mm Stainless Steel Split Rings (Pack of 5): These act as temporary hubs to hold 3 to 4 strands of chain without bending your precious metal clasps.
- Jewelry Polishing Cloth: Multi-wrap bracelets sit tightly against the skin, accumulating sweat and lotions faster than necklaces. Wipe the chain down after unwrapping it to prevent tarnish.
- Flat-Nose Pliers (Nylon Jaw): If a jump ring pulls slightly open during the wrapping process, nylon-jaw pliers allow you to squeeze it shut without scratching the metal finish.
By understanding the geometry of your chains and respecting the tension limits of your clasps, you can safely double the functionality of your jewelry box. Learning how to turn a necklace into a bracelet is not just a temporary styling trick; it is a fundamental skill in modern, sustainable jewelry wear that allows you to adapt your accessories to any outfit or occasion seamlessly.


