How to Turn Ring Into Necklace: A Bail & Chain Buying Guide
Learn how to turn ring into necklace pieces safely. Our buying guide covers bail types, chain gauges, metal compatibility, and center of gravity fixes.

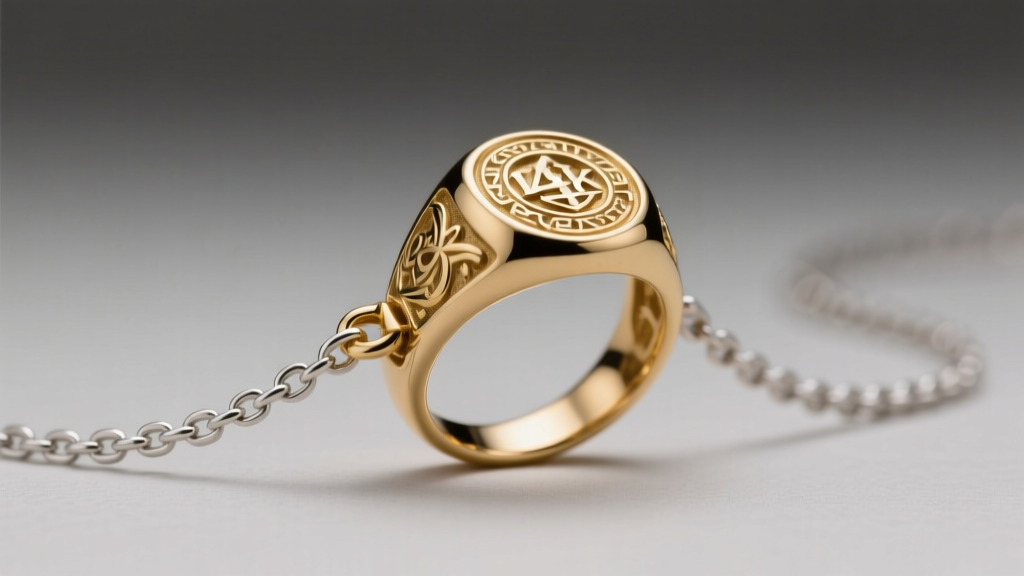
Repurposing sentimental jewelry is one of the most meaningful ways to refresh your collection. Whether you are looking to upcycle an heirloom piece, repurpose a divorce ring, or simply give new life to a band that no longer fits your finger, learning how to turn ring into necklace designs requires more than just slipping a chain through the band. It requires a deep understanding of jewelry mechanics, metal compatibility, and weight distribution. As a senior style guide for Jewel Style Radar, I have evaluated hundreds of ring conversions. This comprehensive buying guide will walk you through the exact hardware, chain gauges, and structural considerations needed to safely and stylishly convert your ring into a pendant.
Assessing the Ring: What Can and Cannot Be Converted
Before purchasing any hardware, you must evaluate the structural integrity of the ring itself. Not all rings are candidates for pendant conversion. The constant friction of a chain rubbing against the top of the band can wear down soft metals and compromise stone settings over time.
- Ideal Candidates: Solid cast bands, signet rings, bezel-set solitaires, and plain wedding bands. These have a high structural density and can withstand the localized friction of a bail or chain.
- Poor Candidates: Tension-set rings (the pressure holding the stone can be altered by the squeeze of a clip-on bail), eternity bands (the continuous diamonds will act like a file, cutting through standard chain links), and hollow electroformed rings (which will crush under the pressure of a pinch bail).
The Core Hardware: Choosing the Right Ring Bail
The bail is the critical bridge between your ring and your chain. Selecting the wrong bail is the number one reason ring conversions fail. Here is a breakdown of the primary bail types and their specific use cases.

Soldered Bails (The Permanent Solution)
For a seamless, permanent conversion, having a jeweler solder a dedicated pendant bail directly to the inside or outside of the ring band is the gold standard. This requires a flat surface area of at least 3mm x 4mm on the ring. Cost Estimate: Soldering a 14k gold bail typically ranges from $45 to $85. If your ring is platinum, the jeweler must use laser welding to avoid melting the surrounding metal, which increases the cost to $90–$150. According to the experts at Rio Grande jewelry supply, laser-welded platinum bails offer the highest sheer-strength resistance for heavy signet rings.
Glue-On Peg Bails (The Flat-Band Solution)
If you cannot solder the ring, a glue-on peg bail is a viable alternative, provided the ring has a flat outer surface. This method requires drilling a tiny 1mm pilot hole into the band and securing the bail with a two-part jeweler's epoxy (such as Loctite E-30CL). Warning: Never use standard super glue (cyanoacrylate), as it becomes brittle and will shatter under the dynamic movement of a necklace. Furthermore, the ring must be ultrasonically cleaned and steamed before gluing; any trace of skin oils or lotion will cause the epoxy to fail within weeks.
Clip-On and Pinch Bails (The Temporary Fix)
Pinch bails feature tiny prongs that grip the inside edges of the ring band. While convenient, they are notorious for slipping off domed or rounded bands. If you must use a pinch bail, ensure the ring has a flat inner profile (a 'comfort fit' band with a flat interior works best) and use a drop of clear museum wax on the prongs to increase friction.
Wire Wrapping (The Artisan Approach)
For thick bands or rings with intricate milgrain detailing that you don't want to scratch, wire wrapping is an excellent non-destructive method. Use a 20-gauge or 22-gauge dead-soft wire (sterling silver or gold-filled). Wrap the wire tightly around the band, creating a custom loop at the top. This distributes the friction across a wider surface area and protects the ring's finish.
Chain Selection: Gauges, Weaves, and Weight Capacities
When you turn ring into necklace pieces, the chain must support the pendant's weight without stretching or snapping. A standard 0.9mm cable chain will easily snap under the weight of a 12-gram signet ring. Below is a structural guide for matching your ring's weight to the appropriate chain gauge and weave.
| Ring Type / Weight | Recommended Chain Weave | Minimum Gauge (Thickness) | Clasp Type Required |
|---|---|---|---|
| Delicate Band (Under 4g) | Cable or Curb | 1.0mm - 1.2mm | Spring Ring (5mm) |
| Standard Solitaire (4g - 8g) | Box or Wheat | 1.5mm - 1.8mm | Small Lobster (10mm) |
| Heavy Signet (9g - 15g) | Rope or Mariner | 2.0mm - 2.5mm | Large Lobster (15mm) |
| Massive Statement (16g+) | Figaro or Cuban Link | 3.0mm+ | Heavy Toggle or Magnetic |
Pro-Tip on Weaves: Box chains and Wheat chains are structurally superior to Rope chains for pendant conversion. Rope chains have a high surface area that can catch on the bail loop, causing micro-abrasions over time. Box chains offer a smooth, flat surface that allows the bail to glide freely.
The Physics of Pendants: Solving the 'Flip' Problem
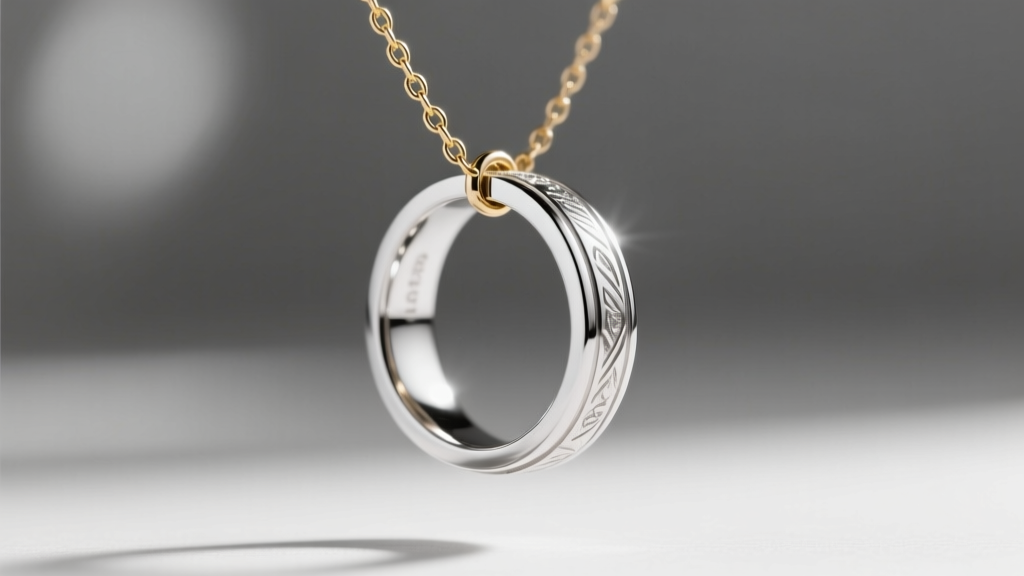
The most common complaint when converting a ring into a pendant is 'the flip'—where the ring constantly rotates upside down, showing the inside of the band instead of the top. This happens because a ring's center of gravity is designed to sit on a finger, not hang vertically from a single point.
How to fix the flip:
- Use a Fixed Bail: Instead of a hinged bail that allows the ring to swing freely, use a fixed bail or a tight wire wrap that locks the ring in a vertical orientation.
- Counterweighting: If the ring is top-heavy, add a small, heavy decorative bead or a secondary micro-pendant to the bottom of the ring (if wire wrapping) to pull the center of gravity downward.
- The Double-Loop Method: Thread the chain through the ring, then pass it through a secondary jump ring attached to the bottom of the band. This creates a triangular suspension system that keeps the ring facing forward.
Metal Compatibility and Galvanic Corrosion
When mixing metals, you must be aware of galvanic corrosion. If you attach a sterling silver bail to a copper or brass ring, the presence of skin sweat (an electrolyte) will cause the less noble metal (copper) to corrode rapidly. According to the Gemological Institute of America (GIA), keeping metals within the same family or using a barrier metal is crucial for longevity.
- Safe Pairings: 14k Gold with 18k Gold; Platinum with White Gold; Sterling Silver with Argentium Silver.
- Unsafe Pairings: Sterling Silver with Copper; Gold-filled with solid Brass.
- The Barrier Solution: If you must mix a sterling silver chain with a yellow gold ring, have the interior of the bail loop rhodium-plated. Rhodium is highly inert and will act as a non-reactive barrier between the two dissimilar metals.
Neckline and Length Considerations
A ring pendant carries visual weight differently than a traditional gemstone pendant. Because rings are geometric and often wider than they are tall, they can look stubby on shorter chains.
- Choker Length (14-16 inches): Avoid for wide signet rings. The horizontal lines of the ring will clash with the horizontal line of the collarbone, making the neck look wider.
- Princess Length (18 inches): The ideal sweet spot for most ring conversions. It allows the ring to rest on the upper chest, providing enough negative space around the geometric shape.
- Matinee Length (20-24 inches): Best for heavy, oversized statement rings. The longer chain creates a vertical line that balances the bulk of the metal.
Troubleshooting Common Conversion Failures
Even with careful planning, issues can arise. Here is how to troubleshoot the most common problems:
- The Bail Loop is Wearing Down: If the chain is harder than the bail (e.g., a stainless steel chain on a soft 14k gold bail), the chain will act like a saw. Always ensure the chain metal is equal to or softer than the bail metal, or use a hardened steel jump ring inside the bail loop as a sacrificial wear layer.
- The Ring is Scratching: If using a wire wrap or a metal bail that rubs against the ring's outer edge, line the inside of the bail loop with a microscopic layer of clear heat-shrink tubing or jeweler's tape to create a soft buffer.
- Clasp Keeps Sliding to the Front: Heavy rings will pull the chain taut, causing the lightweight clasp to slide around to the front of the neck. To fix this, add a small silicone necklace stay or a counterweight bead directly opposite the clasp on the back of the chain.
By carefully selecting your bail hardware, matching your chain gauge to the ring's exact weight, and respecting the physics of the pendant drop, you can successfully turn ring into necklace designs that are both structurally sound and deeply meaningful. Always consult with a certified bench jeweler if you are unsure about soldering or drilling into high-value heirloom pieces.


