How to Untangle Thin Necklace Chains: DIY vs. Pro Repair
Learn how to untangle thin necklace chains safely at home. Compare DIY lubricants and tools against jeweler bench fees to protect delicate jewelry.

Delicate chains measuring between 0.5mm and 1.2mm are staples of modern layering and minimalist pendant styling. However, their lightweight construction makes them notoriously prone to forming micro-knots. When a $45 0.8mm sterling silver cable chain turns into a tight bird's nest, the immediate question is one of value and risk: do you spend 45 minutes attempting a DIY fix, or pay a professional jeweler's bench fee? Learning how to untangle thin necklace chains without causing structural damage requires an understanding of metallurgy, friction, and the hidden costs of jewelry repair. This guide breaks down the exact financial and practical trade-offs between home remedies and professional intervention, ensuring you protect both your jewelry and your wallet.
The True Cost of a Tangled Chain: DIY vs. Professional Repair
Before reaching for a needle, it is crucial to assess the financial reality of jewelry repair. Many consumers assume that because a chain is thin and inexpensive to manufacture, untangling it should be cheap. In reality, jewelers charge for their time, expertise, and the use of specialized magnification equipment. According to industry repair data from Quick Jewelry Repairs, standard bench fees for untangling start between $25 and $45, regardless of whether the process takes five minutes or half an hour.
| Untangling Method | Estimated Cost | Risk of Breakage | Time Investment |
|---|---|---|---|
| DIY (Mineral Oil & Pin) | $0 - $5 | Moderate (if rushed) | 15 - 60 minutes |
| Local Jeweler Bench Fee | $25 - $45 | Very Low | Drop-off / Pickup |
| Mail-in Repair Service | $35 - $60 | Low | 1 - 2 weeks |
| Chain Replacement | $30 - $150+ | N/A | Immediate |
| Laser Welding (If Snapped) | $45 - $85 | N/A (Post-breakage) | 3 - 7 days |
The Value Assessment: If your chain is a basic 0.8mm sterling silver cable chain that retails for $35, paying a $45 bench fee represents a negative return on investment. DIY is the logical choice. However, if that same $35 chain is holding a $2,000 diamond pendant, the risk of a DIY link failure is unacceptable. In high-value pendant scenarios, always pay the professional bench fee.
Metallurgy Matters: How Material Dictates Untangling Strategy
Not all thin chains behave the same way under stress. The alloy composition dictates whether a knot will slip loose or permanently deform. The Gemological Institute of America (GIA) notes that the karat weight and alloy mix of gold significantly impact its tensile strength and malleability, which directly affects how you should approach a tangle.

Sterling Silver (925) and Work-Hardening
Sterling silver is an alloy of 92.5% pure silver and 7.5% copper. While pure silver is highly malleable, the addition of copper introduces a vulnerability: work-hardening. When a sterling silver link is bent or pulled tightly within a knot, the metal's crystalline structure compresses. If you pull a knot tight on a 0.9mm silver box chain, the links will not stretch; they will become brittle and snap abruptly. When untangling silver, you must never apply outward pulling tension. The goal is to compress the knot inward to create slack.
14k vs. 18k Gold: Tensile Strength and Bending
Gold chains present a different failure mode. 18k gold (75% pure gold) is significantly softer than 14k gold (58.3% pure gold). If you pull an 18k gold knot tight, the links are more likely to stretch and ovalize rather than snap. While stretching prevents an immediate break, it permanently compromises the structural integrity of the 0.6mm links, making them highly susceptible to snapping under the weight of a pendant later. 14k gold offers a better balance of durability and flexibility, but still requires lubrication to prevent the links from grinding against one another and shaving away microscopic layers of metal.
The Herringbone Exception: Kinks vs. Knots
Flat weaves like herringbone and omega chains do not tangle into traditional knots; they kink. A kink in a thin herringbone chain is a catastrophic structural failure. The flat links fold over one another, and because they lack the geometric space to unfold, attempting to force them flat will result in permanent creasing. If your herringbone chain is kinked, DIY is not an option. It requires a jeweler to carefully roll the chain over a steel mandrel, and even then, the kink line will likely remain visible.
The Zero-Cost DIY Untangling Protocol
If you have determined that DIY is the most budget-conscious and safe route, follow this exact protocol to minimize the risk of link failure. Never attempt to untangle a dry chain on a soft surface like a towel or carpet, as the fibers will catch the links and pull them tighter.
- Prepare the Workspace: Use a hard, flat, white surface such as a glass table, a ceramic plate, or a piece of white printer paper. This provides zero friction and high contrast, allowing you to see the geometry of the knot.
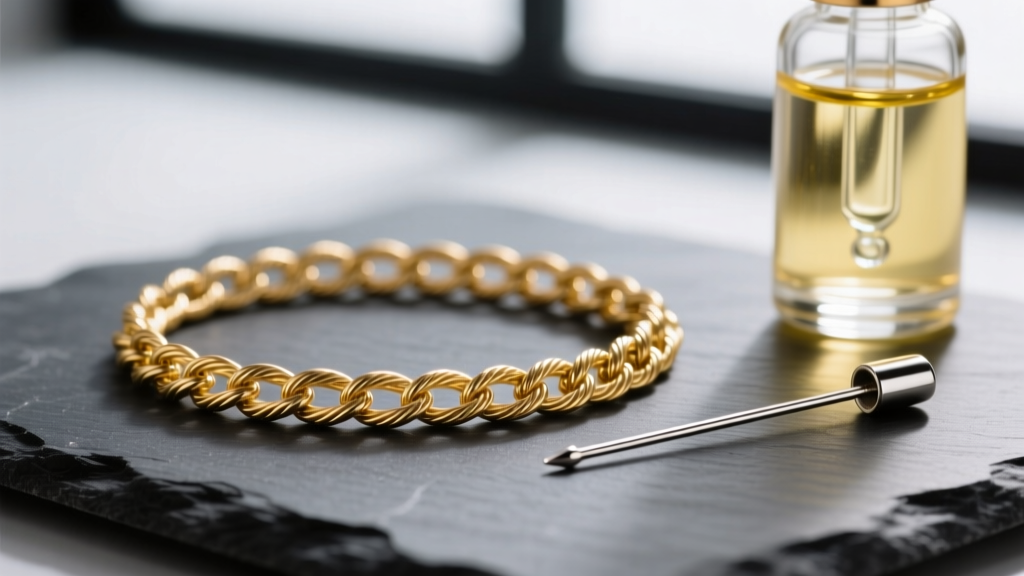
- Apply the Correct Lubricant: Apply a single drop of baby oil (mineral oil) or a pinch of powdered graphite directly to the center of the knot. Warning: Never use WD-40 or silicone sprays. They leave a chemical residue that requires ultrasonic cleaning to remove, which can shatter fragile gemstones like opals, emeralds, or turquoise if the pendant is still attached.
- Select the Right Tools: Discard safety pins; their curved heads and thick shafts will stretch thin links. Instead, use two size 9 or 10 sewing needles, or two straight pins. The rigid, ultra-fine points are necessary to slip into the microscopic gaps of a 0.5mm chain.
- The Push-and-Lift Technique: Insert the tip of the first needle into the exact center of the knot. Instead of pulling the ends of the chain, gently push the needle downward and twist slightly to expand the center link. Insert the second needle into the adjacent loop and gently lift upward. Alternate pushing and lifting, working the knot outward from the center until it loosens enough to slip apart.
- Cleanup: Once untangled, wash the chain in a bowl of warm water with a few drops of mild dish soap (like Dawn) to remove the mineral oil, then pat dry with a microfiber cloth.
When to Concede: Recognizing Structural Failure
Knowing when to stop is a critical component of jewelry value preservation. If you have been working on a knot for more than 20 minutes and the metal is becoming warm to the touch, stop immediately. Friction heat combined with mechanical stress accelerates metal fatigue. Furthermore, if you notice that the links in the center of the knot have flattened or warped out of their original circular or square shape, the chain has suffered structural damage. Continuing to manipulate work-hardened links will inevitably result in a break. At this point, the most budget-friendly option is to take the chain to a jeweler for laser welding, which typically costs between $45 and $85 but guarantees a seamless repair without melting the surrounding microscopic links.
Budget-Friendly Preventative Storage Frameworks
The highest-value untangling strategy is ensuring you never have to do it again. Thin chains tangle due to static electricity, body oils, and the chaotic movement of jewelry boxes. Implement these low-cost storage frameworks to protect your investment:
- The Straw Method (Cost: $0.02 per chain): Thread the delicate chain through a standard plastic or paper drinking straw, leaving the clasp and a half-inch of chain exposed at both ends. Clasp the necklace. The rigid straw prevents the chain from looping back on itself, making tangles physically impossible.
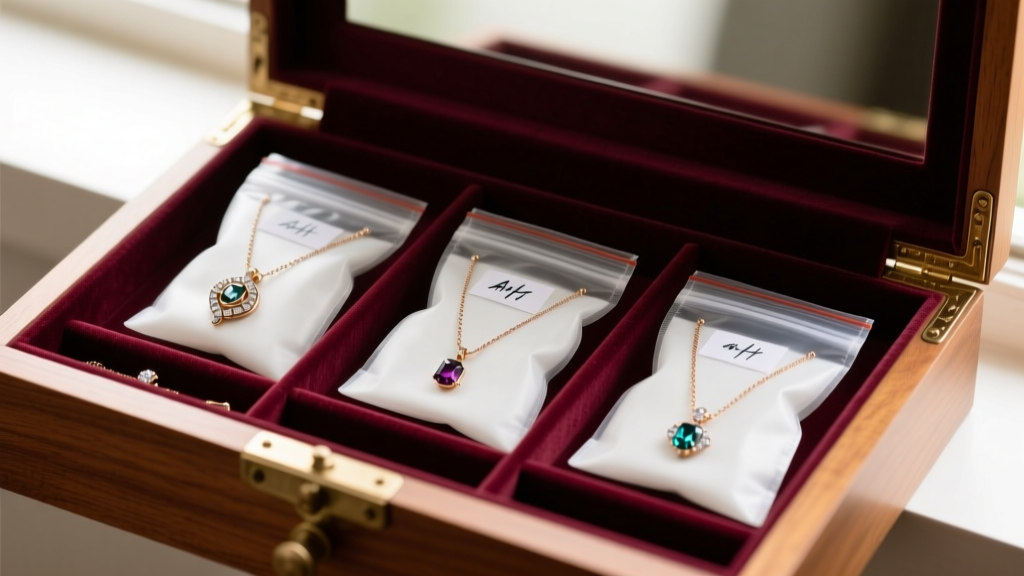
- Individual Polybagging with Anti-Tarnish Strips (Cost: $0.15 per chain): Store each thin chain in its own small, zip-top polyethylene bag. Drop in a 3M Silver Protector anti-tarnish strip. This not only prevents the chains from intertwining but also neutralizes sulfur compounds in the air that cause sterling silver to oxidize and become brittle.
- The Hanging Tension Rule: If you prefer a jewelry armoire, ensure thin chains are hung on individual, widely spaced hooks. The weight of the pendant provides the necessary downward tension to keep the 0.8mm links straight and aligned.
Ultimately, preserving the value of thin necklaces requires a shift in mindset from reactive repair to proactive maintenance. By understanding the metallurgical limits of your chains and utilizing the correct zero-cost lubrication techniques, you can safely navigate micro-knots at home, saving hundreds of dollars in unnecessary jeweler bench fees over the lifetime of your jewelry collection.


